Test business object.
This function helps to test a business object.
Select an item from the list on the BO page and click on the View > Test BO menu option.

The page navigates to “Test Business Object”. The item details are listed in a table. You may select a different business object from the drop-down list to test. Provide appropriate input values and click the “Get Business Object” button.

The Business object is retrieved and displayed as shown below.

In this example, retrieving the Business Object fails because the input values are invalid.

Display business objects with errors.
This function shows the business object with configuration errors.
Select the View > With Errors menu option on the Business Objects page.

The Business Objects with errors are listed in a table.

Configure and validate an item, select it, and click the Actions > Edit menu option.

Make changes and click the “Update” button.

The configuration changes are updated, and a confirmation message is displayed in the top-right corner.

Business Object Properties.
This feature displays the properties of the business object.
Select an item from the list, then click View > Properties. Note: This menu option is enabled for business objects with properties and input configuration.

A pop-up window shows the business object properties below for reference.

Business Object Inputs.
This feature displays the business object input parameters.
Choose an item from the list, then click View > Inputs menu option. Note: This menu option is available for business objects with properties and input configurations.

A pop-up window shows the business object input parameters below to review.

Business Object Usage.
This function shows the usage count of all business objects.
On the Business Objects page, choose the View > Usage menu option.

The usage counts for all Business Objects are listed on the new page below.

Processes - Used By / Not Used By.
This feature helps identify all processes that use the specific business object and those that do not.
Choose an item from the list, then click View > Processes > Used By option.

A pop-up window is displayed indicating the work-in-progress.

An email is sent to the recipient, including the list of processes that use this business object, shown below. Likewise, selecting the Not Used By menu option will provide a list of methods that do not use this business object.

Not Used Business Objects.
This feature helps identify all business objects that are not used by any processes.
Select the View > Not Used Business Objects.

A pop-up window is displayed indicating the work-in-progress.

An email is delivered to the recipient, including the list of business objects not used by the processes.

Export a business object.
This feature allows the user to export the selected business object to an XML file. Later, this file can be imported into the target FlowWright environment.
Select an item from the list, then click the Export > XML menu option. The XML file will be generated and downloaded to the local folder.

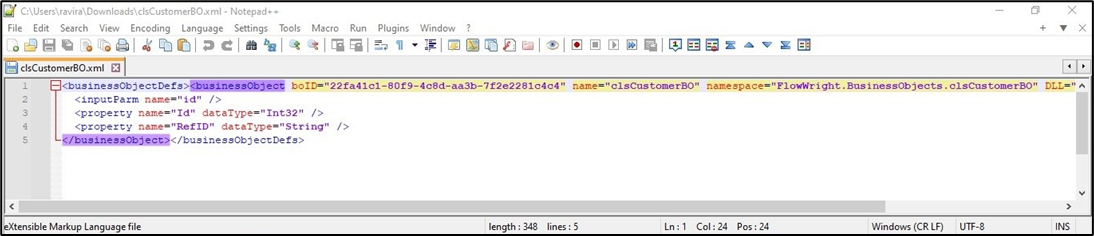
The XML content is provided here for reference.
Select an item from the list, then click Export > SQL menu option. The SQL file is generated and downloaded to your local folder.

The SQL content is provided here for reference.

Import a business object.
This function imports an XML Business Object into the target FlowWright environment.
Choose an item from the list, then click the Import > XML menu option. The XML file is generated and downloaded to the local folder.

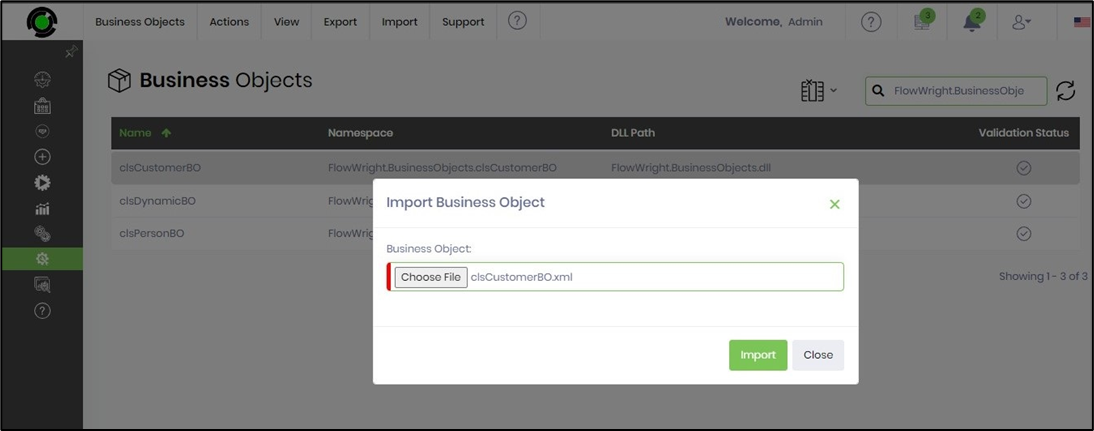
A pop-up window opens for configuration. Select the Business Object XML file from your local folder, then click the Import button.
The Business Object XML is imported, replacing the current version. A confirmation message appears in the top-right corner.

Remove a business object.
This function removes the selected Business Object from the application.
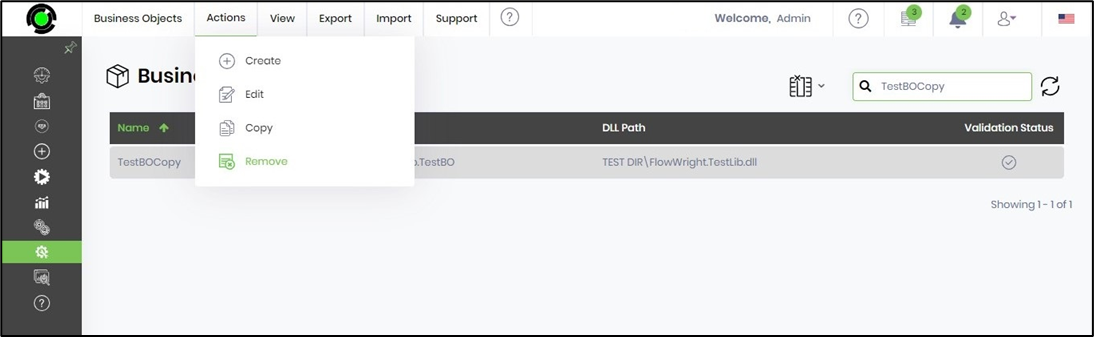
Select an item from the list, then click Actions > Remove.
A pop-up window is displayed for confirmation. Click OK to confirm.

The Business Object is permanently removed, and a confirmation message appears in the top-right corner.

Suppose the business object is used with a definition. In that case, the application prevents the user from deleting the selected business object and displays an alert message.

Edit a business object.
This function helps to update the existing business object name, namespace, and DLL path.
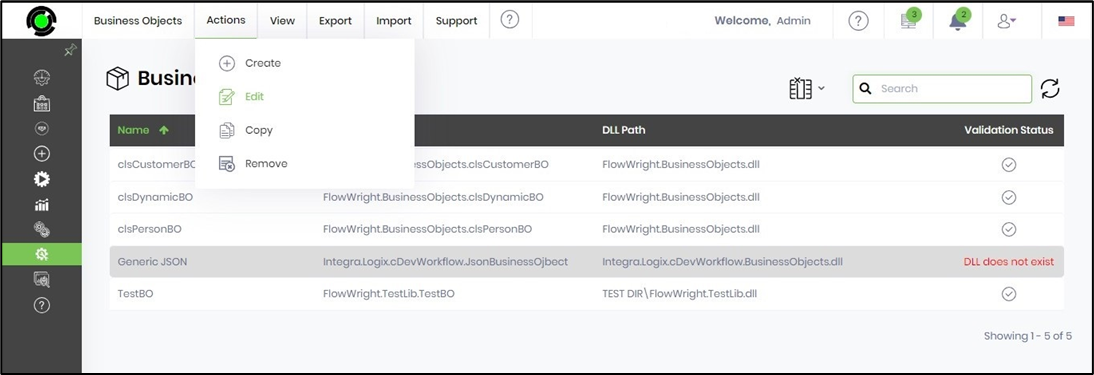
Select an item from the list, then click Actions > Edit.
A pop-up window showing the BO configuration for changes appears. You can modify the values in the name, namespace, and DLL path fields. Click the Validate button to check the changes. An alert message appears in the top-right corner. Click the Update button to confirm.

The Business Object configuration has been updated, and a confirmation message appears in the top-right corner.

Request a Business Object.
You can use this function to email the FlowWright Support team for feature enhancements if you'd like.
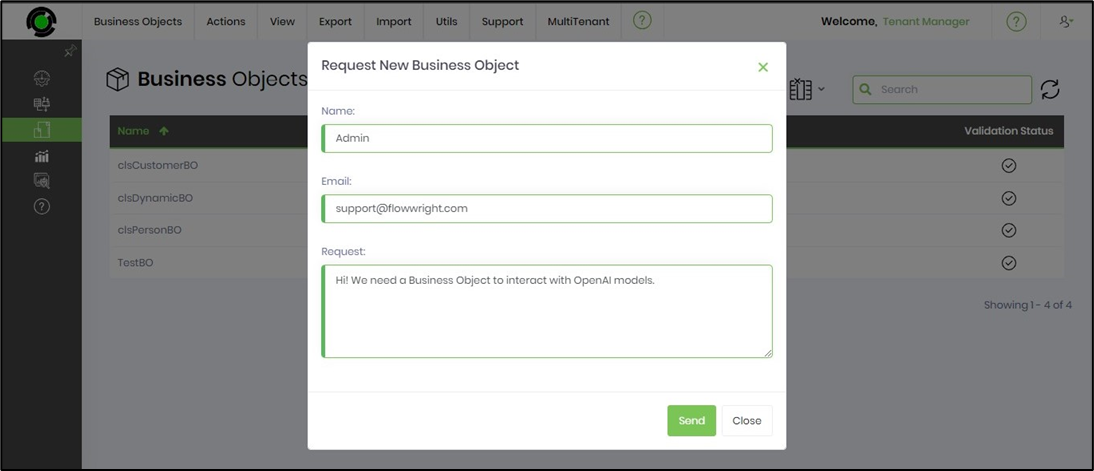
Select the Support > Request Items menu option on the Business Objects page.

A pop-up window appears for configuration. To finish, provide the necessary information and click the Send email button to confirm.
How do you create a business object?
How To Build & Configure A Business Object
What is a Business Object?
FlowWright business object (BO) is an object that gives real-time access to business objects from other systems/applications. Think of it as a proxy for business objects. Business objects are implemented using a simple interface, “FWBusinessObject.”
Watch the following video on creating and using a business object in a process.
Here's the code from the example:
namespace FW10CustomItems
{
    public class clsPerson
    {
        public string name { get; set; }
        public int age { get; set; }
        public string result { get; set; }

        public clsPerson(string name, int age, string result)
        {
            this.name = name;
            this.age = age;
            this.result = result;
        }
    }
}
using FlowWright.Engine;
using System.Collections;

namespace FW10CustomItems
{
    public class FWPersonBO : IFWBusinessObject
    {
        public object GetObject(FWEngineContext oEngineContext, Hashtable oInputParameters)
        {
            clsPerson oPerson = new clsPerson(oInputParameters["name"].ToString(), int.Parse(oInputParameters["age"].ToString()), oInputParameters["result"].ToString());

            return (oPerson);
        }

        public List<string> GetInputParameterKeys()
        {
            List<string> oList = new List<string>();

            oList.Add("name");
            oList.Add("age");
            oList.Add("result");

            return (oList);
        }

        public Type GetObjectType()
        {
            return (typeof(clsPerson));
        }

        public List<string> GetDynamicPropertyList()
        {
            List<string> oList = new List<string>();

            oList.Add("alpha");
            oList.Add("beta");

            return (oList);
        }

        public string GetDynamicPropertyValue(FWEngineContext oContext, string key)
        {
            return ("3");
        }

        public bool SetDynamicPropertyValue(FWEngineContext oContext, string key, string val)
        {
            try
            {
                File.AppendAllText(@"c:\temp\eventdata\dyna.txt", oContext.BusinessObject.Name + " - " + key + " - " + val + Environment.NewLine);
            }
            catch { }

            return (true);
        }
    }
}