MultiTenant Step Administration
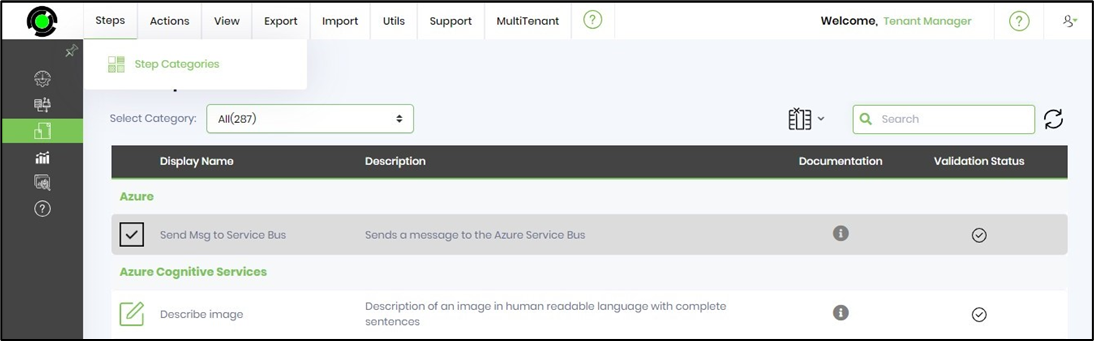
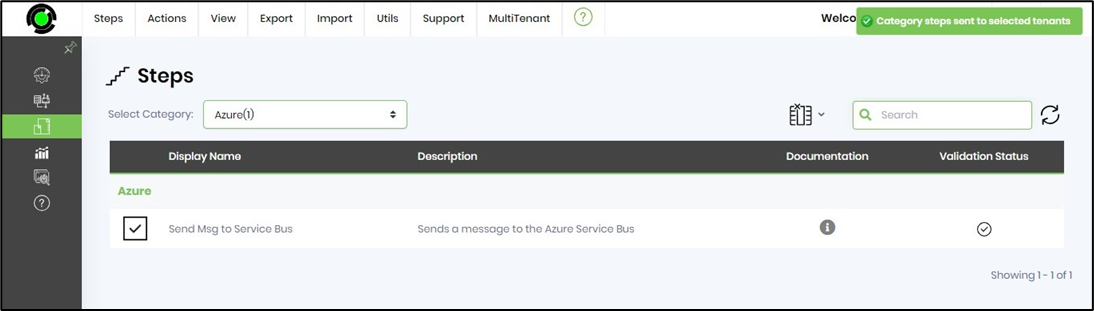
The multi-tenant UI looks like the one below, with features similar to those of a single tenant and a dedicated menu for multi-tenant administration functions.
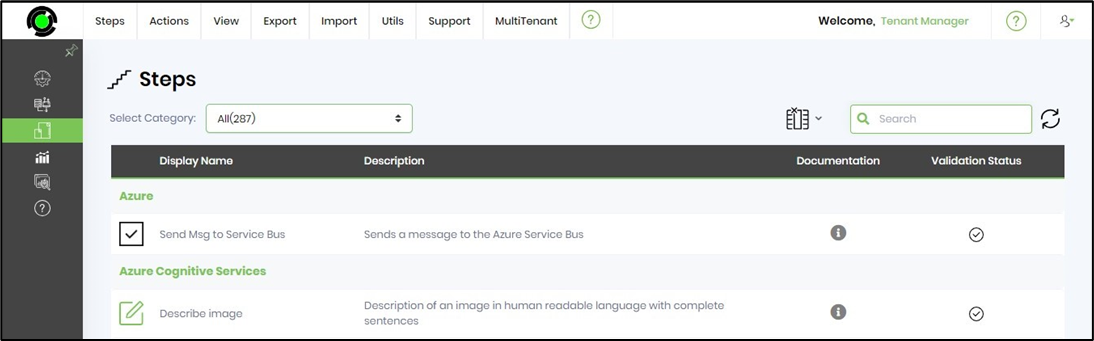
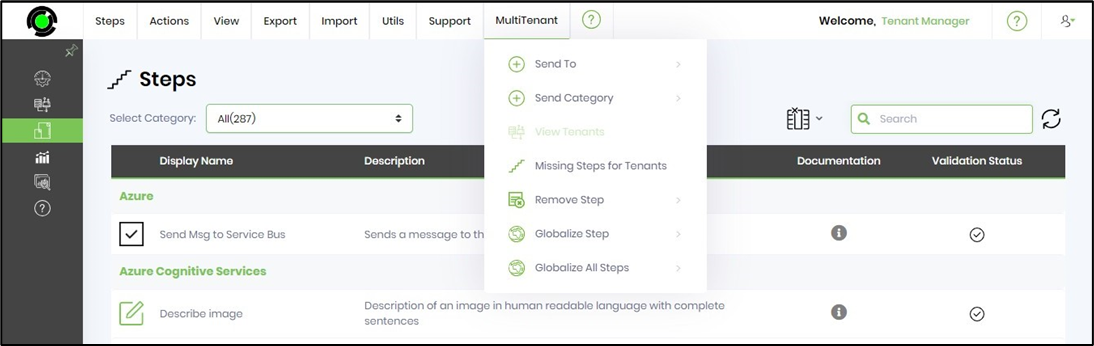
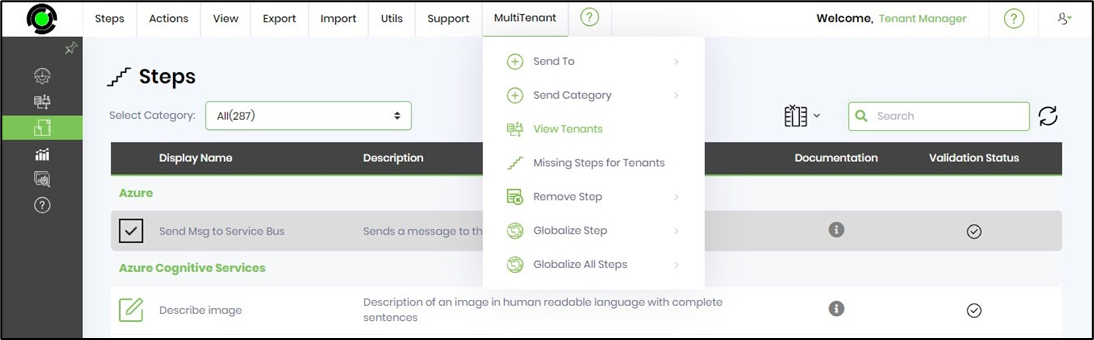
Select a Step from the table and click the MultiTenant menu, as shown below. Based on the step selection, you can perform multiple operations.
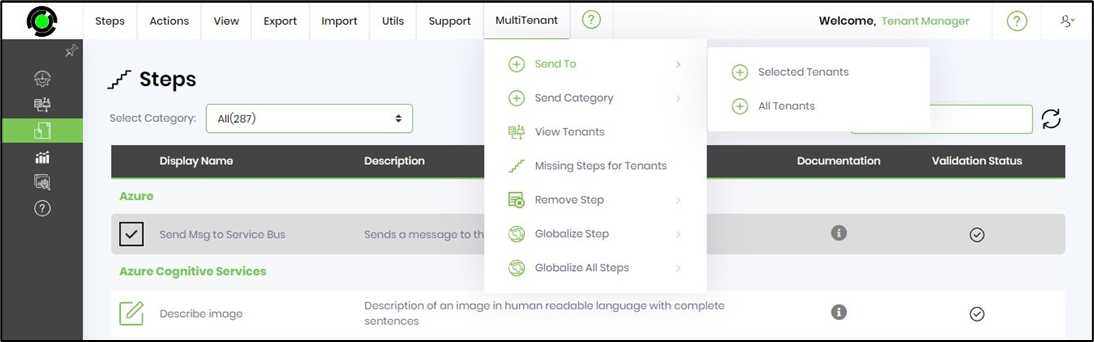
Send To feature.
The feature sends a Step (or deployment) to a selected tenant or all tenants.
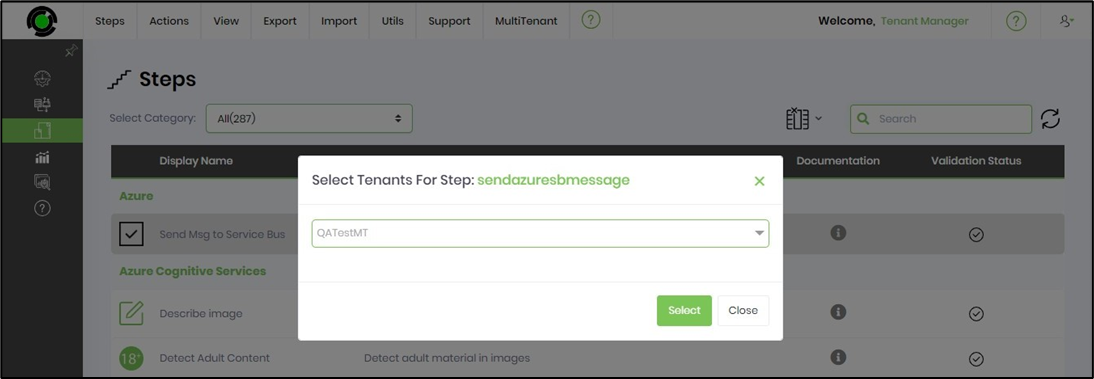
Select a Step from the table and click the MultiTenant menu, as shown below. Then, select the Send To—Selected Tenant menu option.
A popup window is displayed for configuration. Select the tenant(s) from the drop-down list. The selected tenants are arranged comma-separated in the display box. Click the Send button to confirm.
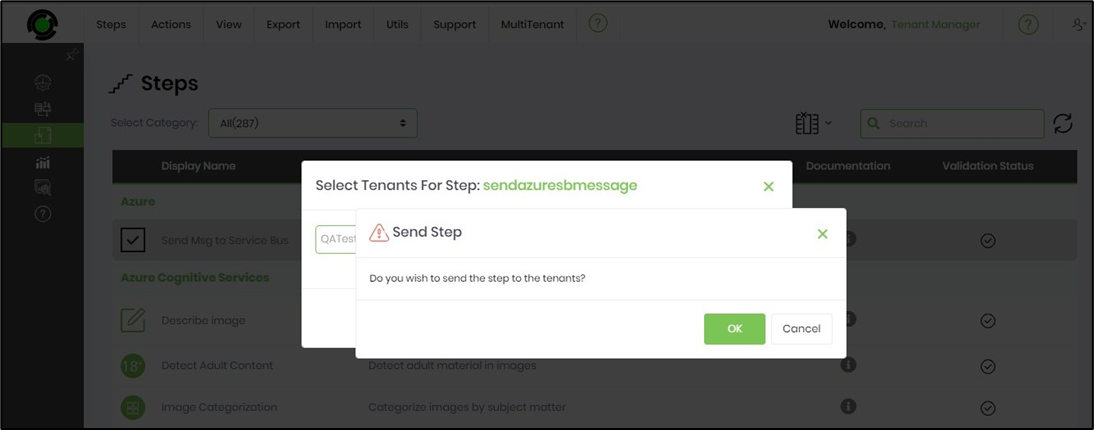
Click OK to confirm.
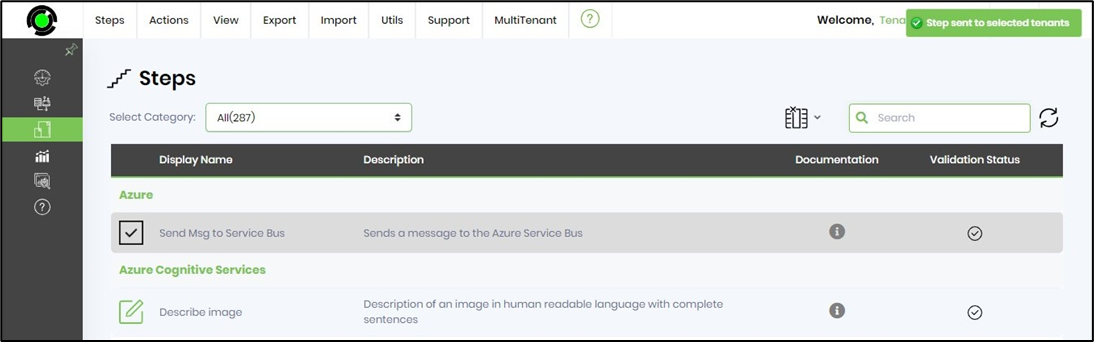
The selected Step is sent to the tenant and configured. A confirmation message is displayed in the top right-end corner. You can also send the selected Step to all tenants by navigating the Send To—All Tenants menu option.
Send Category feature.
The feature sends a Step category to a selected tenant or all tenants.
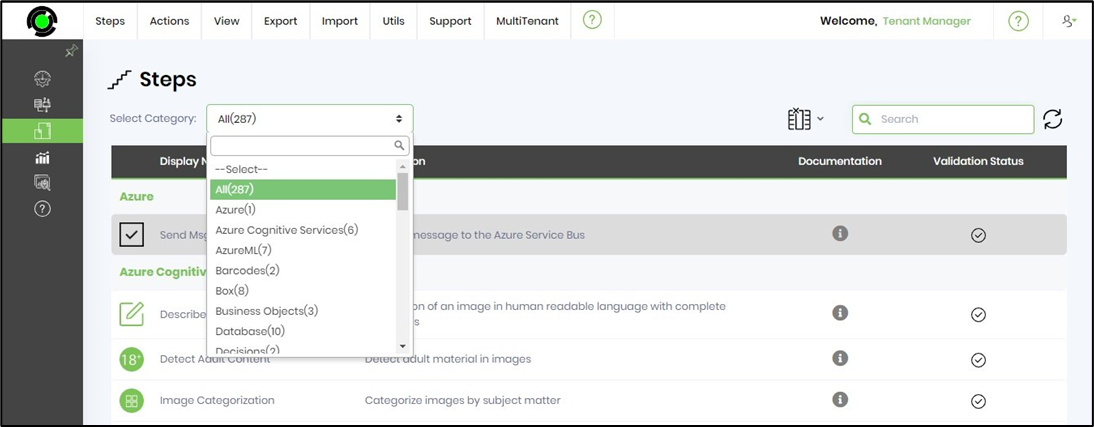
You can select the category from the drop-down list below. Each category displays the count of form widgets associated with it.
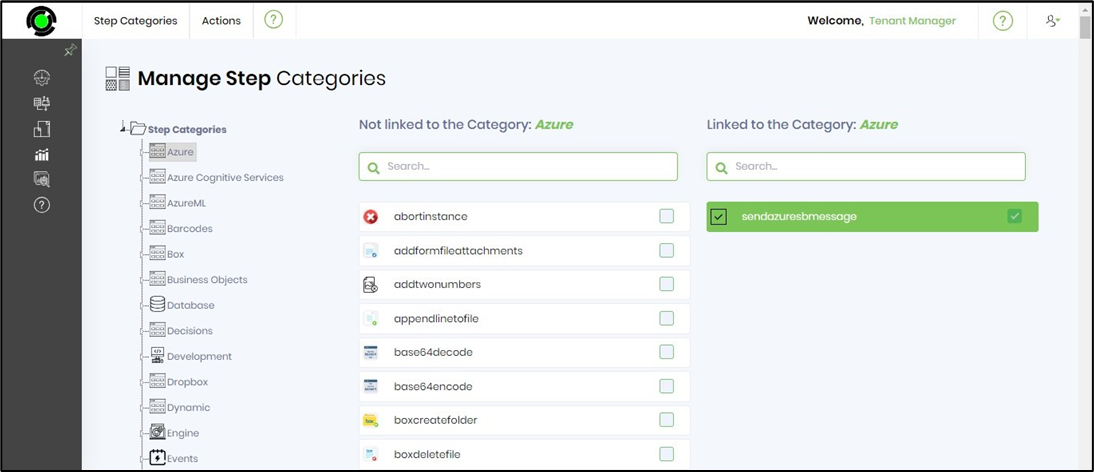
Click the Steps - Categories menu option to navigate the Step Categories page.
The Step Categories page is rendered as below. You may use the Actions menu to Create, Rename, Remove, and Update Globalization for step categories.
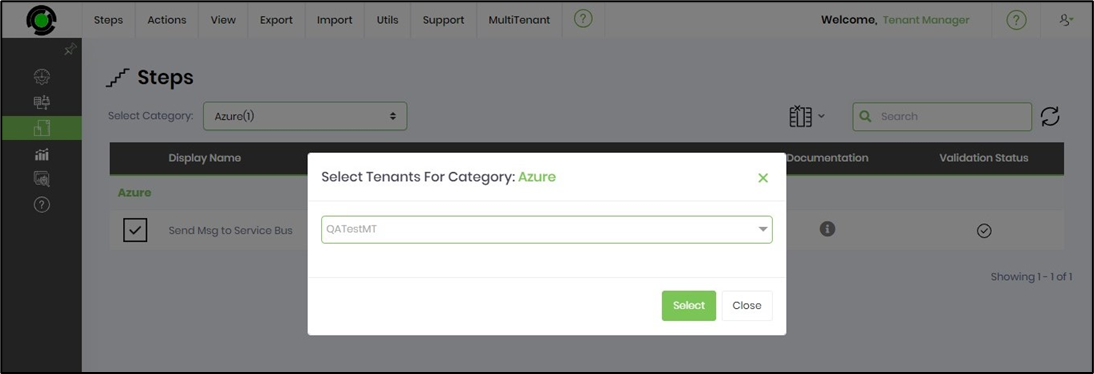
On the Steps page, select the Category from the drop-down list. Next, select the MultiTenant - Send Category - Selected Tenants menu option.

A popup window is displayed for configuration. Select the tenant(s) from the drop-down list. The selected tenants are arranged comma-separated in the display box. Click on the Send button to confirm.
Click OK to confirm.
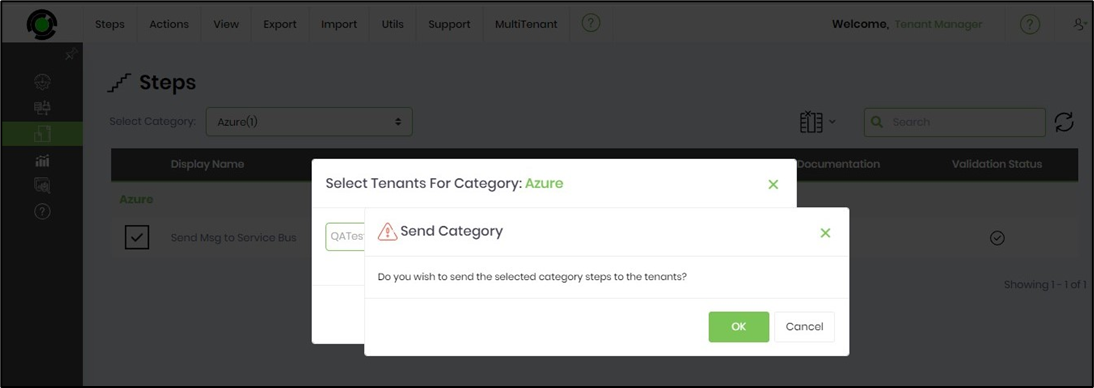
The selected Step Category is sent to the tenant and configured. A confirmation message is displayed in the top right-end corner. You can also send the selected category to all tenants by navigating the Send Category—All Tenants menu option.
View Tenants feature.
The feature displays a list of tenants configured with the Step.
Select a Step from the table and click the MultiTenant menu, as shown below. Then, select the View Tenants menu option.
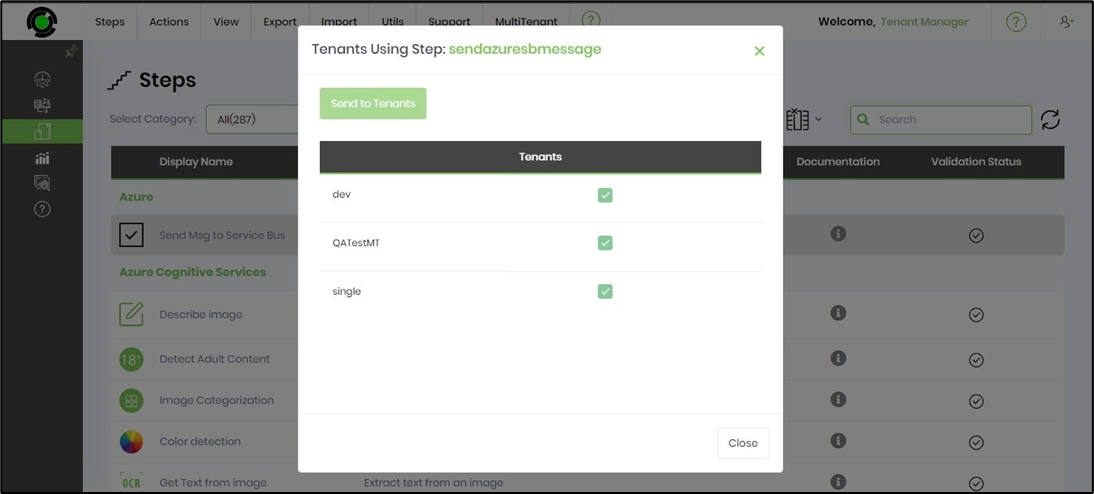
The pop-up window below displays the list of tenants using the Step. After verifying, click the Close button.
Missing Steps for Tenants feature.
The feature displays a list of Steps missing for a selected tenant.
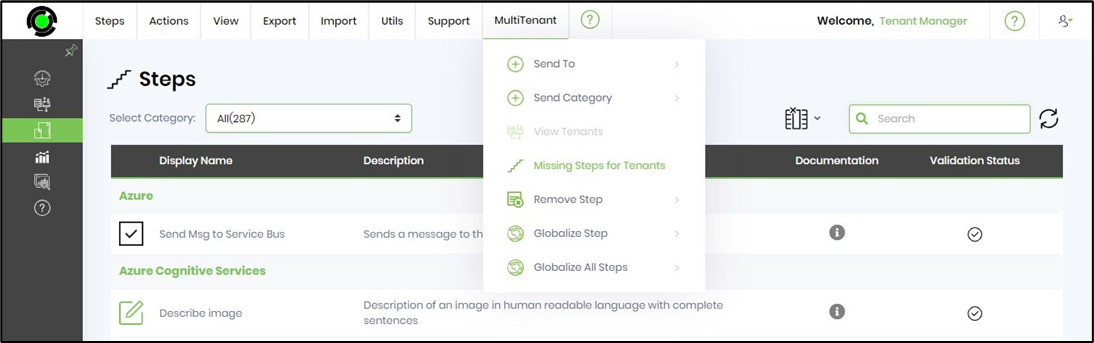
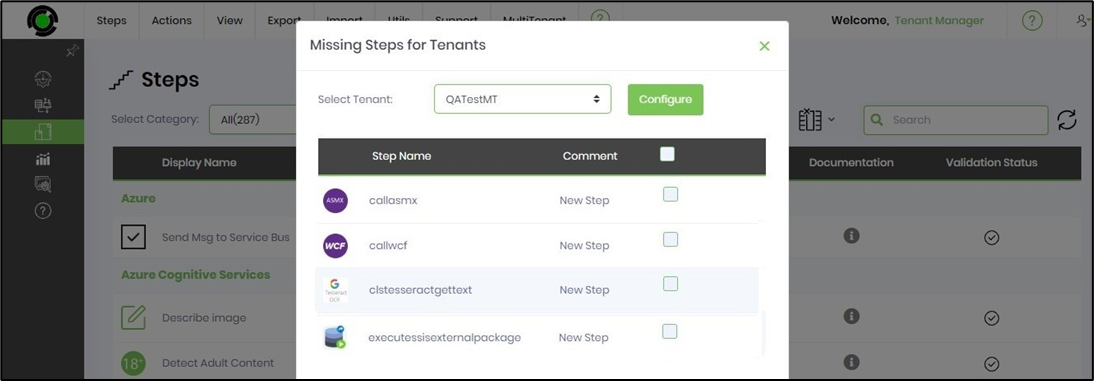
On the Steps page, navigate the MultiTenant - Missing Steps for Tenants menu option.
A popup window is displayed for configuration. Select the tenant from the drop-down list. A table lists the Steps that need to be configured. You may select all or the necessary ones by using the checkboxes. Click on the Configure button when ready. The missing steps will be configured for the tenant, and a confirmation message will be displayed in the top right-hand corner.
Remove the Step feature.
The feature helps remove a Step from the selected tenant.
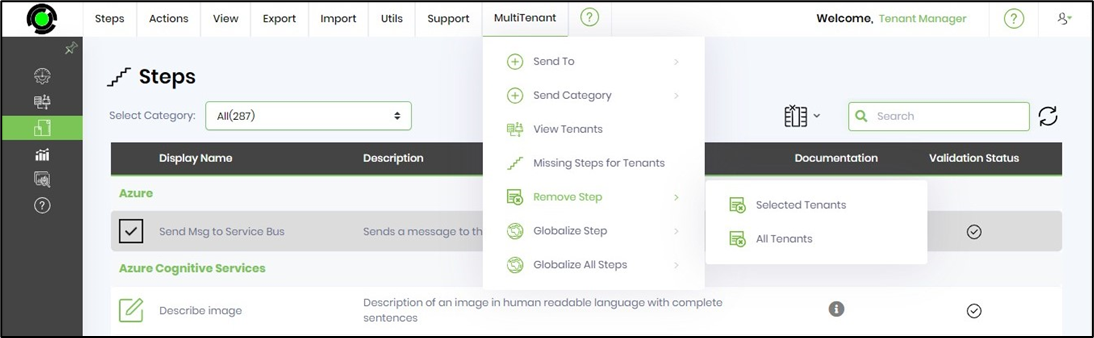
Select a Step from the table and click on the MultiTenant menu, as shown below. Then, select the Remove Step - Selected Tenants menu option.
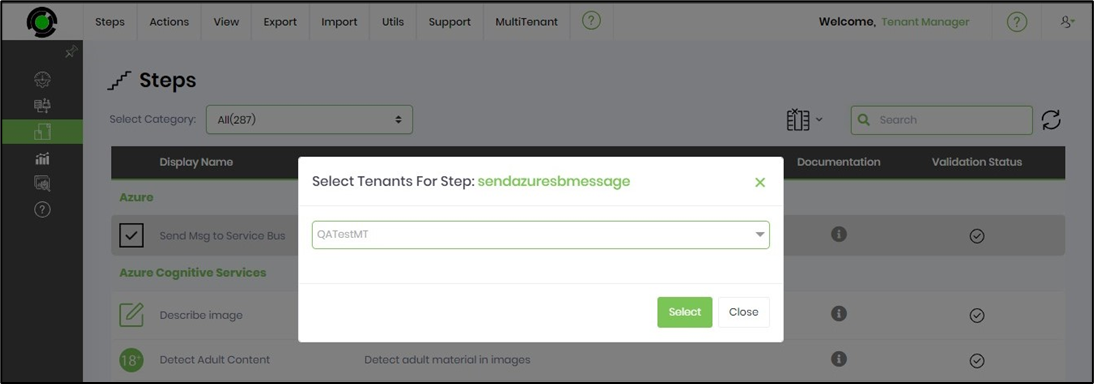
A popup window is displayed for configuration. Select the tenant(s) from the drop-down list. The selected tenants are arranged comma-separated in the display box. Click the Send button to confirm.
Click OK to confirm.

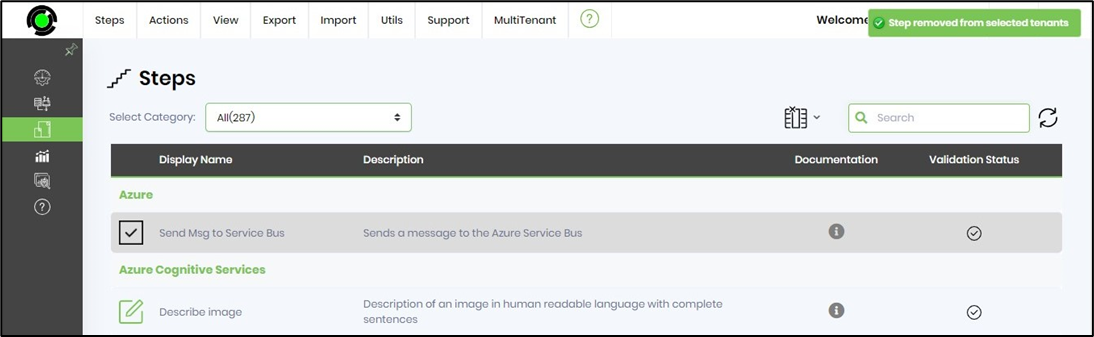
The selected Step Category is removed from the tenant. A confirmation message is displayed in the top right-end corner. You can also send the selected Step to all tenants by navigating the Send To—All Tenants menu option.
Globalize Step for Tenants feature.
The feature globalizes the specific Step of a selected tenant.
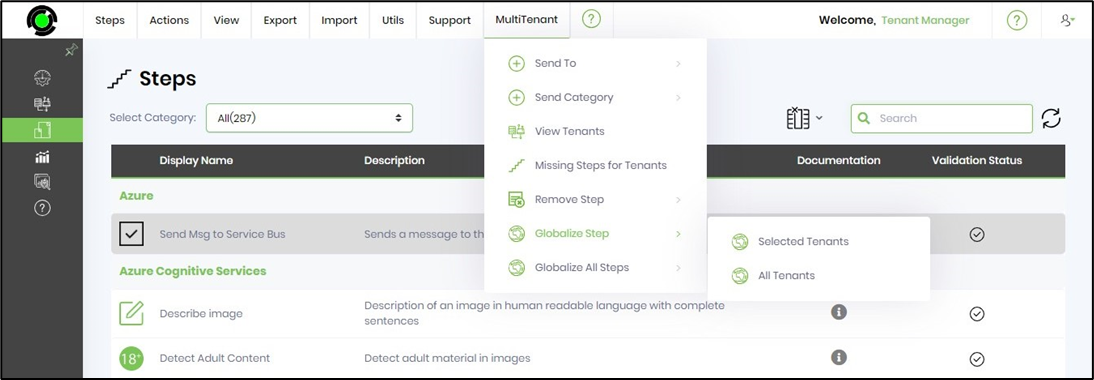
Select a Step from the table and click on the MultiTenant menu, as shown below. Then, select the Globalize Step - Selected Tenants menu option.
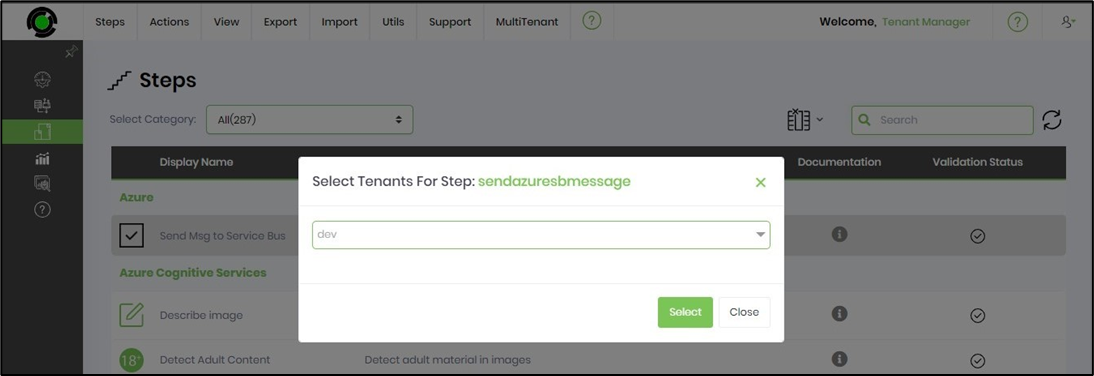
A popup window is displayed for configuration. Select the tenant(s) from the drop-down list. The selected tenants are arranged comma-separated in the display box. Click the Send button to confirm.
Click OK to confirm.
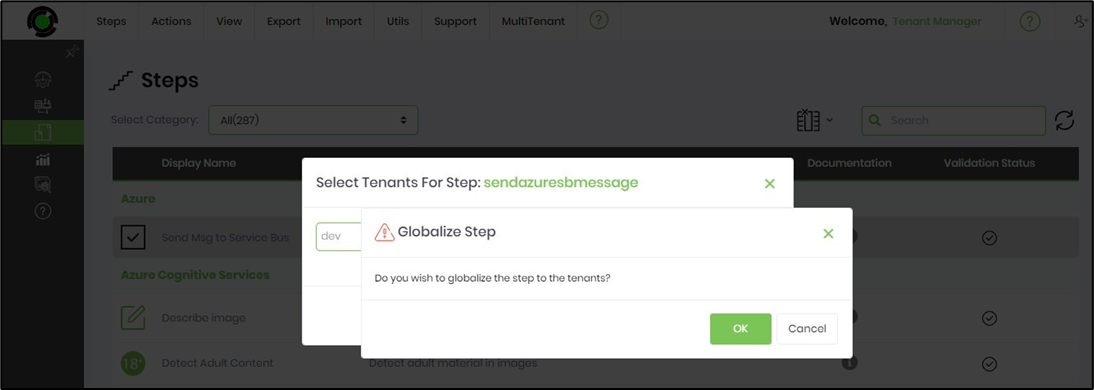
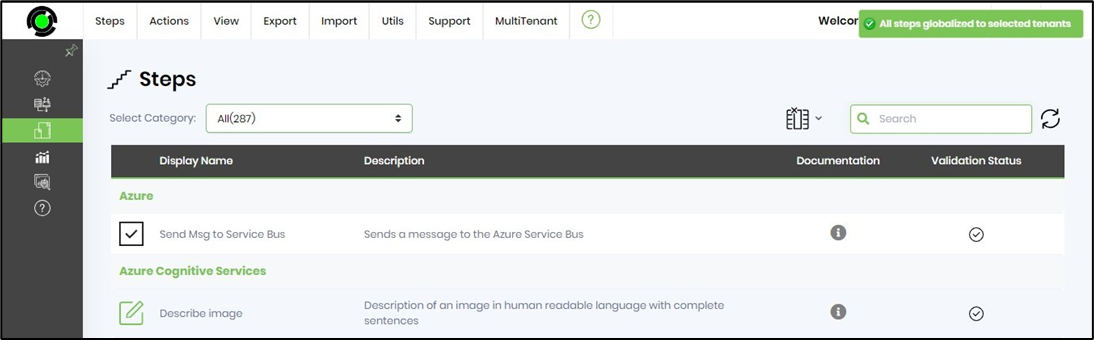
The Step is globalized for the selected tenant. A confirmation message is displayed in the top right-end corner. You can also globalize the Step to all tenants by navigating the All Tenants menu option.

Globalize All Steps for Tenants feature.
The feature globalizes all steps for a selected tenant.
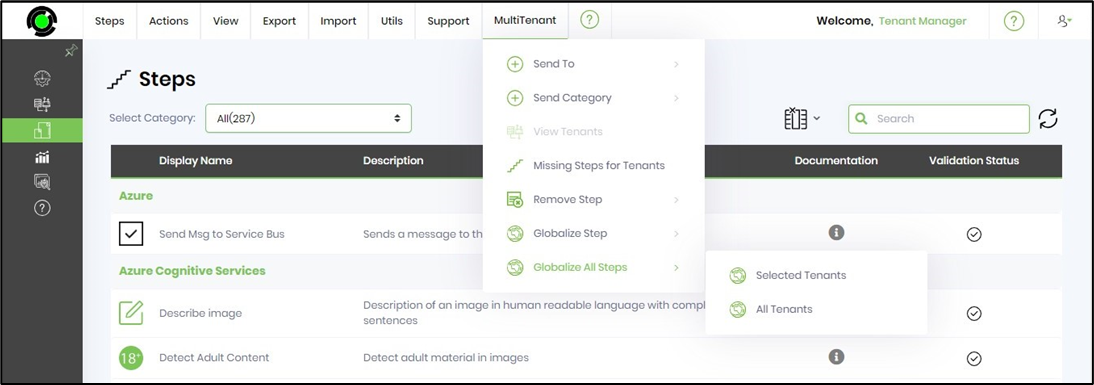
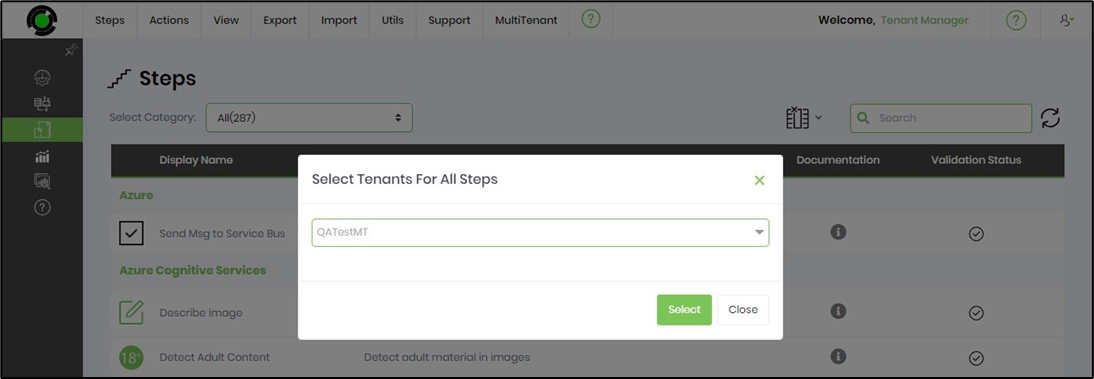
On the Steps page, navigate to the MultiTenant - Globalize all Steps - Selected Tenants menu option.
A popup window is displayed for configuration. Select the tenant(s) from the drop-down list. The selected tenants are arranged comma-separated in the display box. Click the Send button to confirm.
Click OK to confirm.
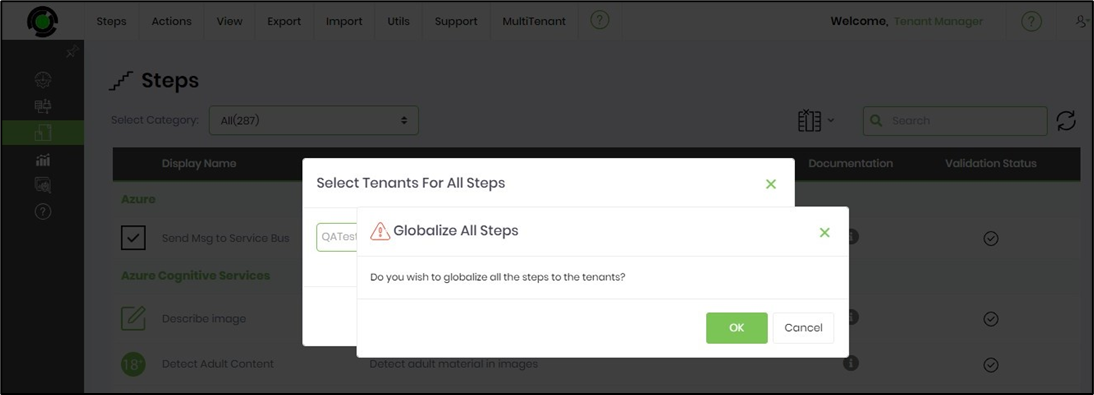
All the Steps are globalized for the selected tenant. A confirmation message is displayed in the top right-end corner. You can also globalize all Steps to all tenants by navigating the All Tenants menu option.