In distributed environments, distributed file synchronization can be set up. For example, if a form is developed on Server1, there are certain files the form might use such as JavaScript and CSS files. If the same form is accessed from another server, then these JavaScript and CSS files must be available. The DFS - distributed file synchronization service will perform the automatic synchronization of these files between servers.
Using the following UI, synchronization requests can be viewed:

For distributed file synchronization to work, make sure distributed environments are turned on under the Status->Distributed menu. Also, make sure the DFS engine service is running.
Distributed file system connectors
Distributed file system connectors provide access and storage to files and folders. By default, FlowWright uses the file system connector. But, FlowWright ships with the following DFS connectors:
- File system connector
- Database connector
- Azure file system connector
- Azure blog connector
In distributed environments, where multiple servers are involved, FlowWright recommends using a distributed connector such as the database connector or the Azure connectors. Database and Azure connectors use centralized storage that can be accessed by multiple distributed servers to access files and folders.
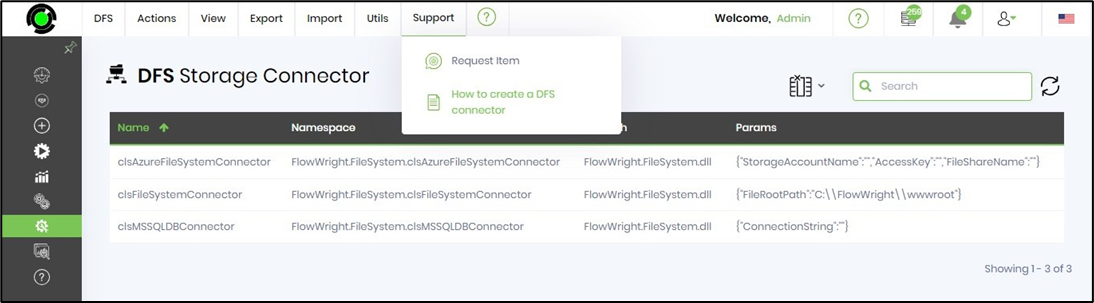
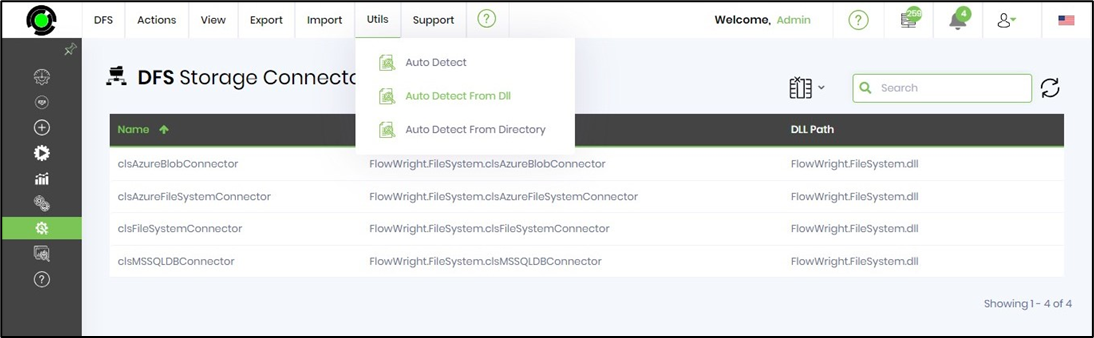
DFS connectors can be managed using the following UI. In the new version 9.10, DFS connectors are displayed as a table view instead of a box view as shown below.

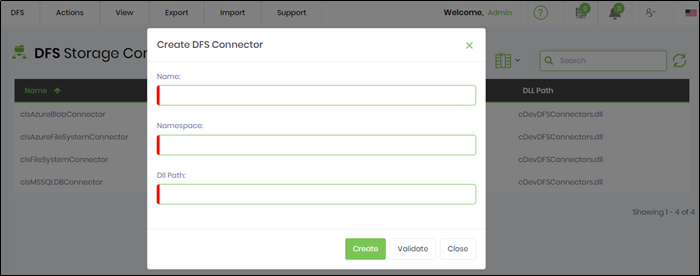
Create DFS Connector
Use the following dialog to configure a new DFS connector within FlowWright. Provide the name, namespace and DLL file path. Click on VALIDATE to test the connection. Click on CREATE to confirm the action.
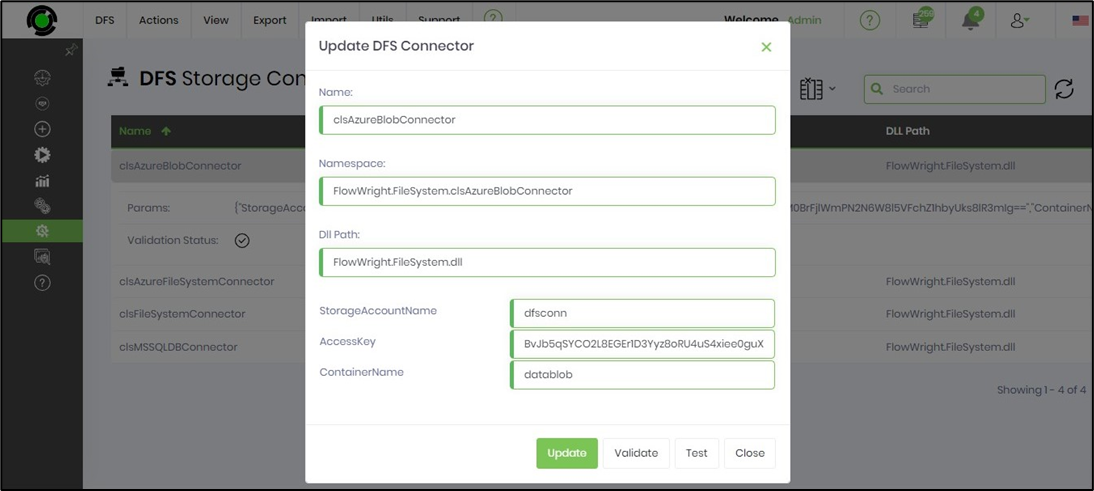
Edit DFS Connector
Select the DFS Connector item from the row and click on Actions - Edit menu option.

The connector details are rendered in a popup window. Provide the necessary changes. Click on VALIDATE to test the connection. Click on UPDATE to confirm the changes.
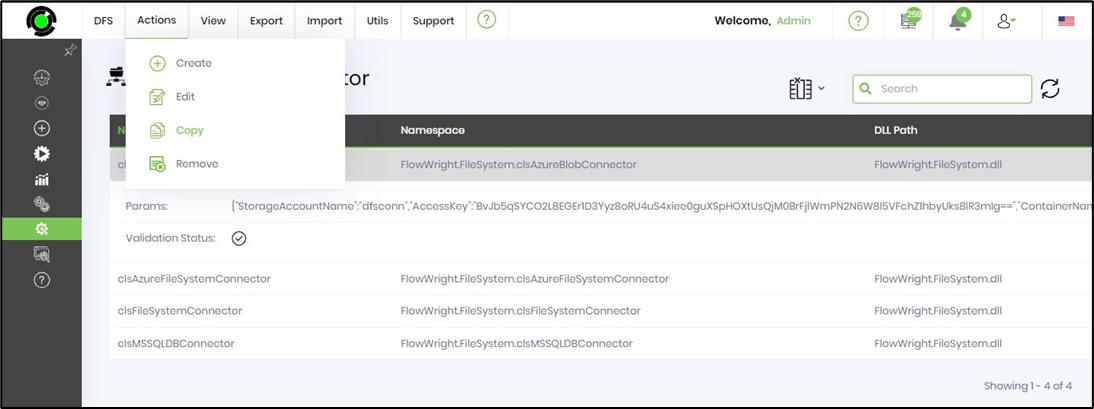
Copy DFS Connector
Select the DFS Connector item from the row and click on Actions - Copy menu option.
Provide the new connector name. Click on COPY to create a new DFS Connector.

Remove DFS Connector
Select the DFS Connector item from the row and click on Actions - REmove menu option.

Select OK to confirm the action.

Auto detect a DFS connector from DLL
A DFS connector can be auto-detected and configured using the following menu item. Navigate to Utils - Auto Detect from DLL menu option to identify new or modified DFS connector DLLs which needs to be manually configured to your FlowWright environment.
Select the DFS Connector DLL from the drop down list. Click on SELECT to confirm the action. The connector shall be configured manually. An alert notification confirms the successful configuration.

Auto detect a DFS connector from Directory
A DFS connector can be auto-detected and configured using the following menu item. Navigate to Utils - Auto Detect from Directory menu option to identify new or modified DFS connector DLLs which needs to be manually configured to your FlowWright environment.

Select the directory from the drop down list. Click on SELECT to confirm the action. The DFS connector shall be configured manually. An alert notification confirms the successful configuration.

Creating a custom DFS connector
A custom DFS connector can be built and configured within FlowWright, a sample on how to build such a connector is provided within the FlowWright help section. Use the following menu to access the DFS connector walkthrough: