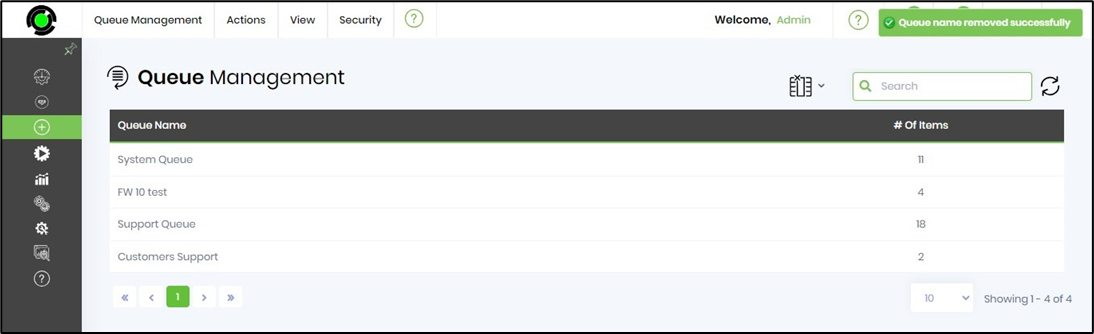
Queue management functionality allows the user to define and manage queues where tasks can be routed to using the “Route to Queue” step. Queues can be created, renamed, and removed using the UI. Navigate to Create - Queue Management to reach the following UI.

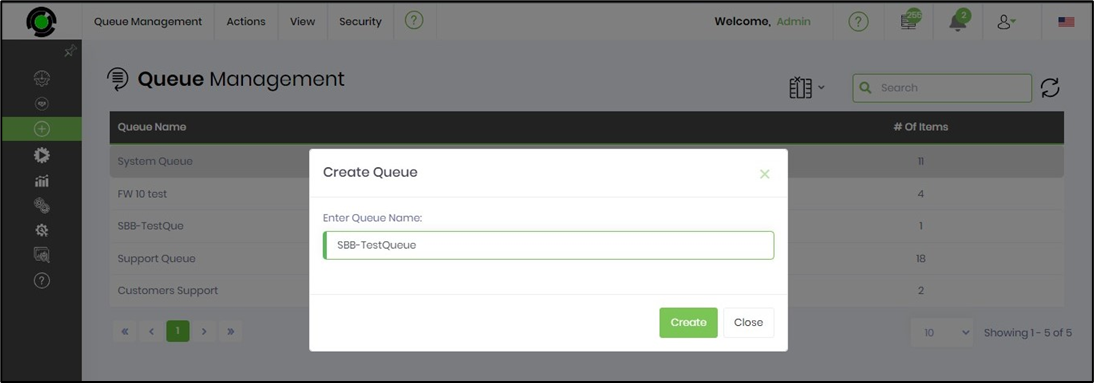
Create Queue
Select Actions - Create menu item.
Provide an unique queue name. Click on CREATE to confirm the action. The queue is created and listed in the table.
Rename Queue
Select the queue row and click on Actions - Rename menu item.
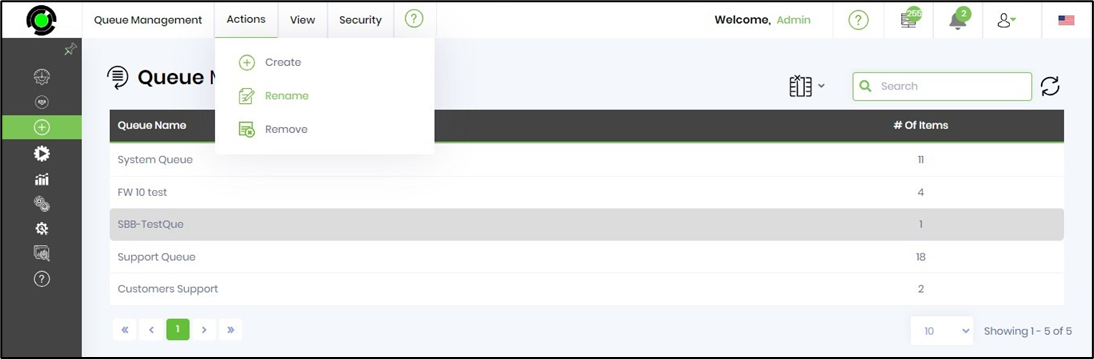
Provide the queue name changes. Click on UPDATE to confirm the action.

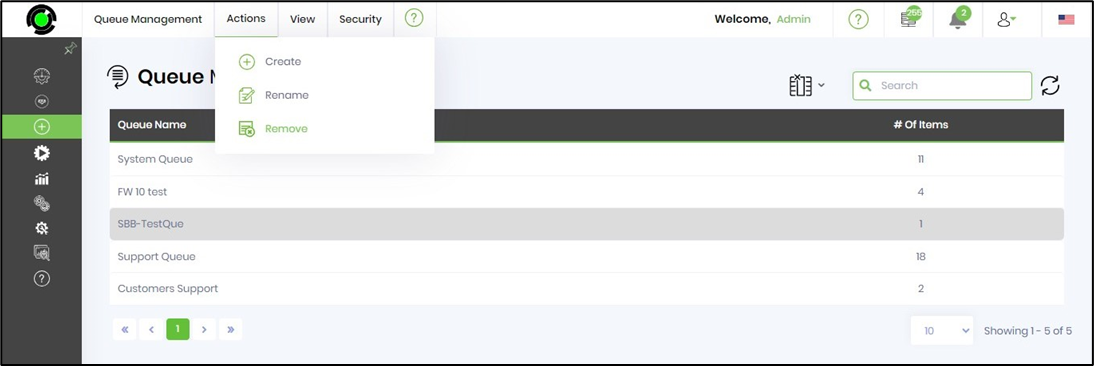
Remove Queue
Select the queue row and click on Actions - Remove menu item.
Click OK to confirm the action.
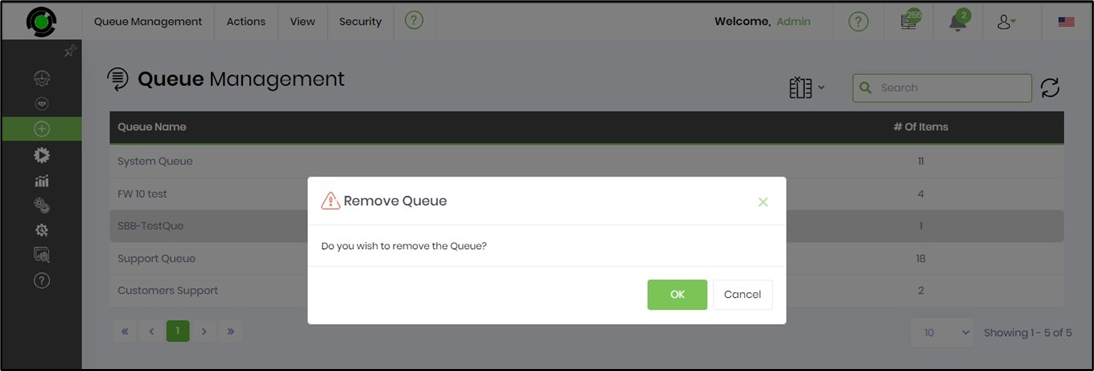
The queue is removed with the items.
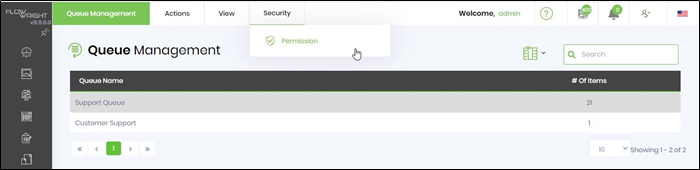
Queue permissions
Each individual queue can be its own access permissions. Users or roles can be given view permission to any selected queue. Set queue permissions using the following menu:
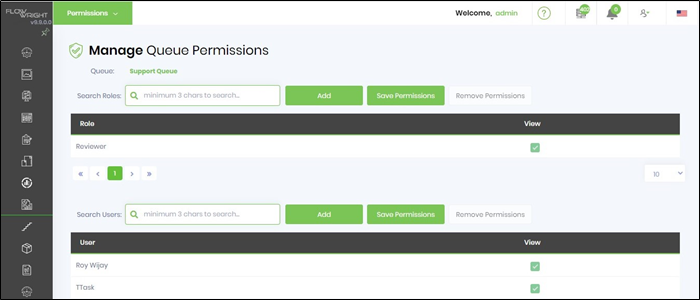
Once launched, use the following UI to manage queue permissions:
View the contents of the queue
Displays the unassigned, assigned, and “All tasks” for the selected “Queue”. The status for unassigned tasks is shown as “Open” as displayed below:

And the status for assigned tasks or errored/aborted/finish instance is shown as “Closed”.