The "Settings Designer" UI lets the user define the system and user-defined configuration settings all on one page. Currently, all configuration is stored within the deConfig table. The configuration settings are displayed on a new tab with a tree structure.
Config settings
- Category
- Item
- Item
- Category
- Item
- Item
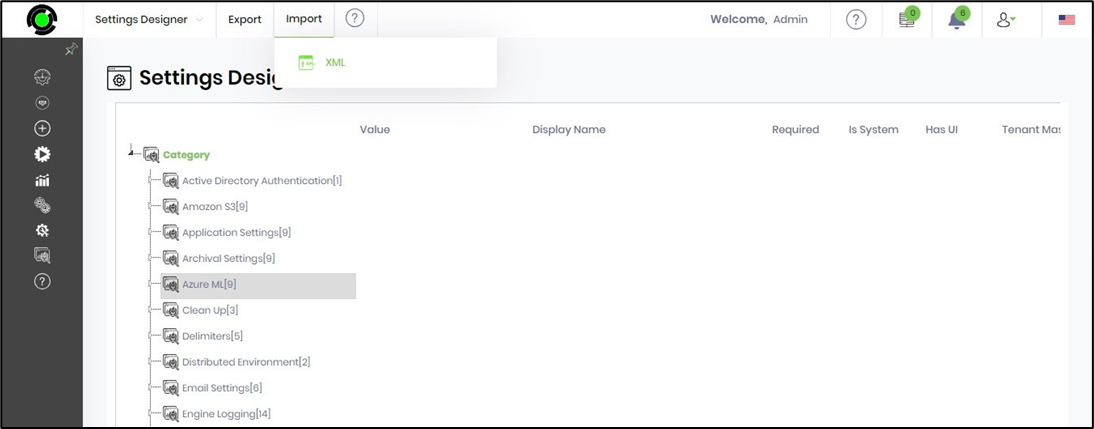
Navigate to "Status → Settings → Settings Designer" menu option

The settings are rendered like the tree structure.

The UI provides provisions to Create, Edit, and Remove Configuration items. All these user events are tracked and recorded in the Audit Log.
Create New Item Category
Select the root folder "Category" or any folder on the branch and right-click to choose option "Create".

Enter the information to create a new category in the popup window.

Select the Category type from the drop down list provided. Enter the Key, Value and Display name. Check the other attributes on the form. Confirm the details by selecting Save button.

The new category is displayed on the branch on-screen refersh.
View Item Category
Select the notch connecting the branch folder to view the Category information. The Category name, value, display name, and other attributes are displayed as sub-folders as shown below.

Edit / Remove Item Category
Select the "Category" or any folder on the branch and right-click to choose the option "Edit / Remove".

The Edit menu option displays the category settings details in the popup window for changes as shown below. Edit the details and confirm the modified settings by selecting the Save button. The Category type information cannot be changed.

The Remove menu option prompts the user to confirm the decision. The configuration settings are removed on selecting OK button.


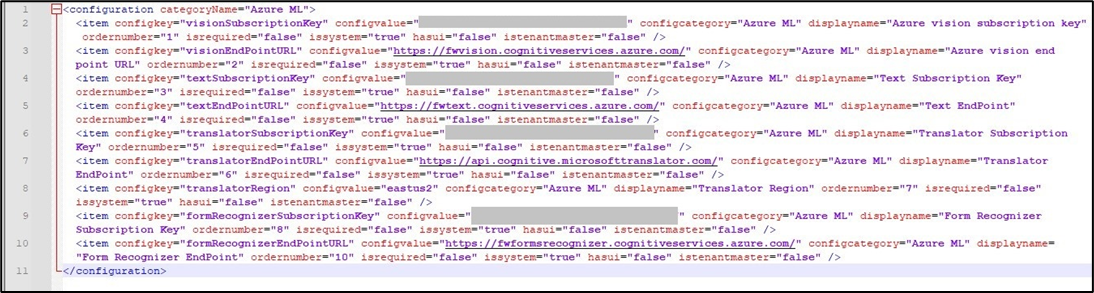
Export Category to XML
Select the "Category" or any folder on the branch and right-click to choose the option "Export XML".
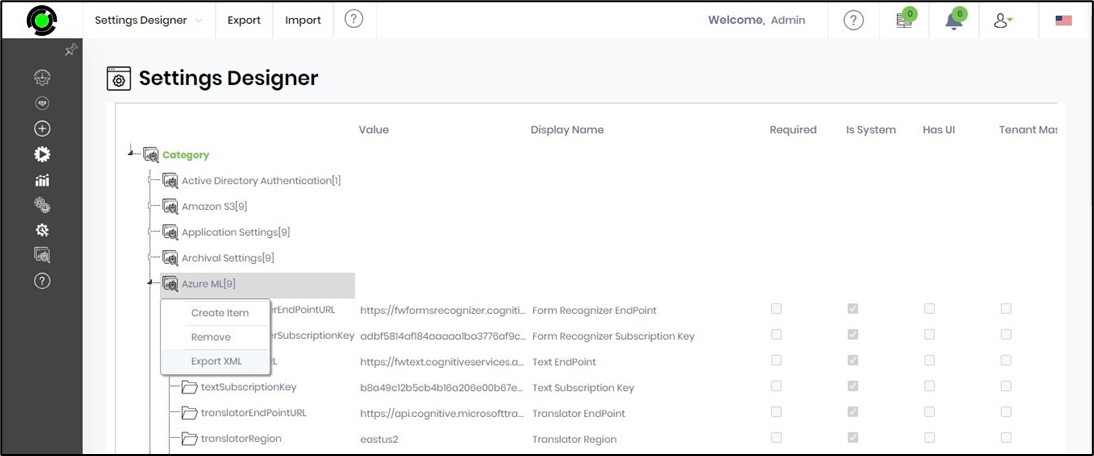
The XML file is downloaded to the local folder. The contents may be modified appropriately and imported again to apply the changes.
Import Category to XML
Select the "Category" or any folder on the branch. Click on the Import - XML menu option. Select the file from the local folder. The XML file is imported and applied to the category selected.