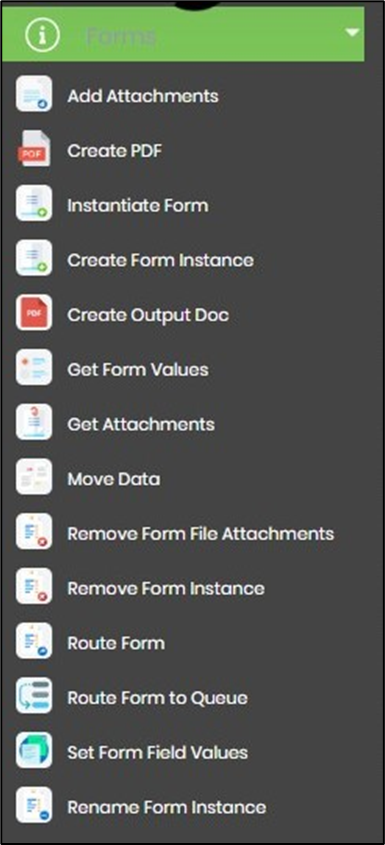
FlowWright offers several workflow steps for handling forms-related operations within a workflow process. The following steps are provided. You may drag the step to the workflow designer canvas and click on the help icon on the Step Properties pane to understand the step functions.
Using the instantiate form step within a workflow process
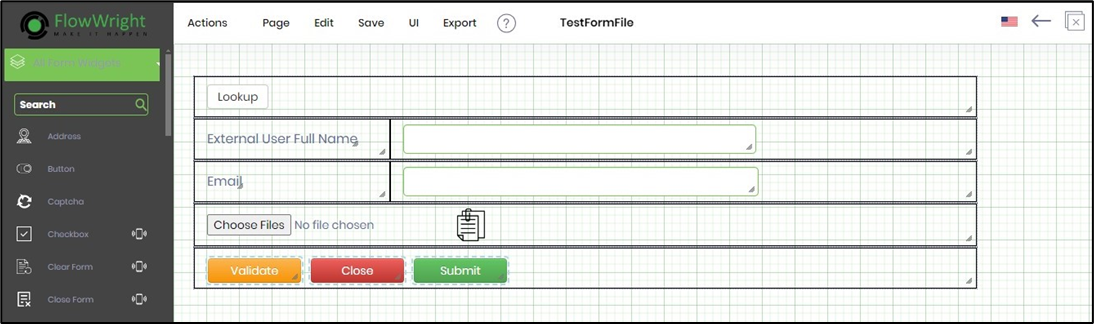
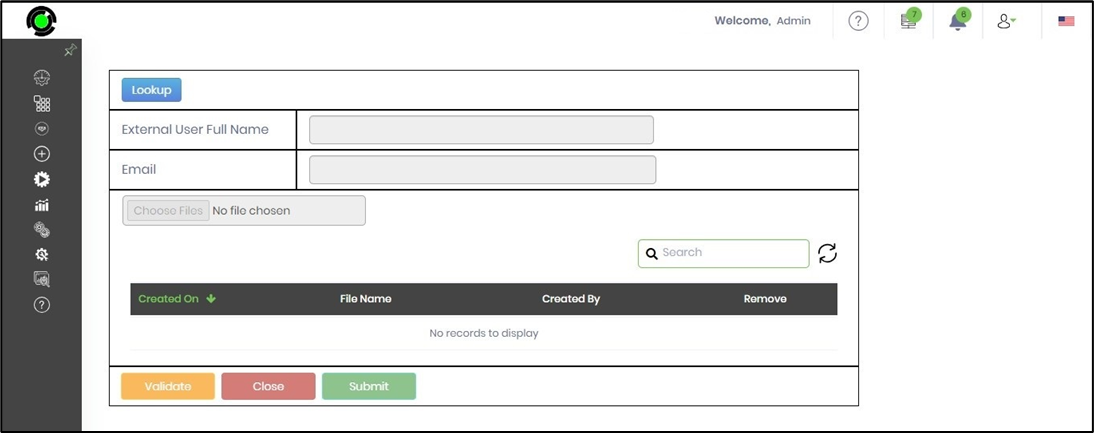
Let’s use the form definition “TestFormFile,” which looks as follows:
Let’s navigate to the Process Definitions tab and create a new workflow definition, “TestFormFileDef.”

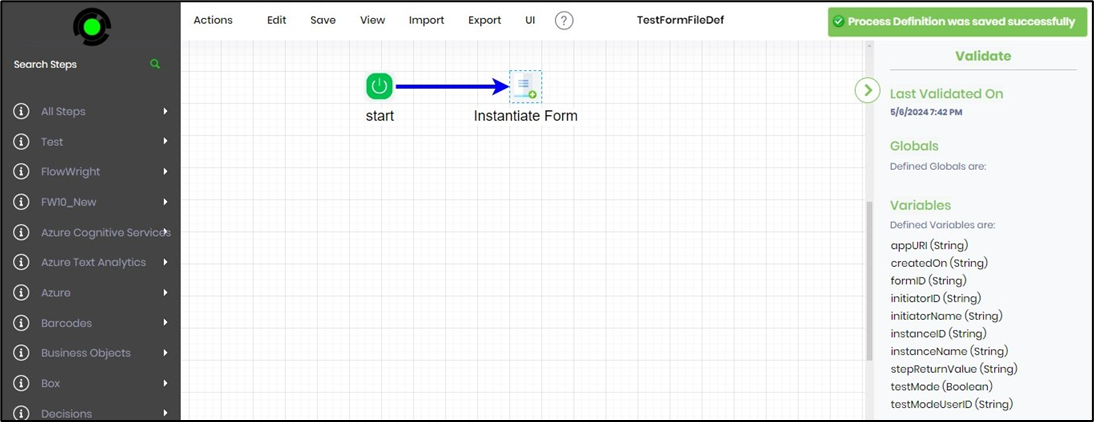
After the process definition is created, the workflow designer opens it.
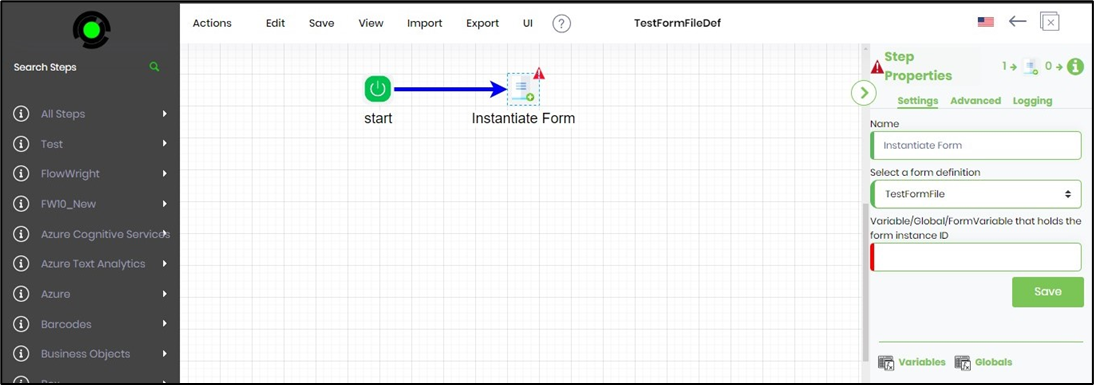
Drag an “Instantiate Form” step from the designer toolbox to the designer canvas. Connect the “Start” step to the “Instantiate” form step. The red alert sign indicates the step property configuration is incomplete.
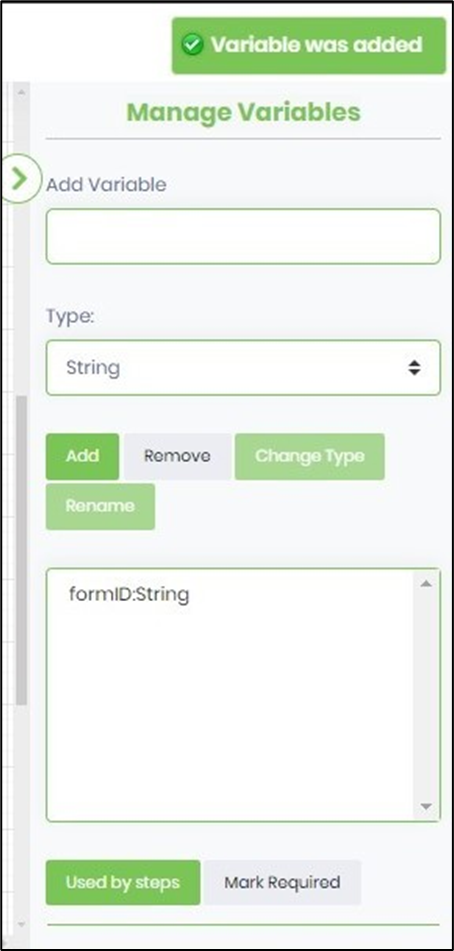
Since newly Instantiated form instances are tracked using a variable within the workflow instance, let’s define a string variable called “formID.” To do so, navigate to the Actions—Define Variable menu option.

In the Manage Variables pane on the right, provide the variable name “formID,” select the data type as String, and click the Add button to confirm. A message is displayed in the top right-end corner.
Click the Instantiate step and navigate the Step Properties pane on the right. Select the Settings tab. You will need to provide a name for the step. Then, select a form definition, “TestFormFile,” from the drop-down list. Provide the variable reference to store the form instance ID.
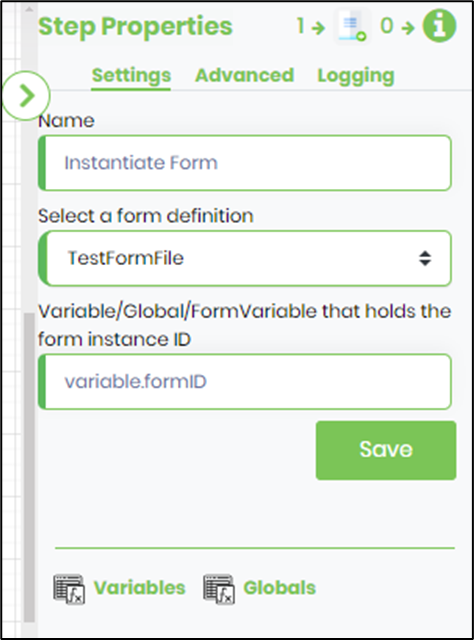
Two main required properties need to be filled in. First, you must select the form definition from the drop-down list.
Next, we need a variable to hold the “id” of the new form instance. Let’s use the variable defined in the previous step, “variable.formID.”
The “Instance Name” property is optional. If an instance name is provided, that name will be used to name the newly created form instance.
If an instance name is not provided, then a GUID is used to name the form instance. Click the “Save” button to save the values of the properties.
Based on this definition, let’s create and execute a workflow instance. Navigate to the Run—Process Instances page and click the Action—Create menu option to create a new process instance. Select the process definition from the drop-down list. Click on the Generate button to get a new instance name. Then, click the Create & Execute button to create a new process instance.

The new process instance is created and executed successfully. A confirmation message is displayed in the top right-end corner.
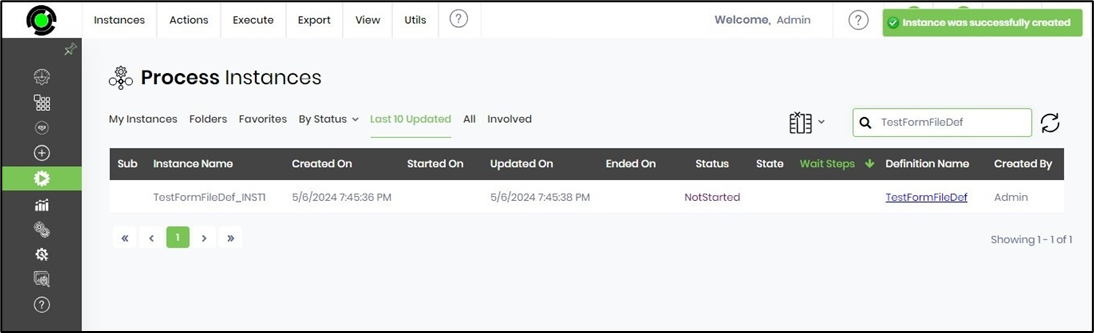
The Process Instances table shows that the instance has been completed successfully. Click on the View—Render menu option to view the execution.
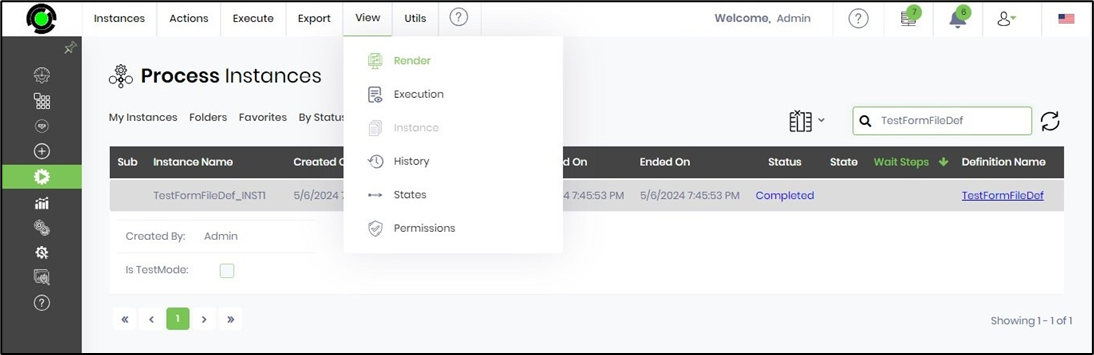
The instance execution is rendered on the new page, as shown below.

Based on the execution of the process, a new form instance will be created. Click on the Items - Forms menu option to view the list of forms created by the process.

The list of forms and their instance IDs are in the table, as shown below.

Click on the Instance ID to launch and render the form instance in read-only mode, as shown below.
To edit and submit this form instance, navigate to the Run - Form Instances page and select this form instance ID from the list. Click on the Actions - Edit menu option.

The form instance is rendered on a new page for editing, as shown below. After providing the values to the form fields, click on the Submit button. The form instance stores these values in XML format, which can be downloaded by exporting this instance as an XML file.
