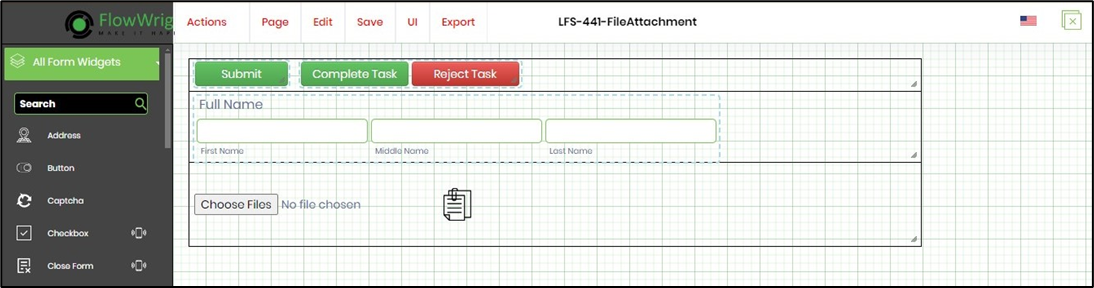
Users can attach one or more files to a given form by using the file attachment control within a form. To demonstrate, let’s create a new form by dragging the following form widgets to the designer page.
Let's create a new process definition by dragging and connecting the following workflow steps.
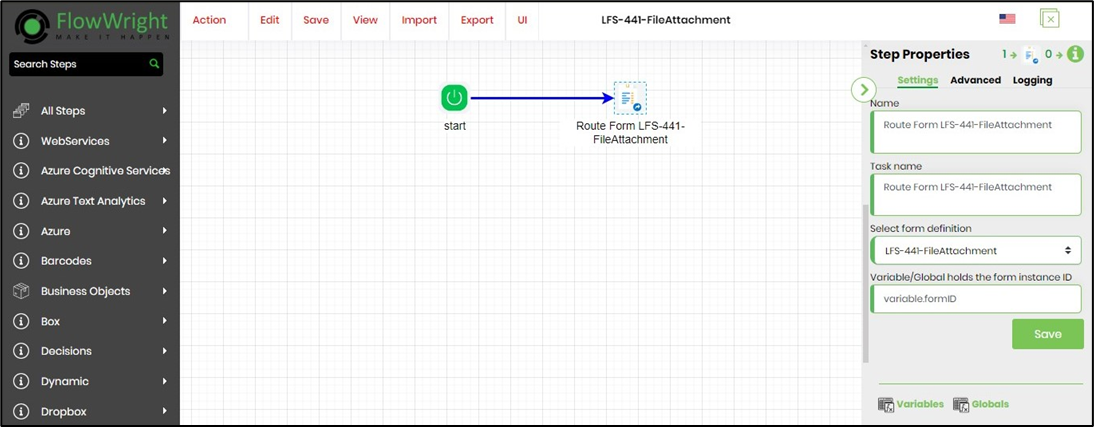
Configure the RouteForm step Settings properties as shown below and save the changes.

Configure the users to route as shown below and save the changes.

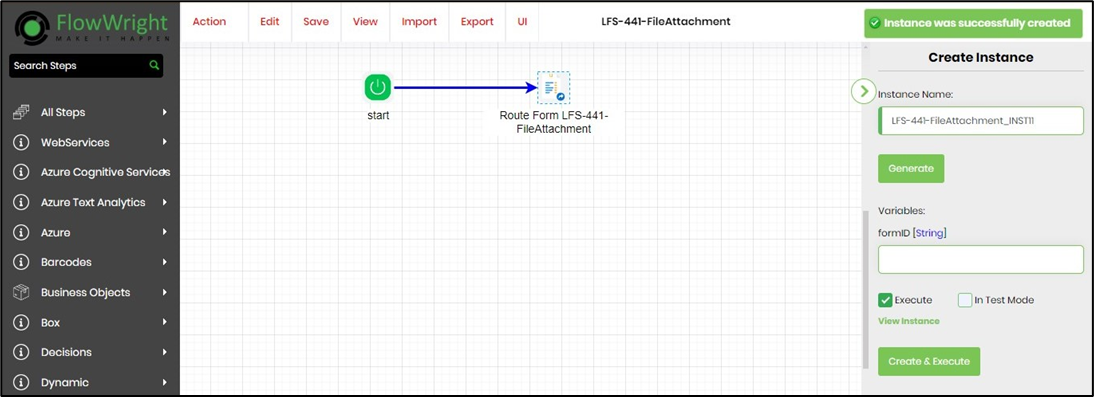
Save the process definition. Generate a new process instance and execute.
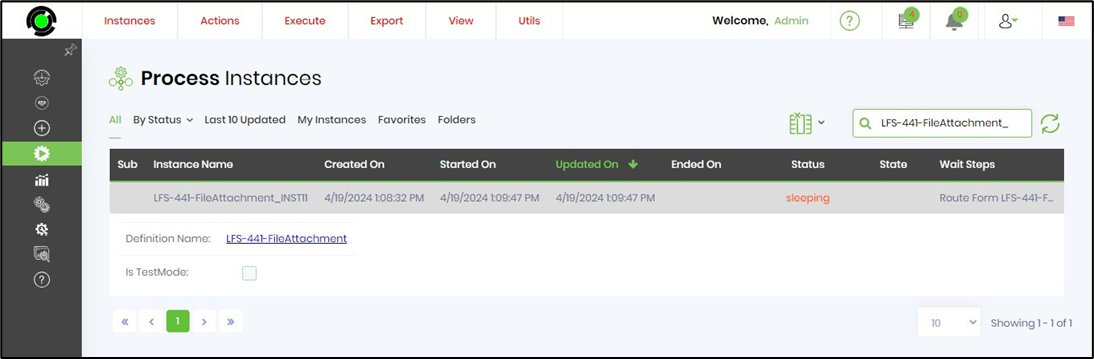
Check the process instance status - "sleeping" when the task is assigned to an user.
Select the task associated with the instance and Open to view the Form.
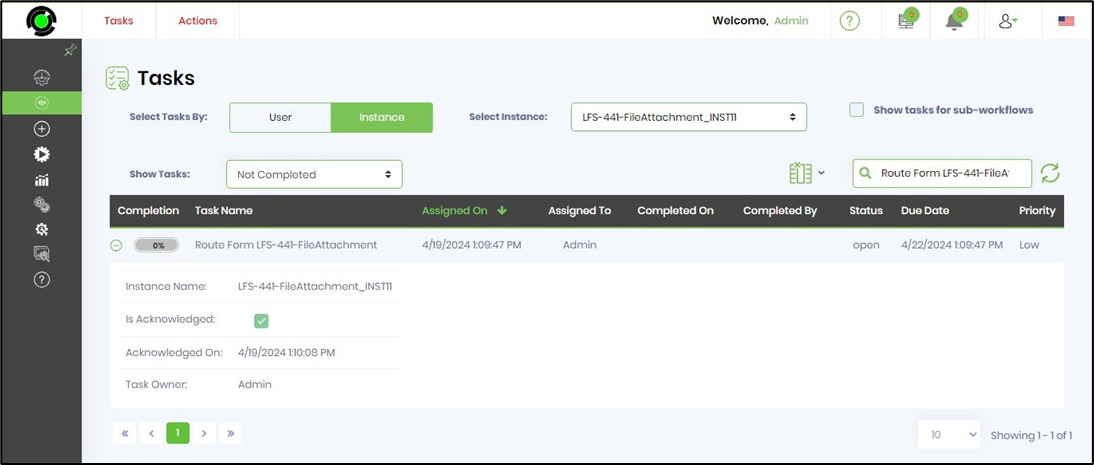
Select the task associated with the instance and Open to view the Form. Enter information for the text fields. Click on the "Choose Files" button to upload a file from the local system path folders. The files are uploaded and attached to the form successfully. Submit the form by selecting the "Submit" button. The form is submitted successfully and the uploaded file is attached to the form process instance.
