The project management UI appears as follows:
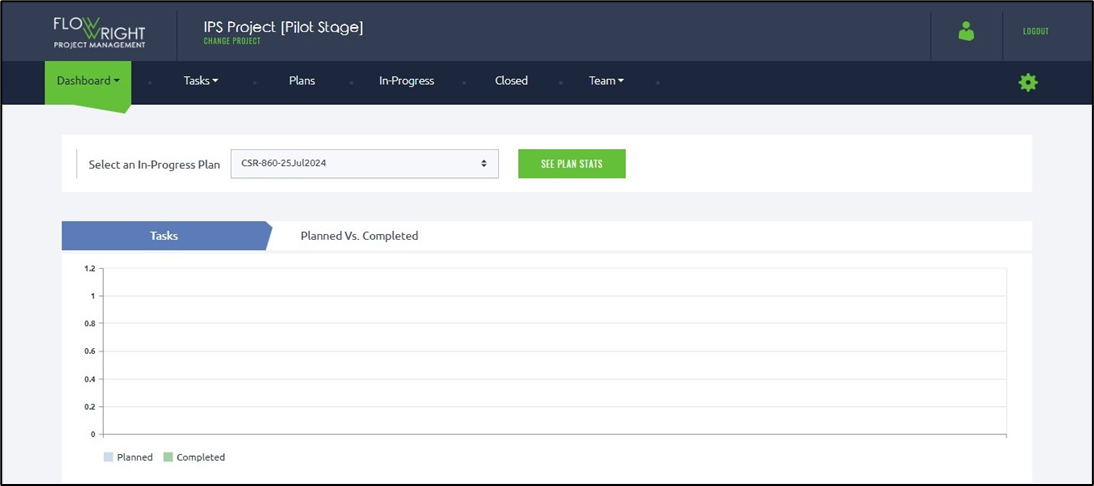
You can view and manage the following items:
- Dashboards
- Tasks
- Plans
- In-Progress (Plans)
- Closed (Plans)
- Team
- Project Configuration
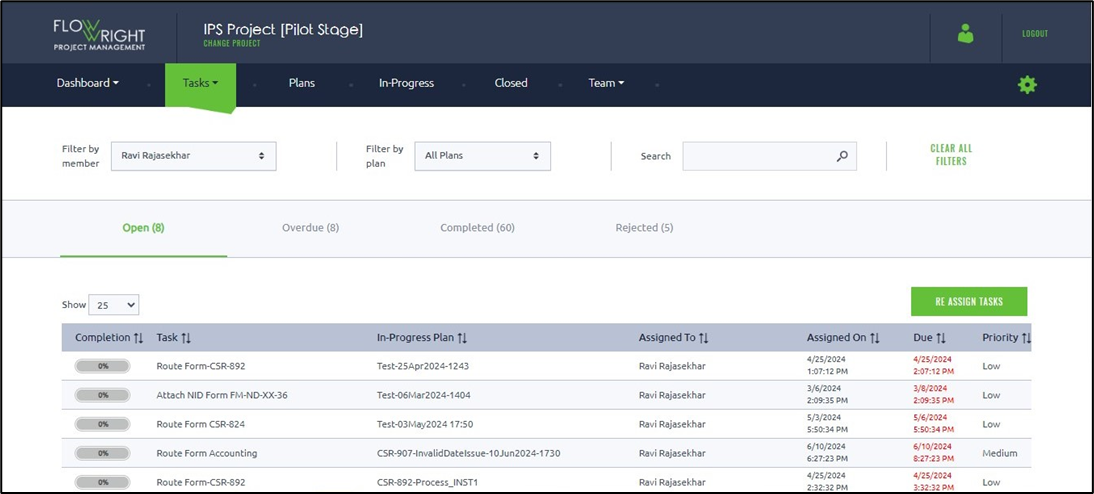
The Task management UI appears as shown below. You can use the provided filters to view tasks for a specific plan and member if you like. Tasks are organised into Open, Overdue, Completed, and Rejected folders.
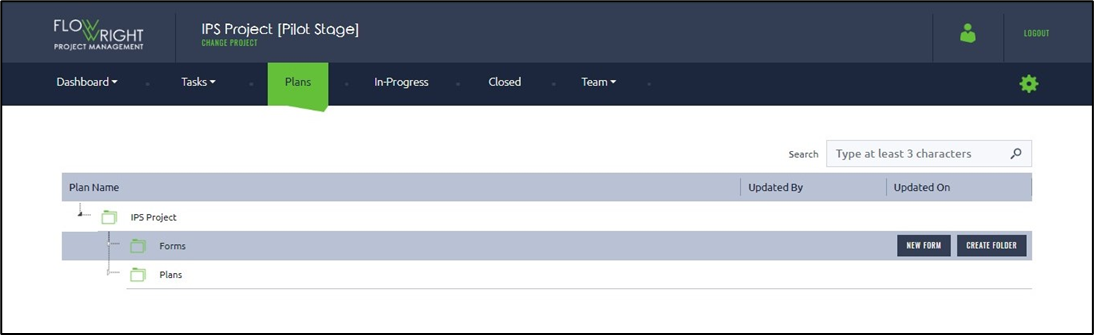
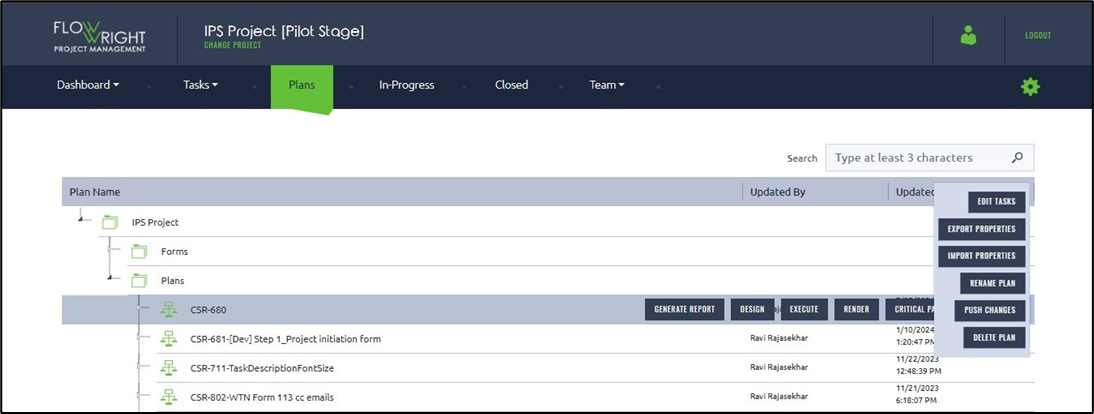
The Plan management UI appears as shown below. By default, each cutover project includes a Forms folder and a Plans folder.
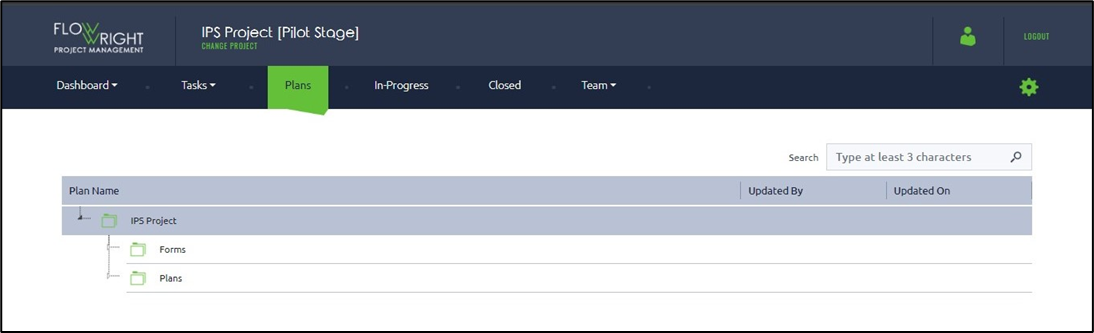
Select the Forms folder row to create a new form or folder.
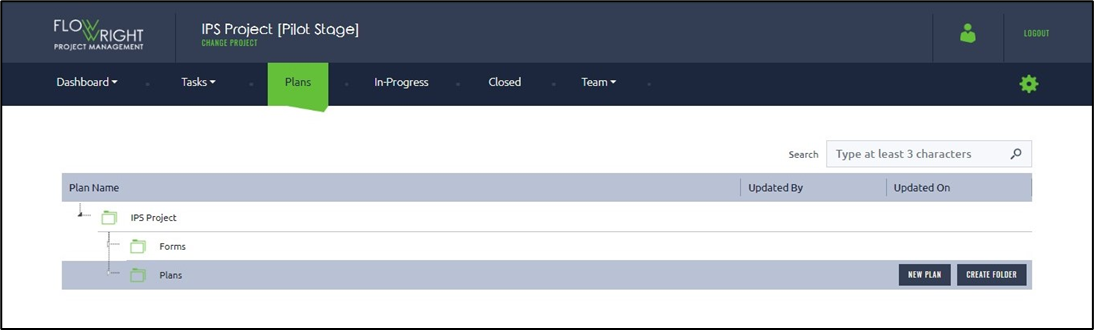
Select the row in the Plans folder to create a new plan or folder.
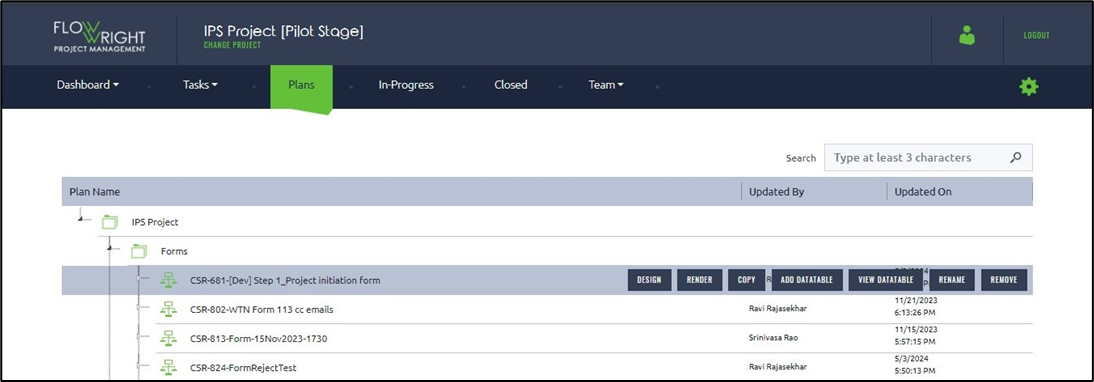
Expand the Forms folder to see the list of existing forms. Select a form row to access other functions, such as Design, Render, Copy, Add Datatable, View Datatable, Rename, and Remove.
Expand the Plans folder to see the list of existing plans. Select a plan row to access additional options, such as Generate Report, Design, Execute, Render, Critical Path, and Copy.
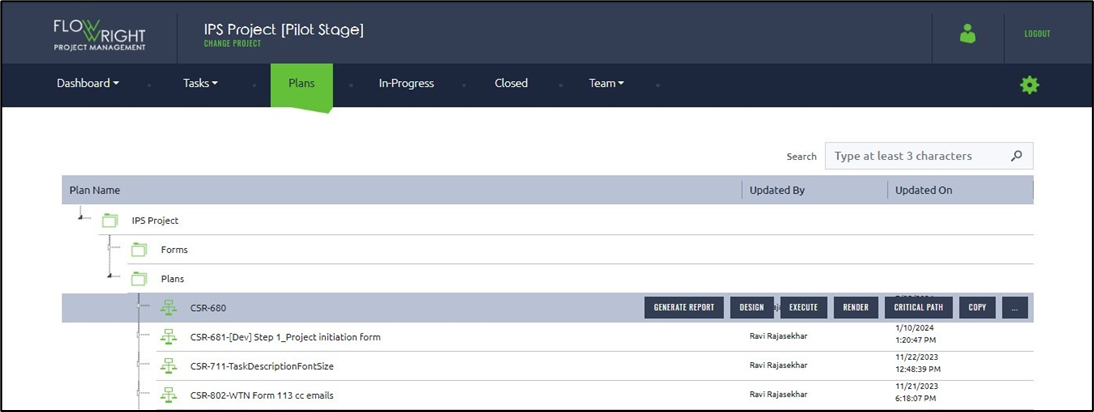
Click the three dots to access more options, like Edit Tasks, Export Properties, Import Properties, Rename Plan, Push Changes, and Delete Plan.
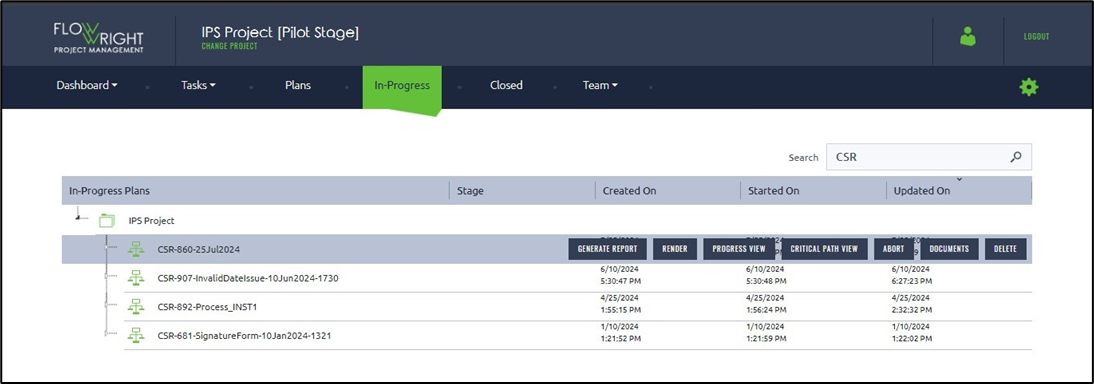
Select the In-Progress tab to view the ongoing plans for the chosen project. You can click on the columns to sort the list by Created On, Started On, and Updated On dates. Choose a plan from the list to access functions like Generate Report, Render Plans, Process View, Critical Path View, About, Documents, and Delete.
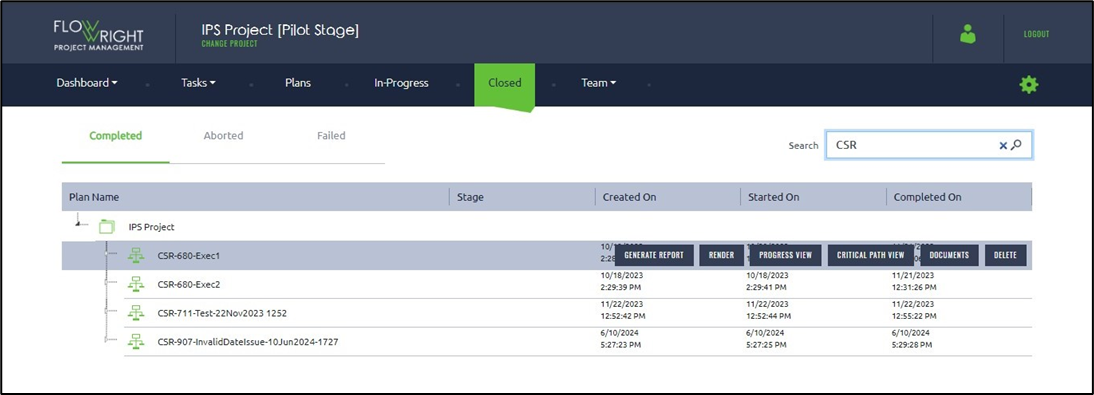
Select the Closed tab to view the closed plans for the chosen project. The plans are sorted by their status as Completed, Aborted, and Failed. Click a tab according to their status to see the closed plans. Choose a plan from the list to access functions like Generate Report, Render, Process View, Critical Path View, Documents, and Delete.
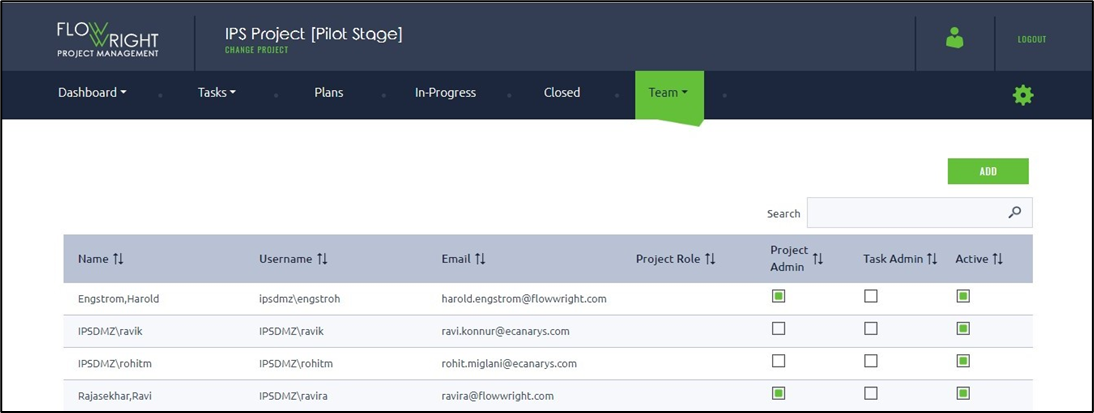
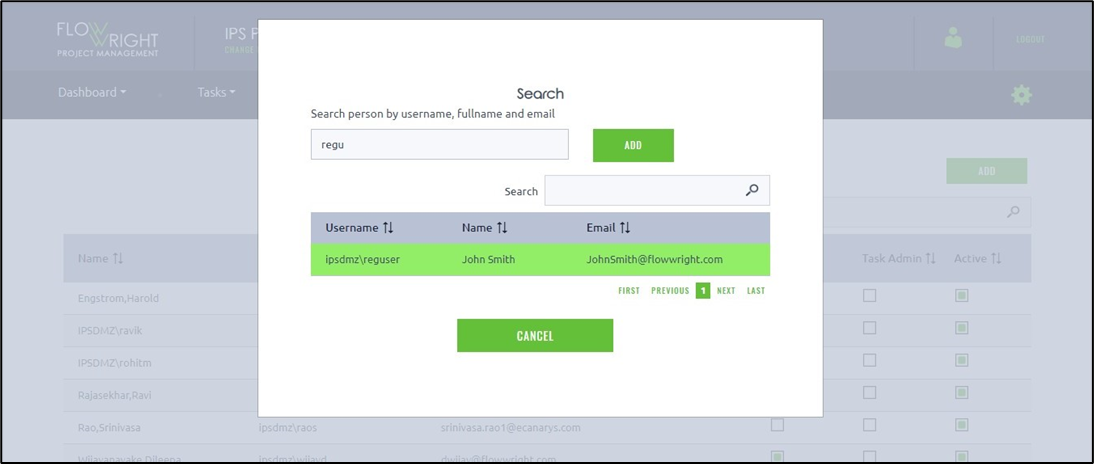
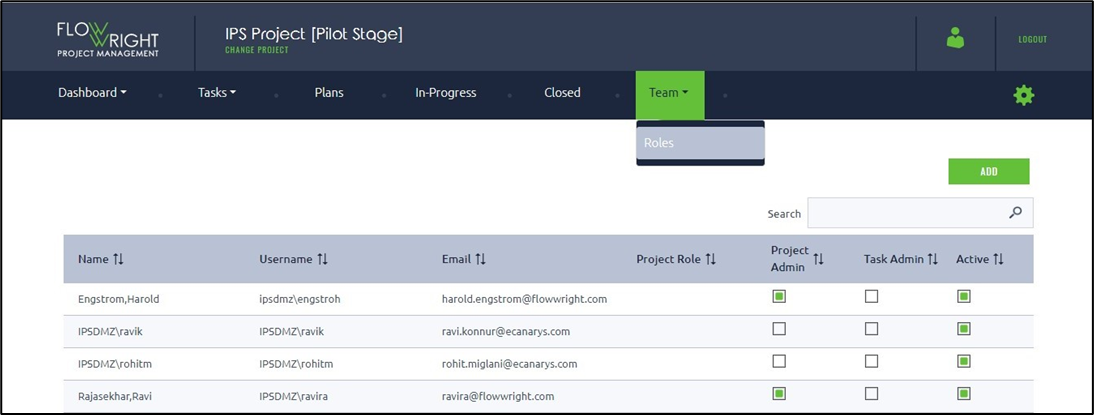
Select the Teams tab to manage team members for the selected project. The current members are listed in the table below. Click on the column titles to sort the list. You can use the Search text box to filter the list. Click the Add button to include a new team member.
A pop-up window appears for configuration. Search for the user and click the Add button. The user will be included in the current project.
Select the Teams > Roles menu option to manage team members' roles for the current project.
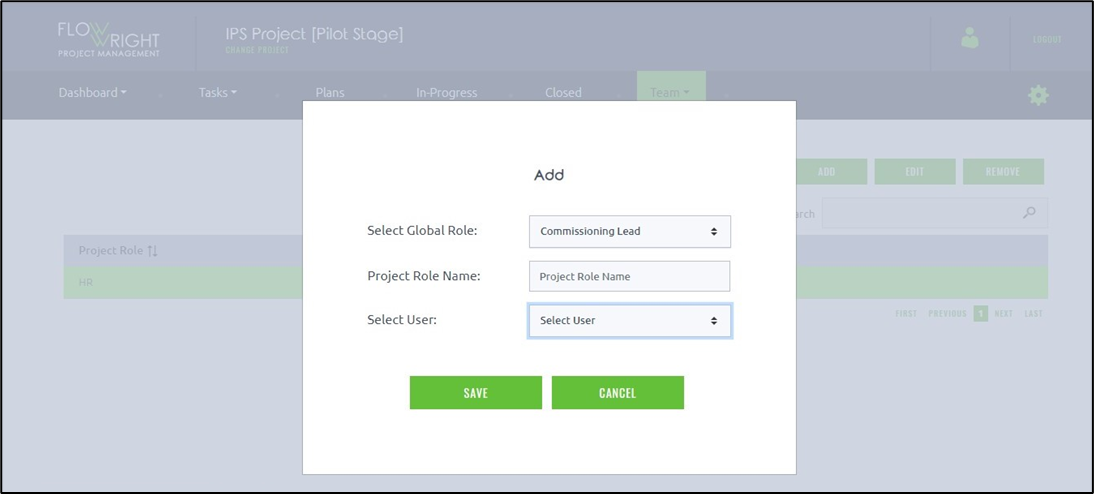
A popup window appears for configuration. Choose the global role from the drop-down menu. Choose the project role name from the drop-down menu. Select the user from the drop-down menu to assign this role. Click the Save button to confirm.
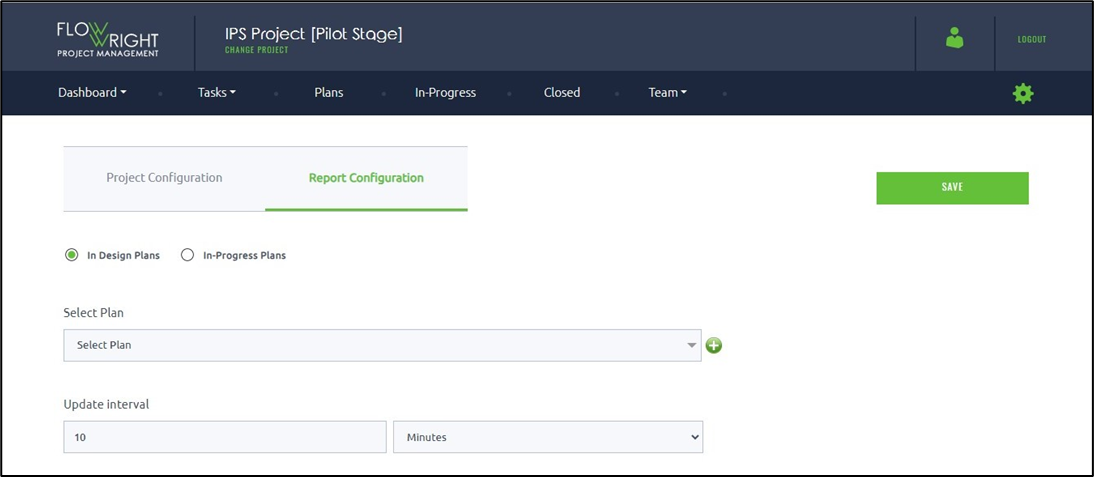
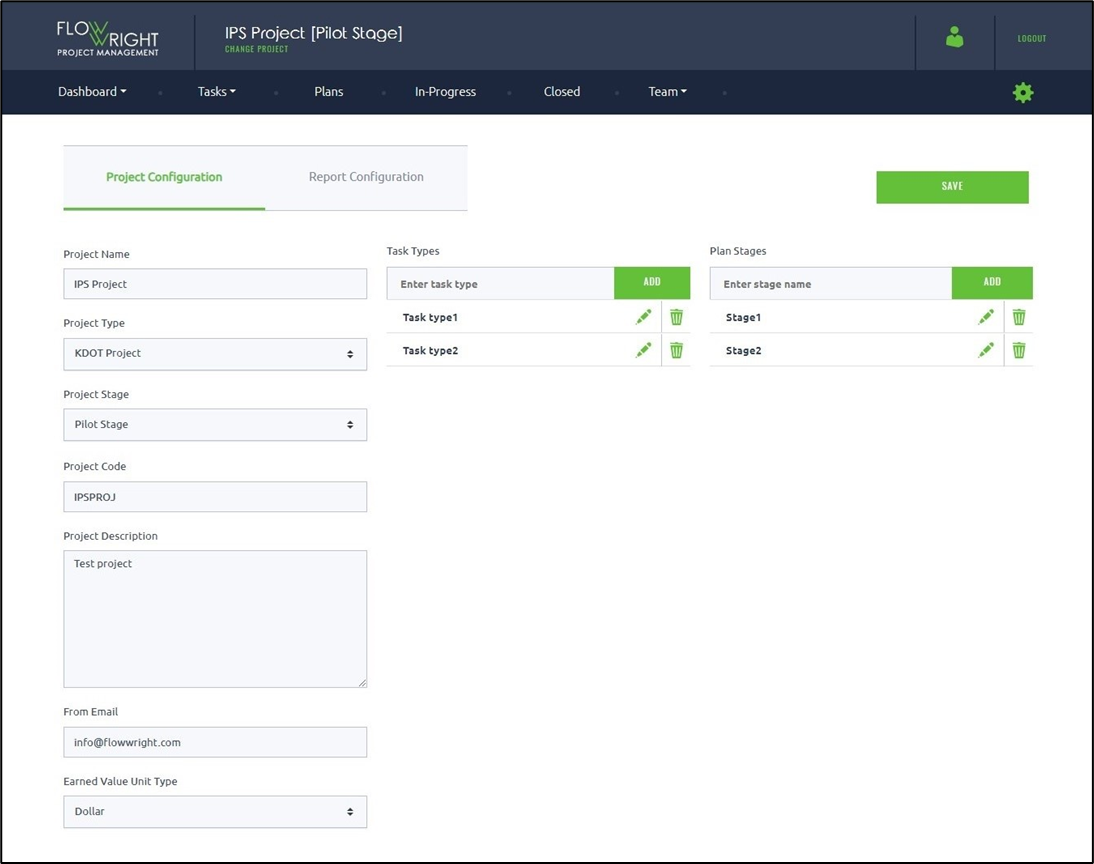
Click the wheel icon to access the Project Configuration UI. The page displays two tabs - Project Configuration and Report Configuration.
You can modify the current configuration by changing the project type, description, email, and earned value unit type. Click to add the new task types and plan stages. The edit/delete icons perform the appropriate functions for the selected row items.
Click the Report Configuration tab to view the current settings. You may choose between the In-Design Plans or In-Progress Plans filters. Select the Plan from the drop-down list. You need to specify the update interval duration as shown below.