The FlowWright application brings new Dynamic Form functionality and features. With the new Forms interface, users can:
- Design and manage Form definitions
- Instantiate and manage Form instances
- Embed forms within other Forms as sub-Forms or grid views
- Configure and use database or web-service lookups
- Use Form-specific steps within Workflow processes
- Store data from the Forms into database tables for exporting or reporting
This blog will demonstrate the first two items above – basic design and instantiation of a form.
Creating a new dynamic Form Definition:
Navigate to the Form Definitions screen by selecting the Create > Forms > Form Definition menu option.
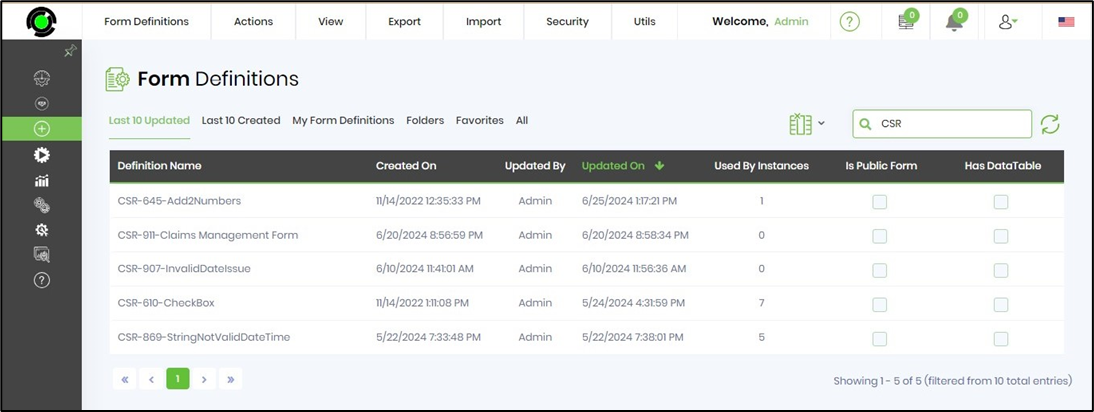
Click the “Create” toolbar button and provide the name “TestMainForm.”
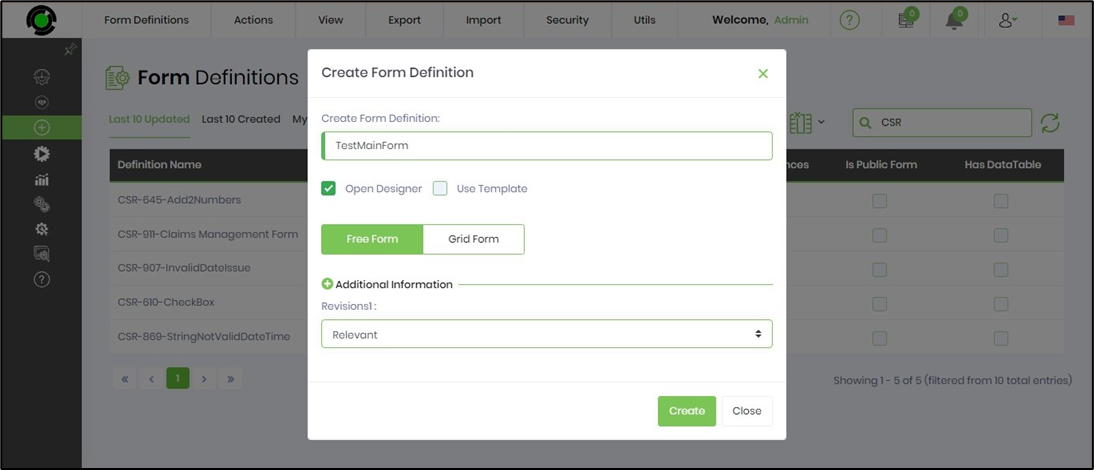
Check the “Open Designer” check box and click the “Create” button.
Once the definition has been created, click the dialog’s “Close” button, and the new form definition will open in the graphical forms designer.

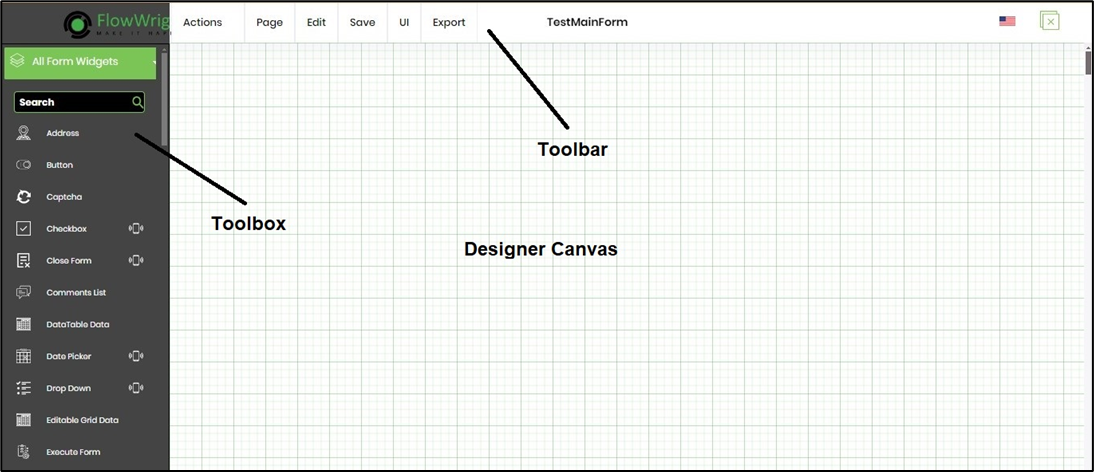
Using the Dynamic Form Designer to build a form.
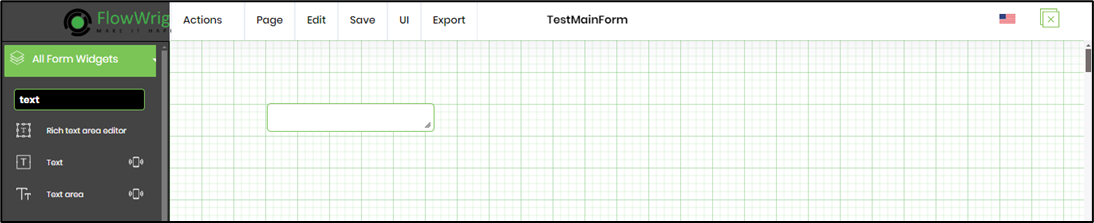
The Form Designer has four main parts: a toolbox on the left, a toolbar at the top, a design canvas in the middle of the page, and pop-up property windows for each control.
The Form Toolbox contains the following controls:
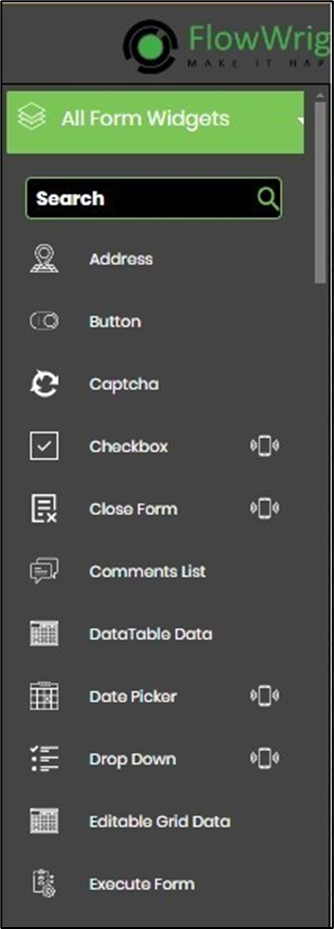
To add controls to the design canvas, drag a control from the toolbox and drop it onto the canvas. For example, drag a TextBox control onto the canvas.
Double-click the TextBox to open its property window. Select the Settings tab. You'll need to provide the Textbox's name. Select the data type for run-time input (numeric, currency, phone, email, SSN, text, password, regular expression, and custom format). Configure the Textbox's value by selecting the required, hidden, and read-only checkboxes. Provide a value to limit the maximum character count.

The TextBox property window allows the user to:
- Select the size of the text box.
- Enter an ID/Name for the text box.
- Enter Placeholder text. (Note: The Placeholder text acts as a field label, and its value will appear inside the field until the user enters a value.)
- Check whether the field is required or not.
- Click the “Close” button to close the dialog without saving the changes.
- Click the “Delete” button to remove the control from the design canvas.
- Click the “Save” button to save the changes.
For this demonstration, drag two TextBox fields onto the form design canvas. Name them “txtFirstName” with Placeholder text “First Name” and “txtLastName” with Placeholder text “Last Name”. Also, add a Text Area control named txtComments with Placeholder text “Comments”, as shown below.
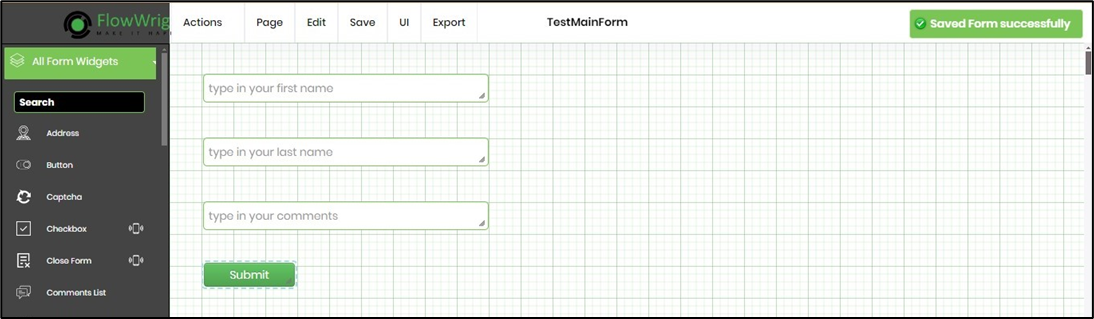
Click the “Save” button on the Form toolbar to save the Form definition.
Creating a form instance from a Form Definition.
You'll need to navigate to the Run > Form Instances page and click on the Actions > Create menu option.
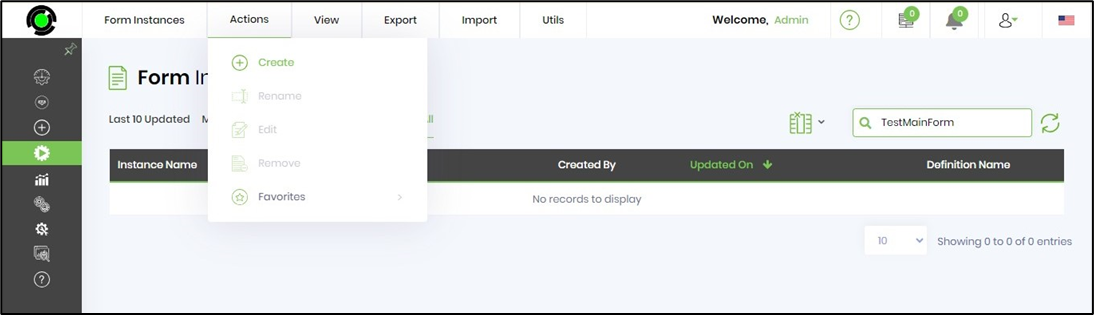
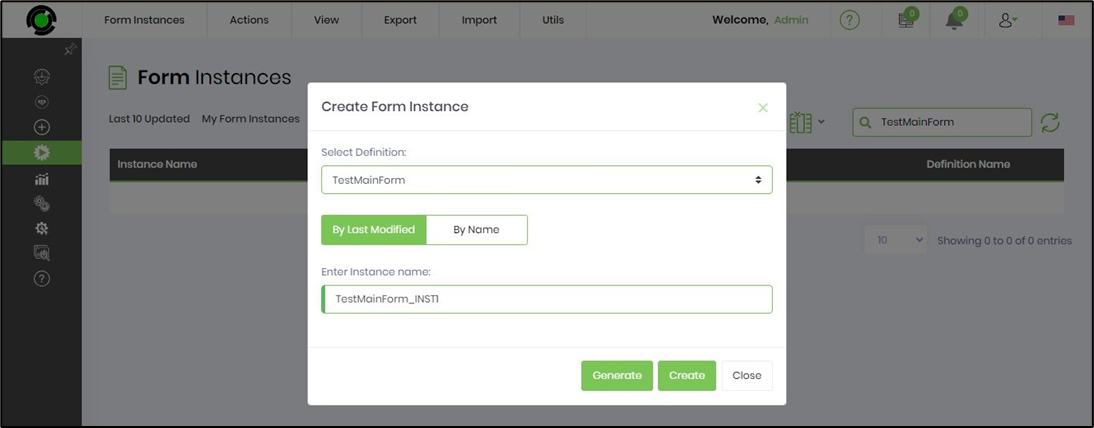
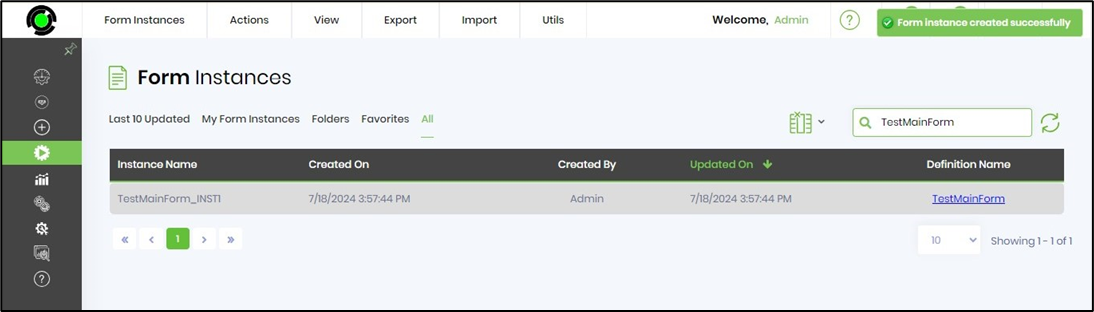
Click the “Create” button, then select the Form Definition from the previous step. Provide the Form instance name, or click the Generate button to create it automatically. In this example, the Form instance created is named “TestMainForm_INST1”. Now, click the “Create” button to create the Form Instance.
Once the Form Instance is created, it will appear in the list of Form Instances. A confirmation message is shown in the top-right corner.
Select the new instance from the list, then click the “Edit” toolbar button to enter data into the Form.

The Form is displayed on the new page. To complete the form instance, you'll need to enter the values and click the Submit button.
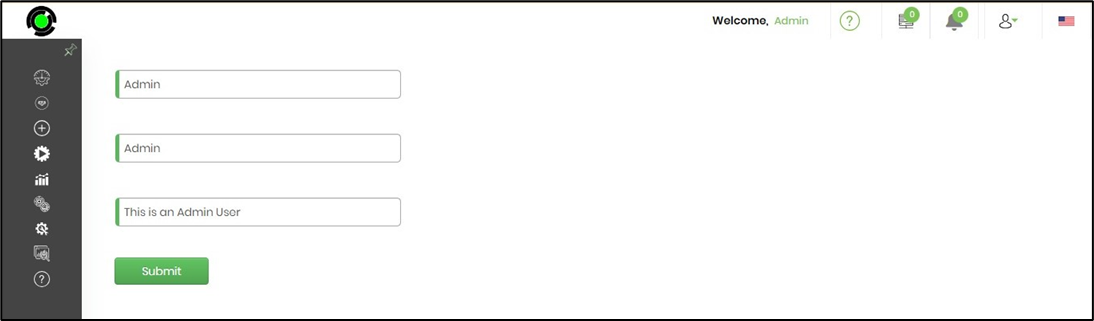
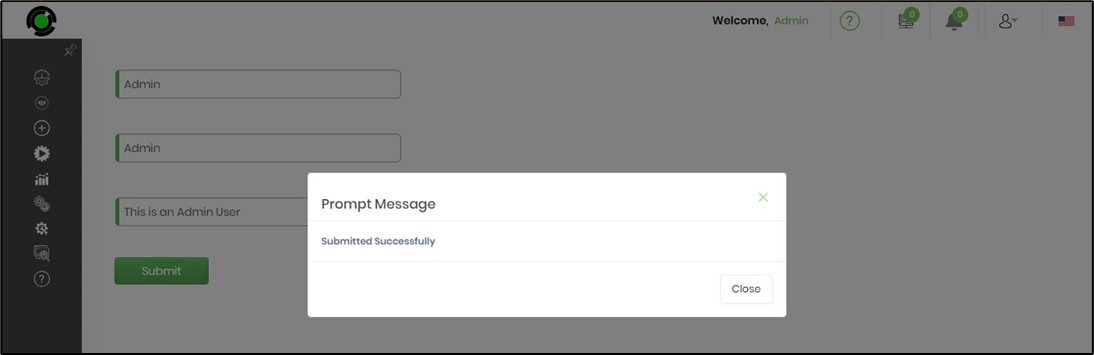
Enter test data into the form fields and click the “Submit” button to save the data. A confirmation pop-up window appears after the form submission.
To view the Form and its data, return to the Form Instances screen, select the Form Instance from the list, then click the “Render” button on the toolbar.
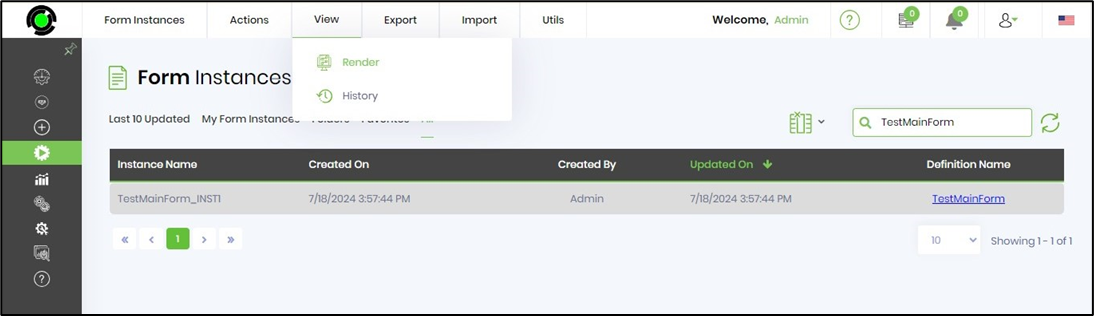
The rendered Form Instance looks as follows:
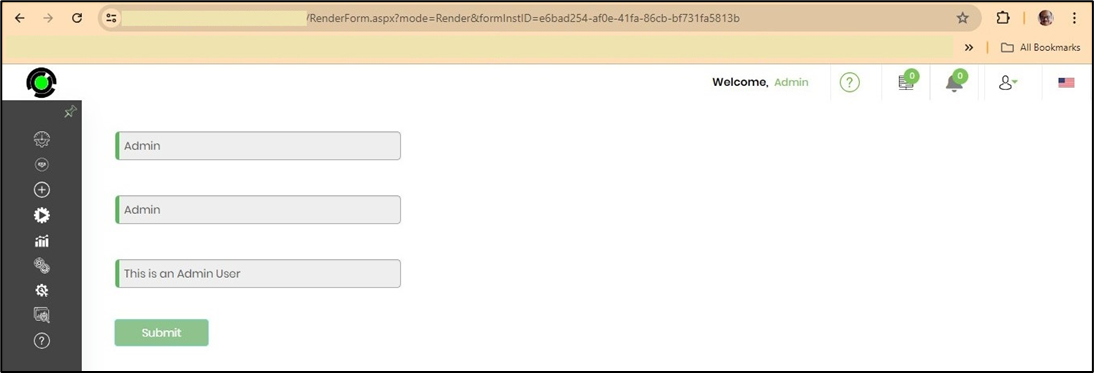
Coming Next: We will use a workflow to demonstrate how to instantiate and route a Form Instance.
A small sampling of the Workflow Technology for BPM Solutions in our cDevWorkflow product offering can be found here: Workflow Technology That Works.
Learn more about our Process Automation & IT, QA Services, or Software Development products and solutions online!