Description:
Routes a task to a selected number of users. For complex tasks, break them down into simple and manageable steps as single instruction work item.
Usage:
Example:
Let’s build and execute the taskDef example.
- Create a new definition called “taskDef”
- Select the definition and click the “design” button
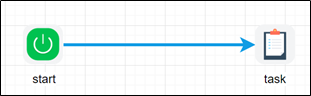
- Drag a task step to the canvas
- Connect the dots between the start and task steps

- Click on the “task” step to configure its properties
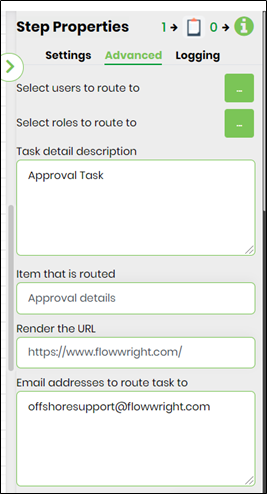
- Configure the following values for the properties as shown on the below graphic
 |
 |
 |
 |
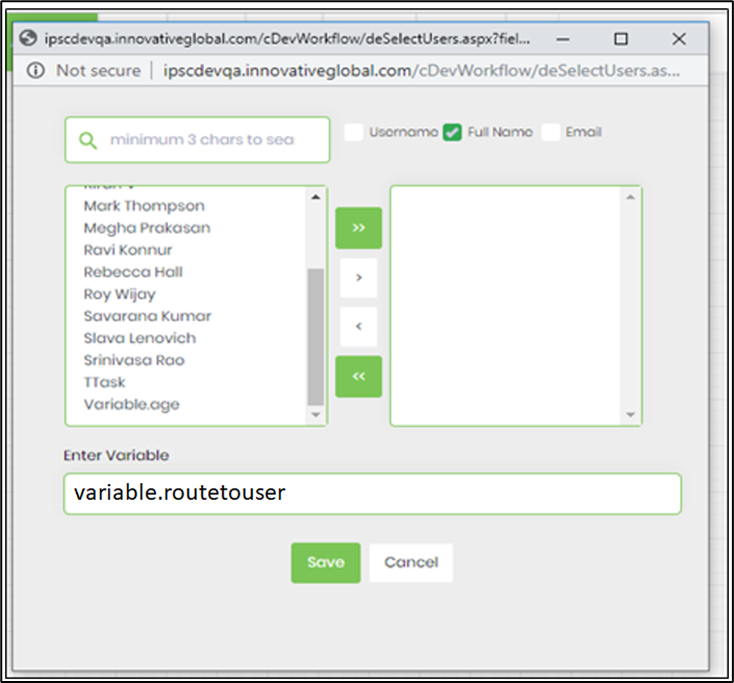
- Click on Select the users to route to and select users. The task can be assigned to more than one user.

- The Task can also be assigned to user GUIDs. Enter the variable containing the reference to user's GUID. The username selection should be empty as the function is mutually exclusive.
- The Task can also be assigned by the application roles. Click on select roles to route to and select application role

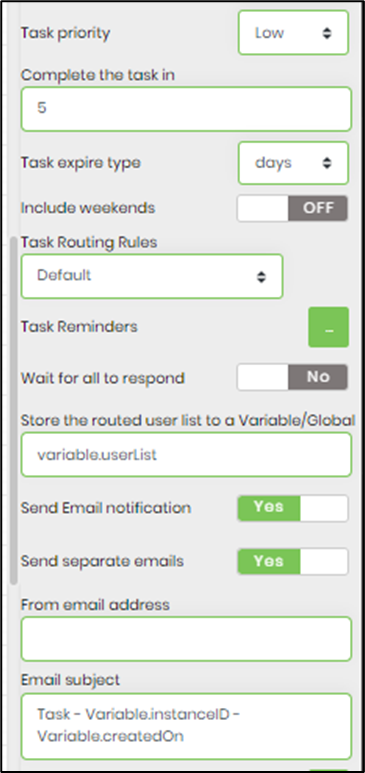
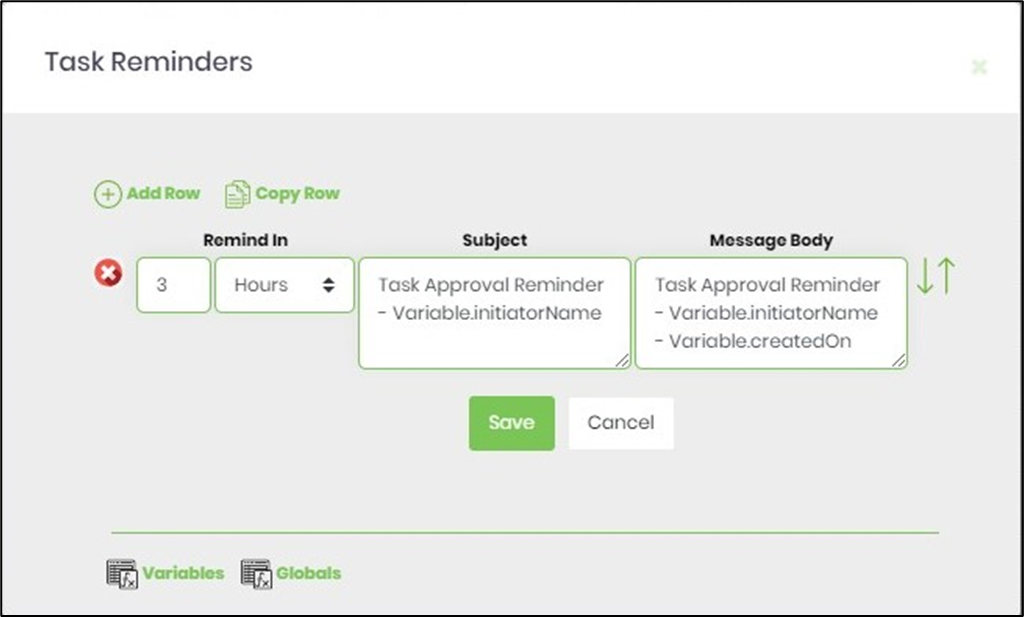
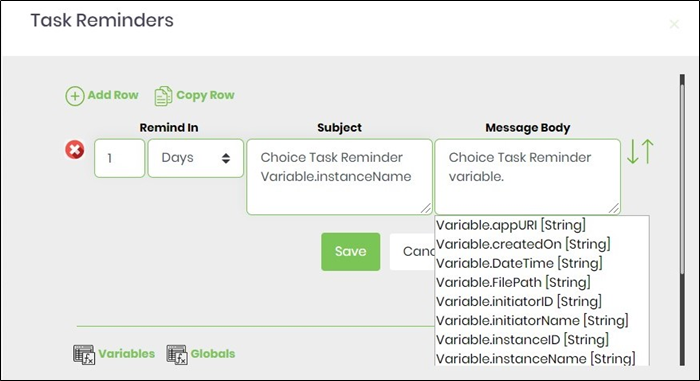
- Click on Task reminder to set task reminder intervals. Enable "Send Email Notification" to ON.Task reminders configured with a positive value is calculated from the task created date. The task reminder message body now supports line breaks.
- Task reminders configured with a negative value is calculated by reducing that duration from the task due date.
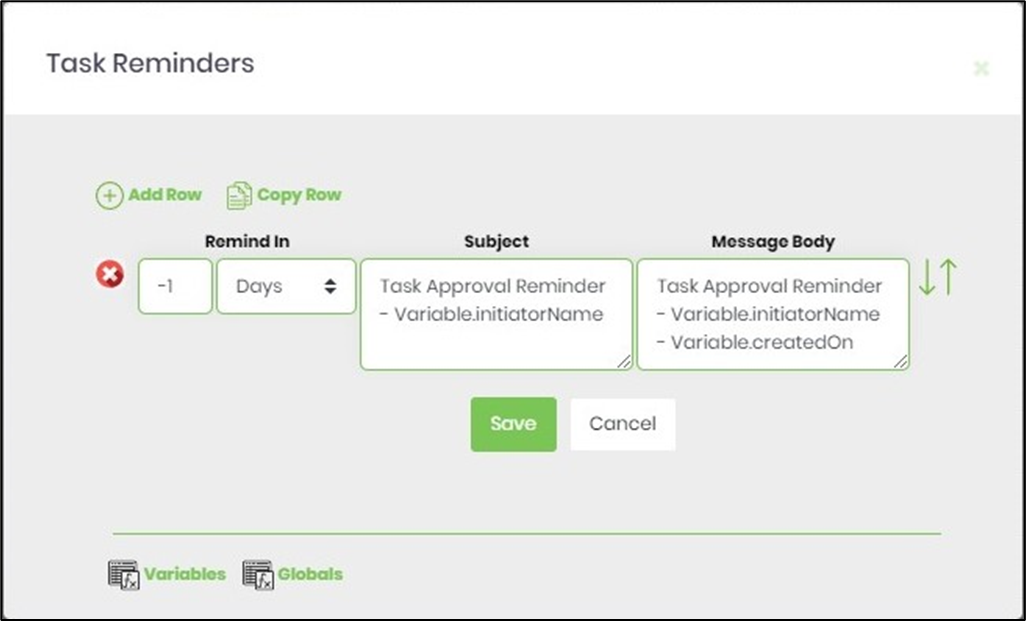
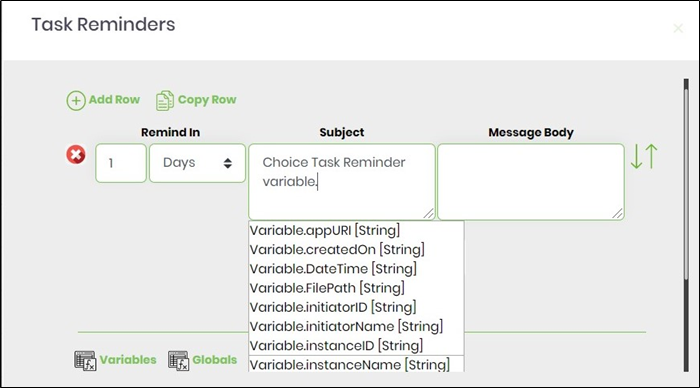
- Use Variable(s) references for more meaningful reminder message.
 |
 |
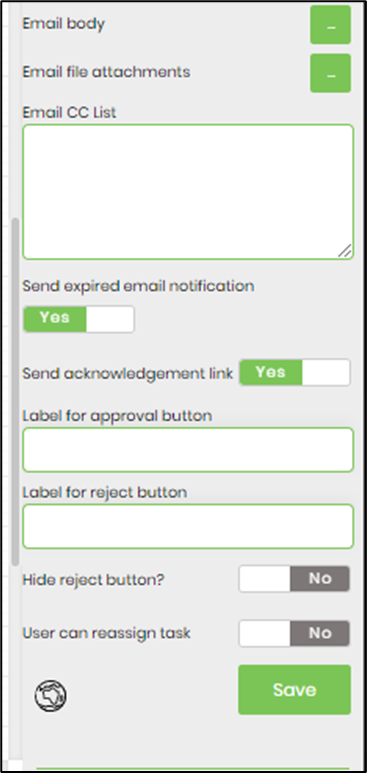
- Click on Email body and use the existing template (you can edit existing template as well) as email body or create custom template as email body.
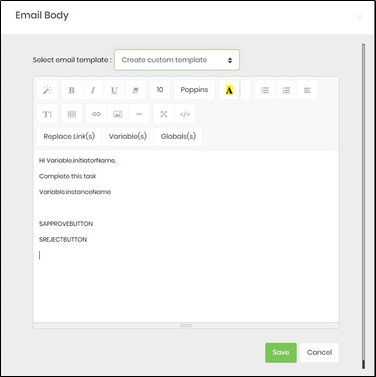
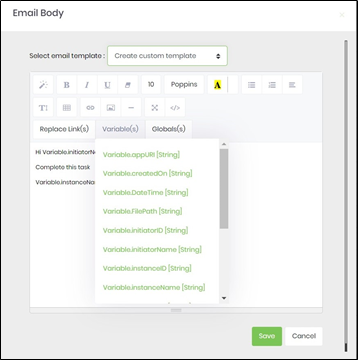
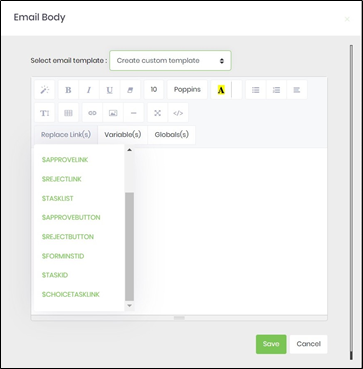
- Click on Replace Link(s) or Variable(s) or Global(s) and select any reference to add more meaningful email message.
 |
 |
- Save the process definition, create a process instance and execute. The Task step should route task to users.
- Navigate to Engage - Tasks page to view the Tasks routed to the resource.
- NOTE: Route Task/Form to Queue, when assigned to user from the queue, the system recomputes the task expiration date.
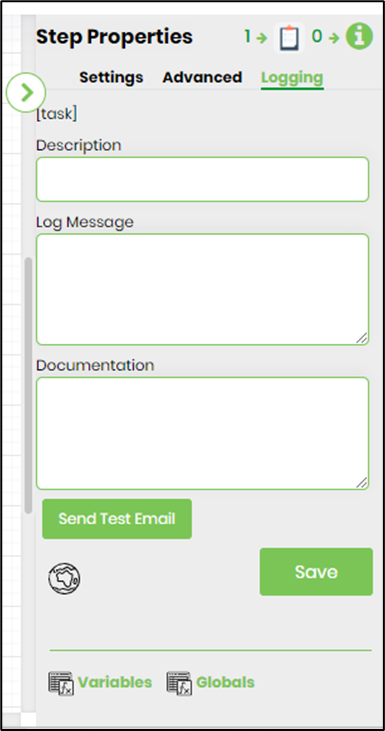
- Navigate to Logging settings. The "Send Test Mail" feature is provided to send a test email with the contents configured in the email body, to the current (logged in) user.
Learn to use Replace Links in task email body