This function lets you group the Form widget into categories.
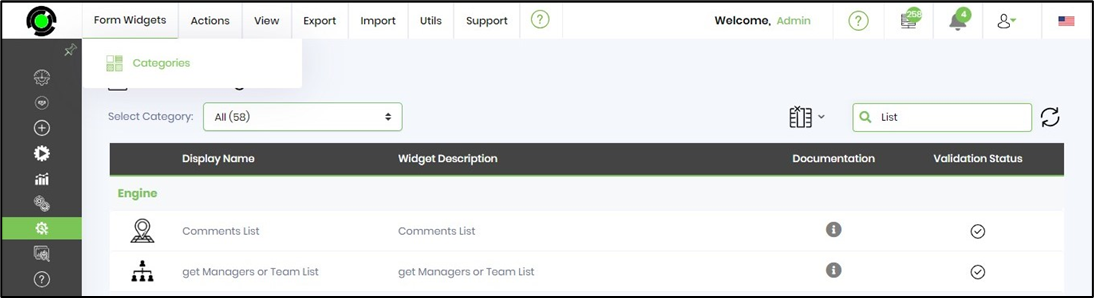
You'll have to navigate to the Administration - Form Widgets - Form Widget Categories menu option.
Manage the Form widget categories.
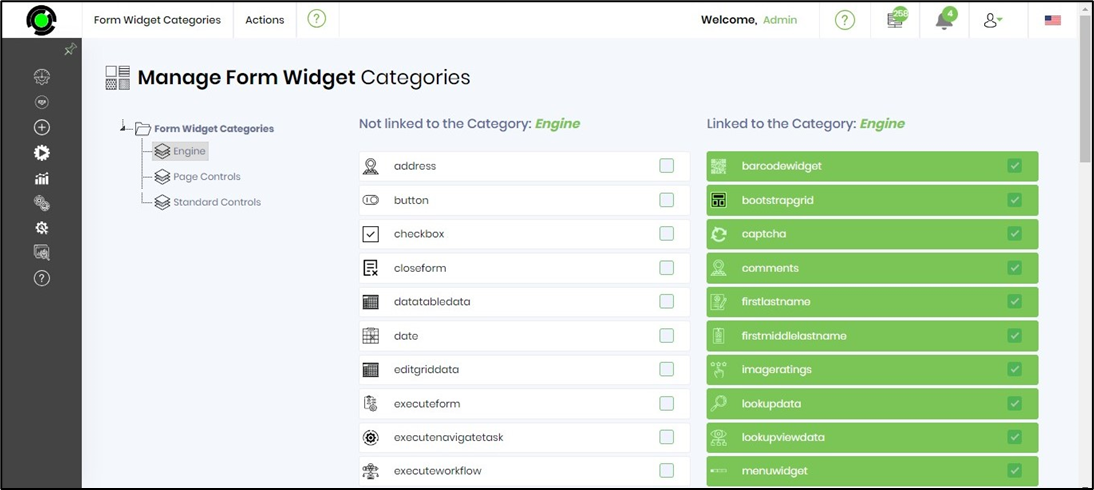
Select the Form Widget Categories menu option to manage the definition. The following UI is rendered on the same page. The widget categories are arranged in an alphabetical tree order.
Select a widget category. The widget controls associated with this category are displayed as “Linked to the category” with the checkbox enabled. Select “Not linked to the category” from the list to link more widgets by checking the checkbox. The widgets are then automatically moved to the linked category list. To unlink the widget, and later link it to another category.
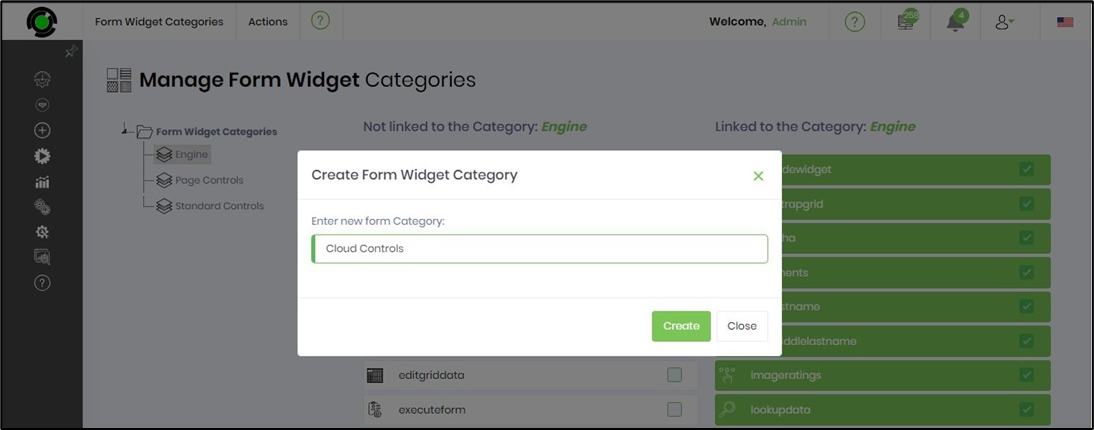
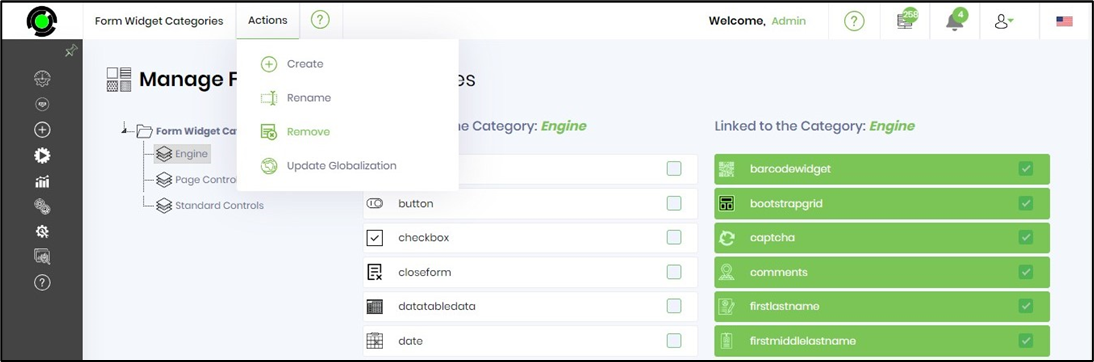
Create a widget category.
Select the Actions- Create menu option on the Manage Form Widget Categories page.

You must provide a new category name and click the Create button. The new widget category shall be created and placed in the tree according to the sort order. A confirmation message shall be displayed in the top-right corner.
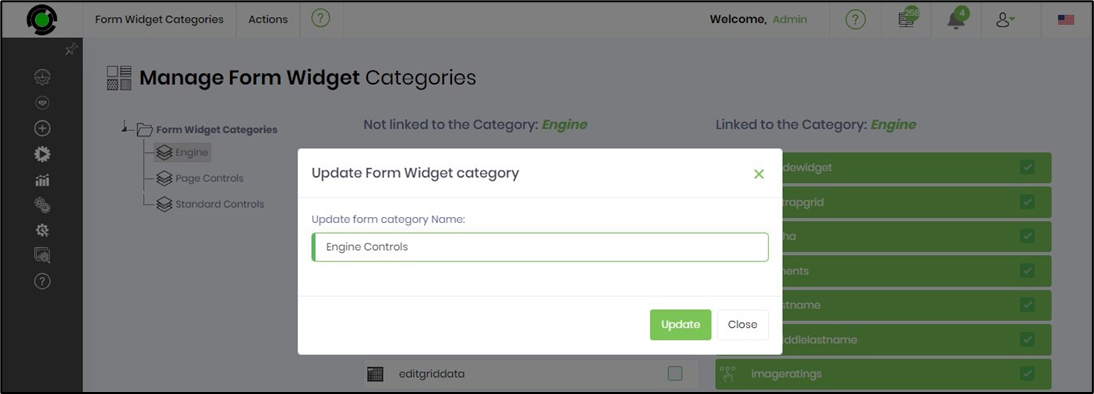
Rename a widget category.
On the Manage Form Widget Categories page, select the widget category from the tree and click the Actions - Rename menu option.

You must provide the new name and click the Update button. The widget category name shall be updated, and a confirmation message shall be displayed in the top-right corner.
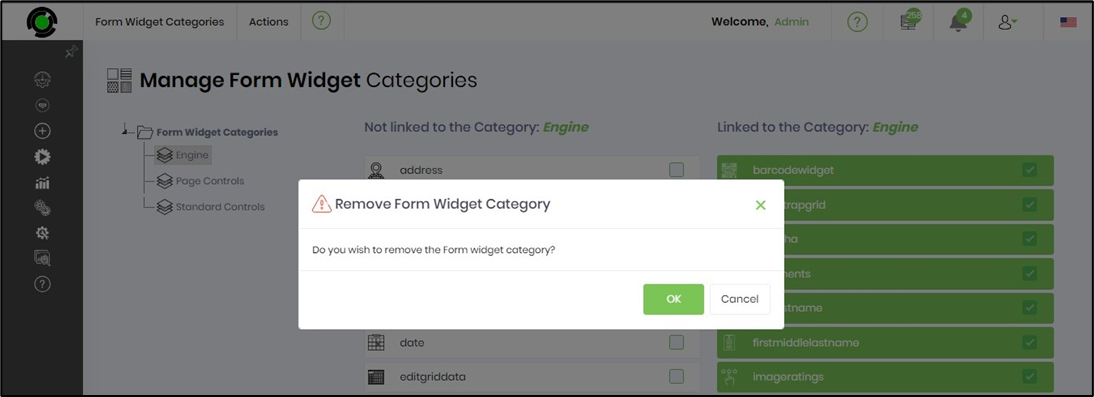
Remove a widget category.
On the Manage Form Widget Categories page, select the widget category from the tree and click the Actions - Remove menu option.
Select OK to confirm the action. The widget category name will be removed, and a confirmation message shall be displayed in the top-right corner.
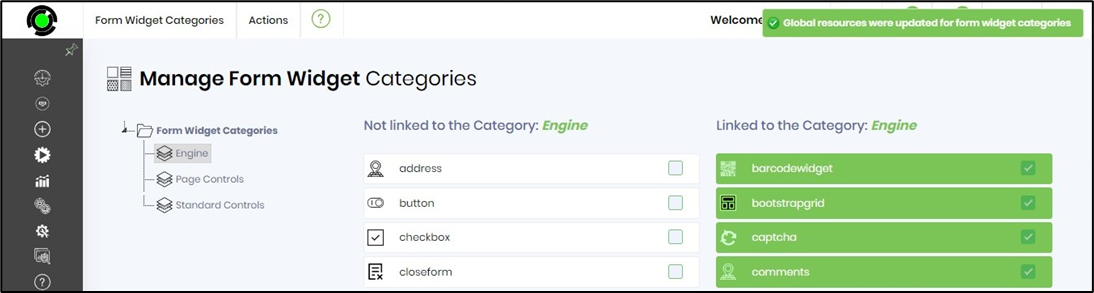
Update globalization.
On the Manage Form Widget Categories page, select the widget category from the tree and click the Actions - Globalization menu option.
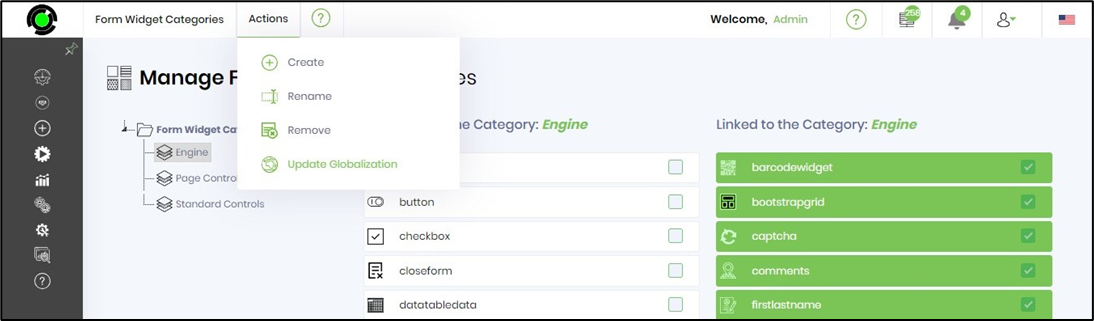
Click the OK button.
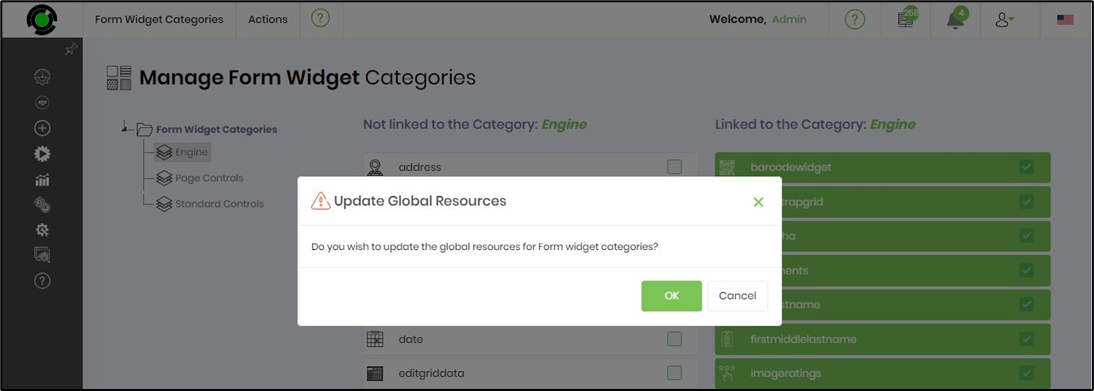
A confirmation message shall be displayed in the top-right corner.