Let’s expand the process by adding more Form-related steps.
Let’s use the Form definition “TestFormFile,” which is defined as follows:

Let’s use the Process definition “TestFormFileDef,” which appears as follows:

Let’s route the newly created Form instance to a user for data entry. Drag and drop a “routeForm” step into the designer and connect it to the “instantiateForm” step. The process should now look as follows. The red alert sign indicates that the step’s property configuration is incomplete.

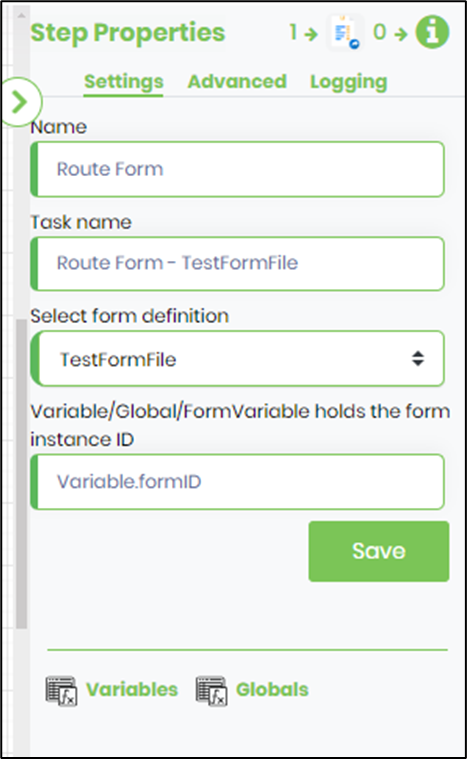
Click the routeForm step to configure the Settings tab. You need to provide the step and task names and select the Form Definition from the drop-down list. Provide the variable reference (that is defined) that holds the Form Instance ID, as shown below.
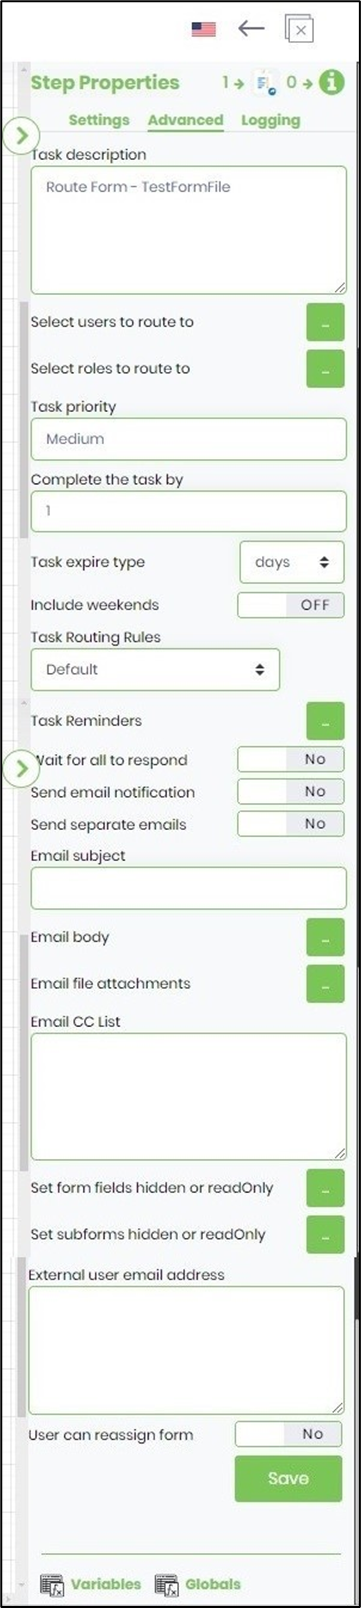
Click the routeForm step to configure the Advanced tab. You must provide the task description and select the users to whom the Form should be routed by clicking the selection button. You may also route the Form to a group of users. Choose the task priority from the drop-down list. Set the task duration in minutes, hours, or days. You can also configure task reminders and email notifications if needed. Email notifications require the email subject, content, and a recipients list (which may include internal and external email addresses).
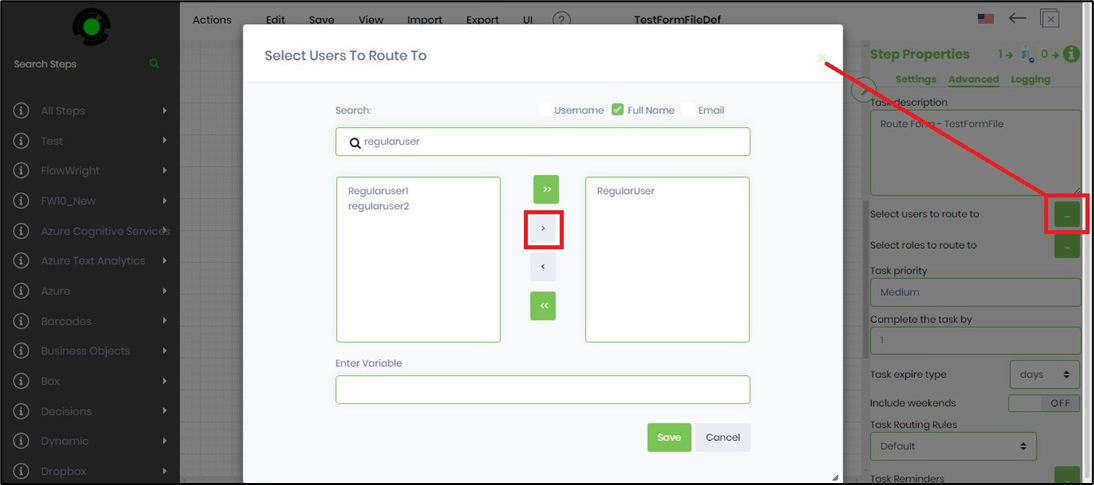
Click the selection button to choose the users to whom the Form will be routed. A pop-up window appears for configuration. Type in the username to search, use the right arrow key to select, and the left arrow key to unselect the user. Click the Save button to confirm.
Click the Save button to save the workflow configuration. A confirmation message will appear in the top-right corner.

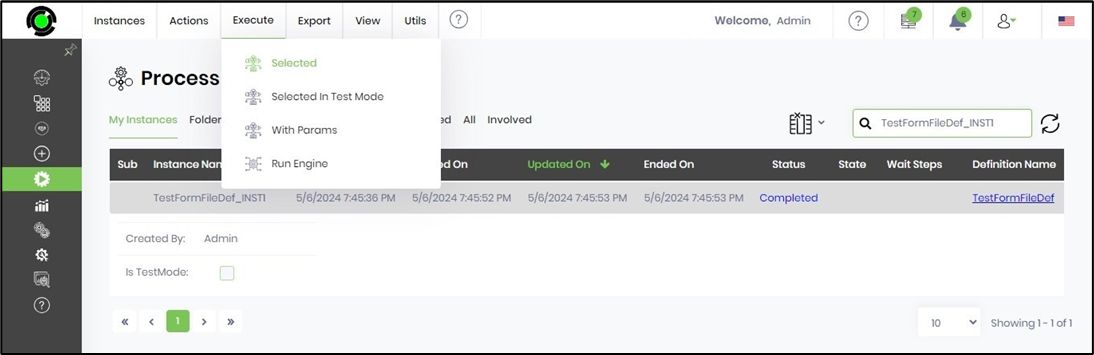
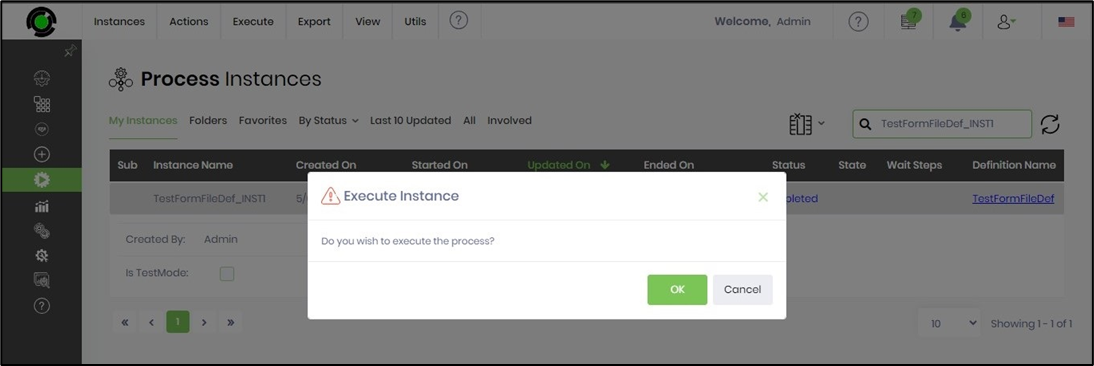
Let’s re-execute the process instance created in the previous steps. Navigate to the Run > Process Instances page and select the process instance from the list. Click the Execute > Selected button to restart the process instance's execution.
The Execute Instance pop-up window appears for confirmation. Click OK to continue.
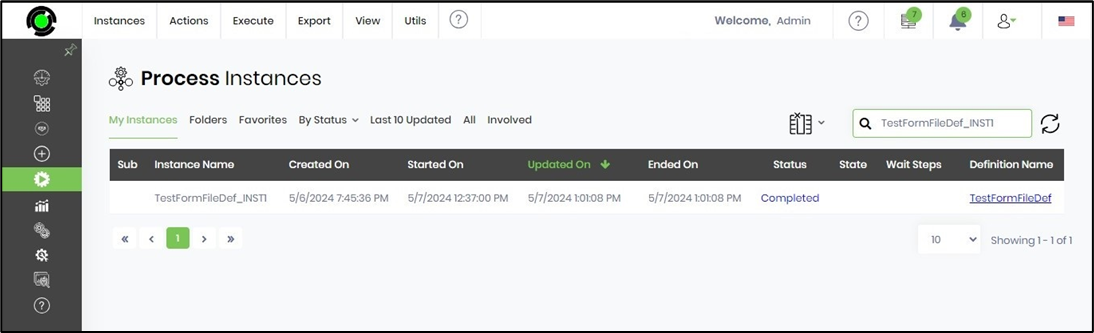
The status of the selected process instance is reset to “NotStarted.” To run the instance, click the Execute > Run Engine menu option.

Once the engine executes, the process instance's status should change to “sleeping.” To view its execution, click View > Render.

Let’s render the instance to view its execution by clicking on the View > Render menu option. The process instance appears on a new page, as shown below. Use the Select Steps to Exclude drop-down list to summarize a large instance execution path.

As the rendered workflow shows, the route Form step will create a task for the user. Let’s open the task list and complete the Form within the task. Then, you need to navigate to the Engage > Tasks page, as shown below. Select the Instances search filter and choose the process instance from the drop-down list. The incomplete task assigned to the user is shown below. You can also search for the task using the Search textbox.

The task completed with the Form appears as follows:
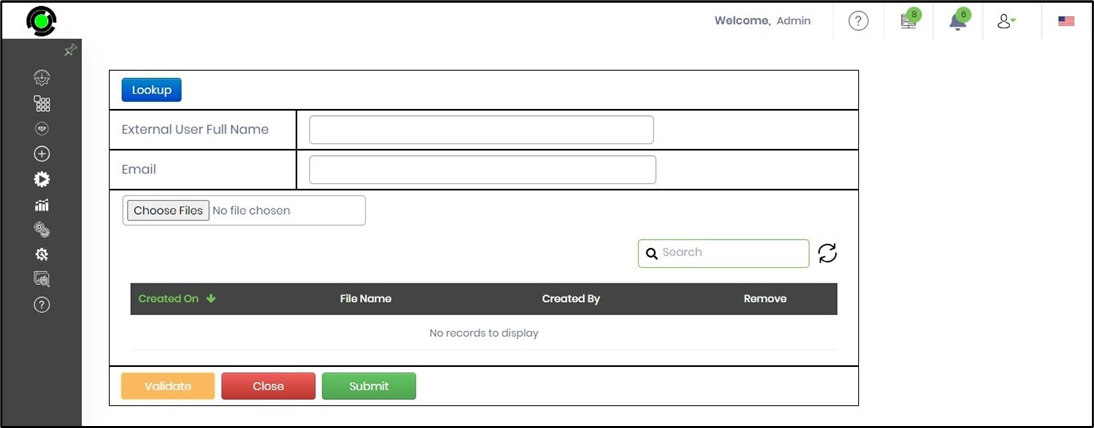
You can go ahead and enter the values for the Form fields, then click the Submit button to complete them. The Form instance now stores the Form field values in XML format, and the process instance completes them. Once the task is completed, the process instance should be “Completed.”
You may also route the Form to a queue using the “routeFormToQueue” step.