The LookUp Data function provides an area in FlowWright to configure a lookup or data list that can be used in other parts of the application. These lists can be used in form drop-down controls or event handlers to store information such as usernames and passwords.
Navigate to the Manage > Lookup Data.

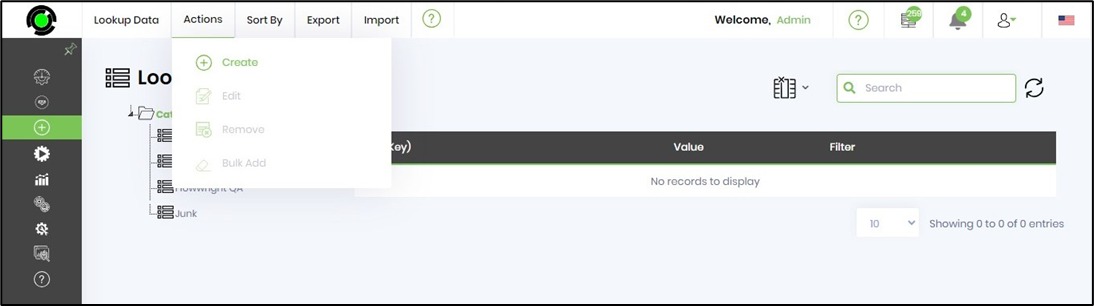
The Lookup Data can be maintained using the following UI.

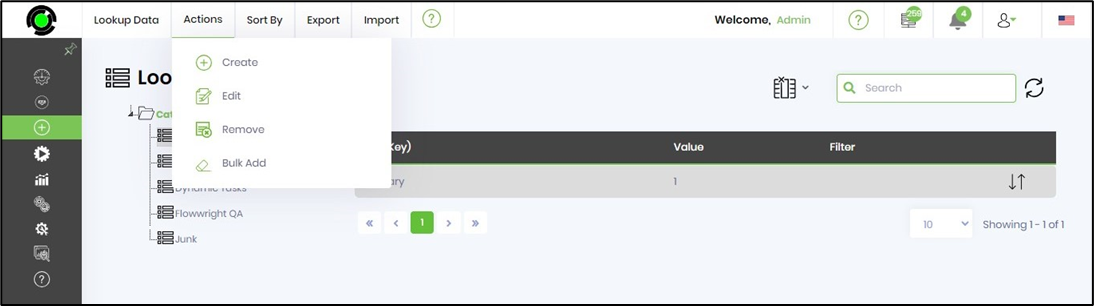
Select “Actions” to navigate to the “Create, Edit, Remove, and Bulk Add” features.

Select “Sort By” to navigate to the “Text, Value, and Filter” features.

Select “Export” to navigate to the “XML and SQL” features.

Select “Import” to navigate to the “XML” feature.

Create Lookup Data
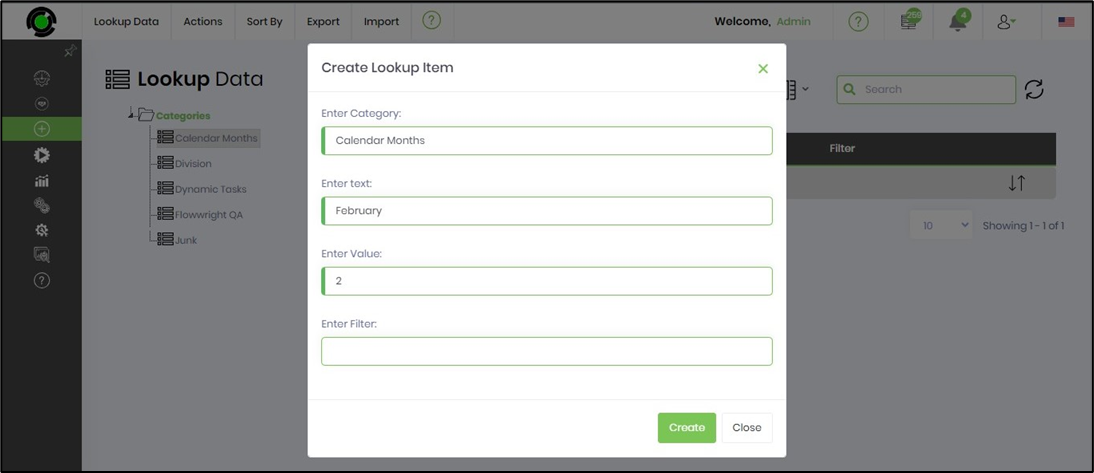
Navigate to the Actions > Create.
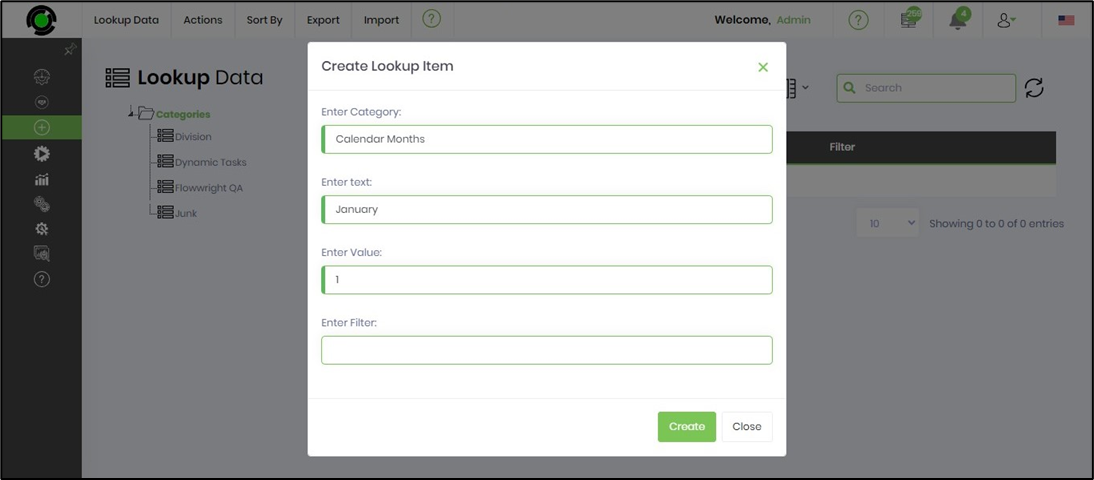
A pop-up window is displayed for configuration. Provide the “Category name, Description, Value, and Filter value”. Click the “Create” button.
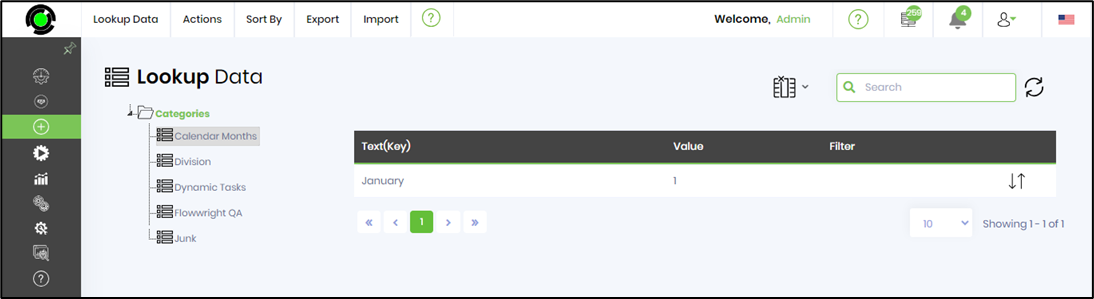
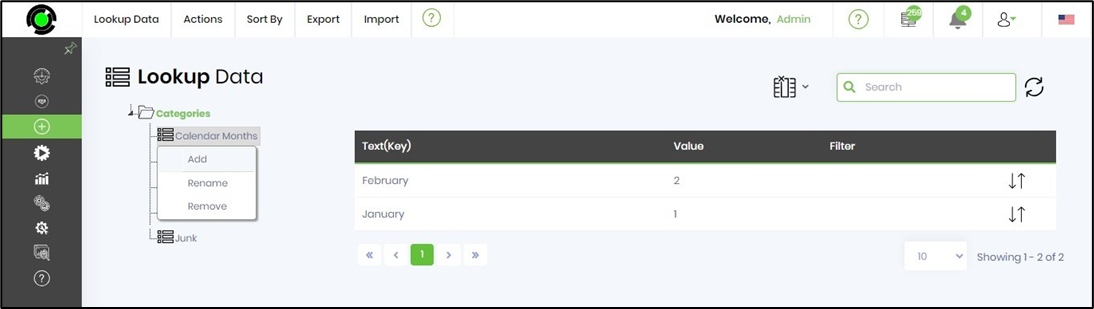
The Lookup Data is listed in the Categories tree, sorted alphabetically by name.
To add more values to this lookup list, select the list row item and click on the Actions—Create menu option.
Provide the “description text, value, and filter value”. Click the “Create” button.
The Lookup list is updated with the new value.

Here's another way to add values to the Lookup list. Select the Categories tree and right-click to view the menu. Select the “Add” option.
Edit Lookup Data.
Use this feature to edit the lookup items of a category.
Select a Lookup category. The items are displayed in a table. Select the item, then click Actions > Edit.

The Lookup list details are rendered in a pop-up window. Make the necessary changes and click the “Update” button.

The item is updated, and a confirmation message appears in the top-right corner.

Remove Lookup Data.
Select a Lookup category. The items are displayed in a table. Select the item, then click Actions > Remove.

Select OK to confirm. The lookup list value is removed.

A confirmation message is displayed in the top-right corner.

Bulk add Lookup Data.
Select a Lookup category. Navigate to the Actions > Bulk Add menu option.

A pop-up window is displayed for configuration. Provide the values comma-separated on new lines. Click the “Create” button.

The list items are added in bulk, and a confirmation message is displayed in the top-right corner.

Sort Lookup Data.
Select a Lookup category. Click the Sort by menu. Choose one of the menu options from the list.

The list is sorted by “Text”. A notification message appears in the top-right corner.

Export Lookup Data.
Select the Lookup Data category. Click Export > XML. The values are exported and downloaded as an XML file. Likewise, the user can export or download the lookup data as an SQL insert file by clicking the Export > SQL menu item below.

The XML content of the file is included here for reference.

The SQL content of the file is included here for reference.

Import Lookup Data.
Select the Lookup Data category. Click the Import > XML. The values exported as XML can be imported back.

Choose the XML file from the local folder, then click the “Upload Lookup Data” button.

The list of items is imported, overwriting the category. A confirmation message appears in the top-right corner.
