This function lets you add a new process step to the repository.
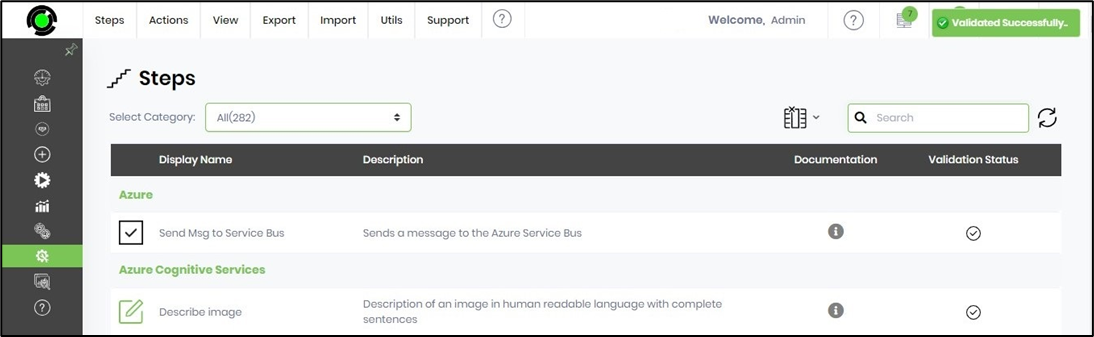
Navigate to the Administration > Steps menu. The Steps UI appears as shown below. You can use the filter to switch between Process and ETL steps.

Select “All” from the drop-down list to see all Process Steps. Use the Search box to filter the list.

Once a new step is developed and compiled using Microsoft Visual Studio, the DLL can be configured by navigating to the Administration > Steps page and clicking the Actions > Create menu option.

A pop-up window is displayed for configuration.

Provide the step name, description, and index position in the step category in all lowercase. Select the step category from the drop-down list. Also, include the step namespace and DLL path, as shown in the example below.
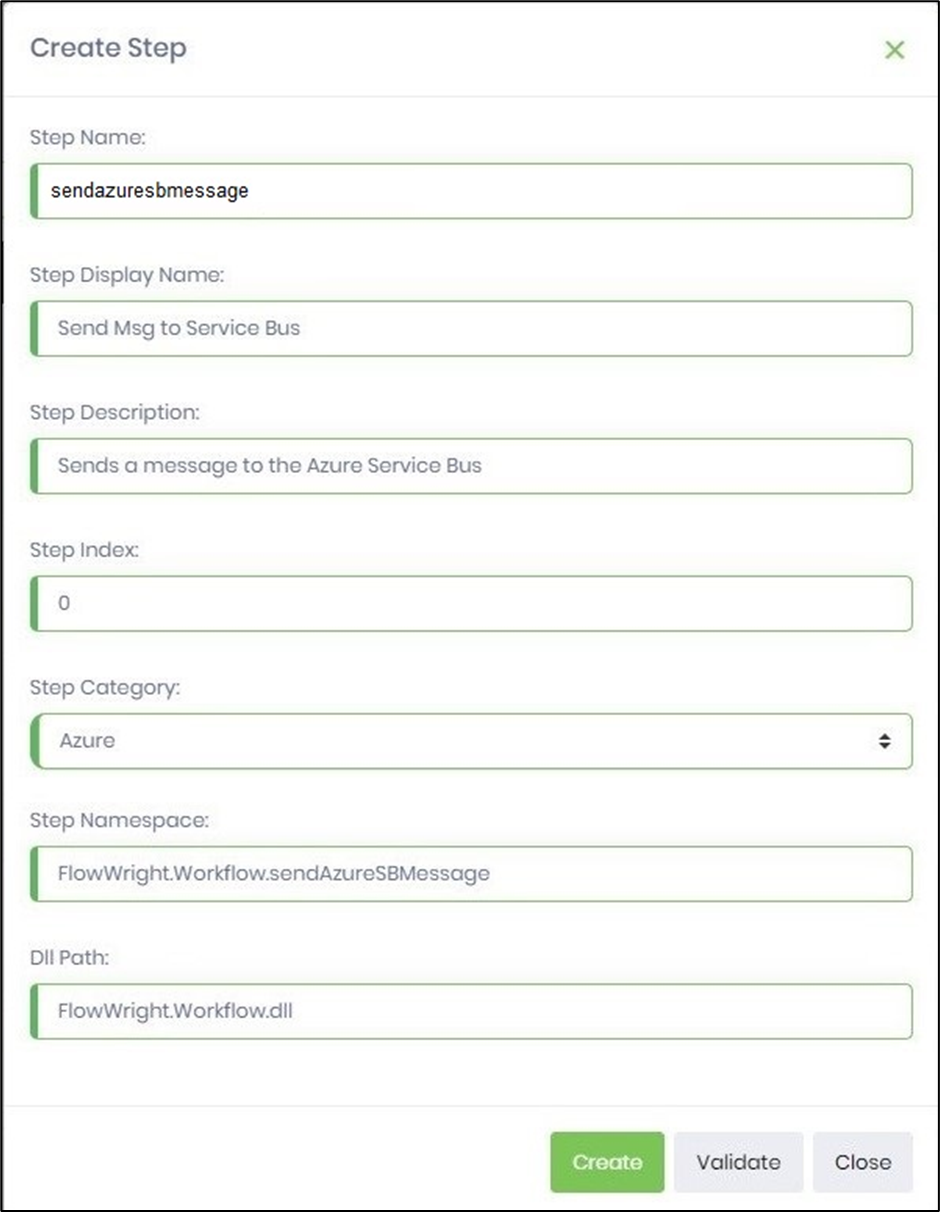
Click the Validate button to verify the configuration. A confirmation message will be displayed in the top-right corner.
A sample image of “Task” step properties is provided here for reference. This process step requires numerous inputs—some mandatory and some optional—to operate and returns one of several possible values.
