Create a dashboard widget
Select “Actions - Create” menu item to create a new widget. UI for adding a new widget looks as follows:
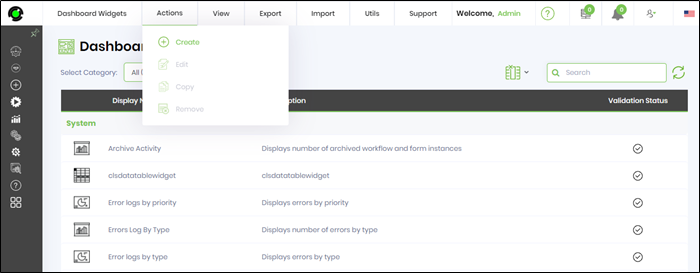
The create widget popup is rendered with fields to be configured. Provide the details and click on CREATE to add the new widget to the list.
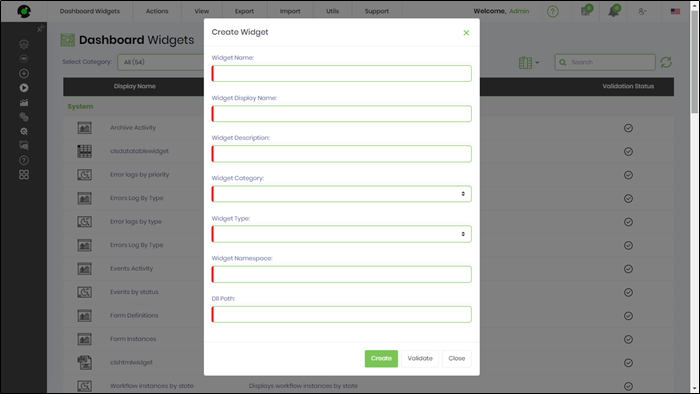
A reference image is included here.

Edit a dashboard widget
Select a widget to edit from the widget listing table and select the “Actions - Edit” menu item.

A popup is rendered with widget details. Provide the changes and click on UPDATE to confirm the action.

Copy a dashboard widget
Copy widget function makes an identical copy of the widget.

Select a widget to edit from the widget listing table and select the “Actions - Copy” menu item. Provide an unique widget name for the copy. Click COPY to confirm the action.

Delete a dashboard widget
Deletes the selected widget definition from the widget list.

Select a widget to edit from the widget listing table and select the “Actions - Remove” menu item. Click OK to confirm the action. The widget is removed from the list.

Auto-detect and auto-configure dashboard widgets
Auto-detect functionality allows the user to detect and configure dashboard widgets.

In the reference image you observe the NEW widget listed in table and waiting for configuration.

Select the new widget row item. Use the “Manage - Configure” menu item to auto-configure the selected dashboard widget.

Globalize a dashboard widget
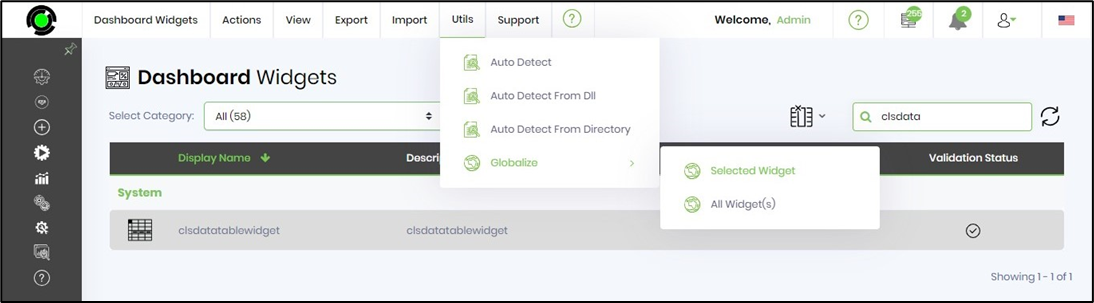
Select a widget to globalize from the widget listing table and click on “Utils - Globalize - Selected Widget” menu item.
Click OK to confirm the action.
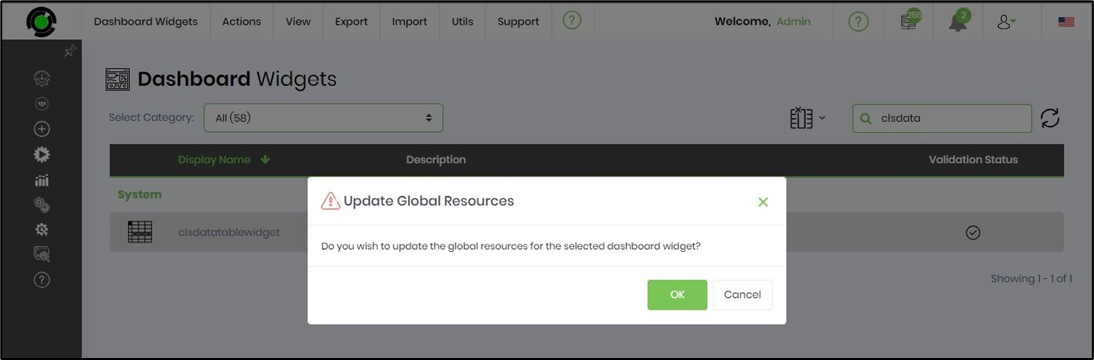
The global resources are updated for the dashboard widget in the background.
