Applications (AppBuilder) simplifies the process of using the FlowWright software by selecting the necessary features (like Dashboards, Initiate Forms, Task List, Process View, and Reports) as a custom application, configuring a separate UI with authentication, and granting access to this custom application for user application groups.
There are 2 parts to the Applications feature.
- Design
- Runtime
Using the Design feature, we can;
- Define an application around FlowWright features like Dashboards, Initiate Forms, Task List, Process View, and Reports
- Create a login page and customize
- Grant access to specific application roles
- Create application UI layout with menus and submenus
- Control the display of menus and submenus as per the user application role
Using the Runtime feature, we can;
- Render login screen, menus, submenus, and application as per the user application role
- Use the application
- Engage with a responsive UI that auto-adjusts for any device or screen
How to build an Application?
There are 3 steps to build a new Application.
- Create an Application
- Configure the login page with name, description, and logos
- Configure the application for the user access, application logo, menus, submenus, menu items like the dashboard, forms, tasks, processes, user area, and display area
As FlowWright Admin navigate to Create - Applications menu. The application builder page opens in a new tab as shown below.

Click on Actions - Create menu option. A popup window is rendered with fields for configuration. Provide the Application Name and Application Key. Select user application roles from the dropdown list that can access this application. Use the checkbox to Open Designer after creating the application. The sample input is shown below. Click on the Create button to proceed.

The AppBuilder renders the template to be designed on the new page as shown below.
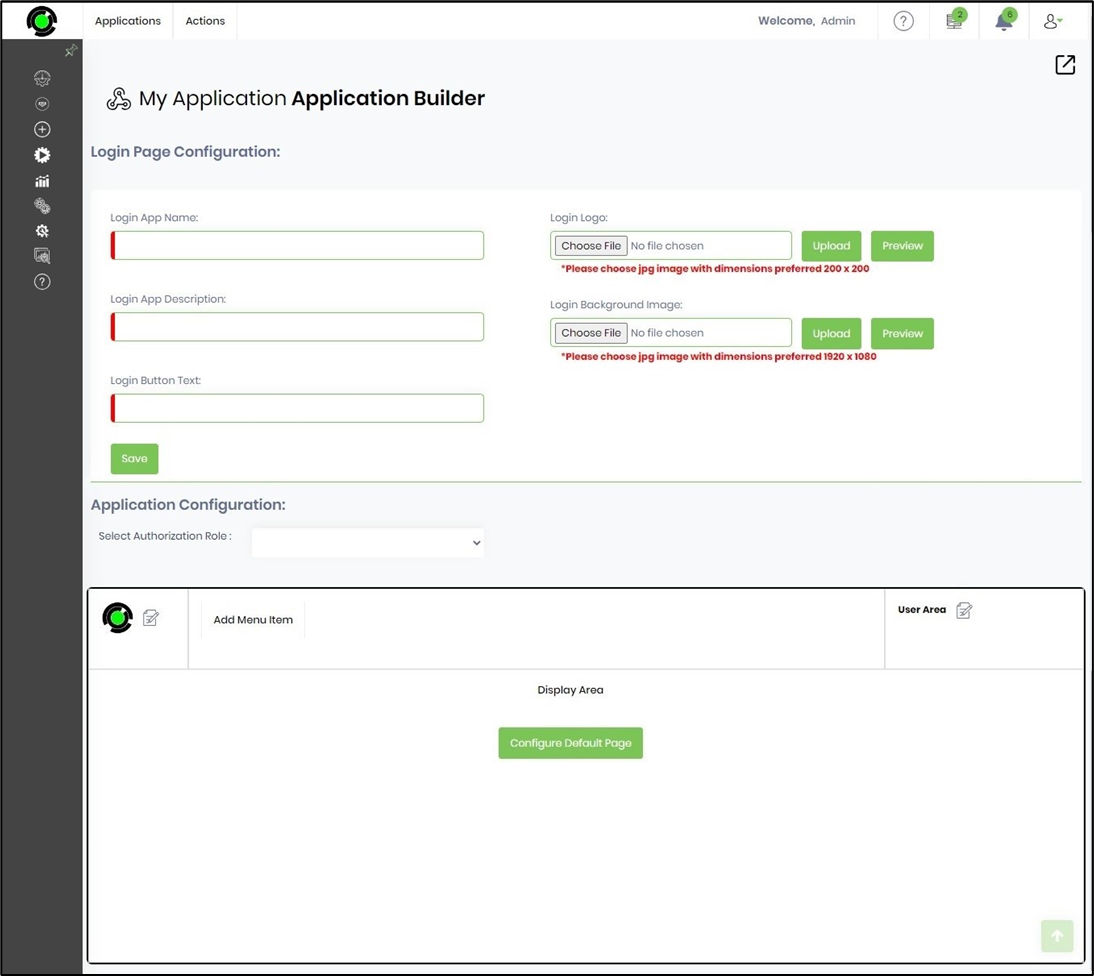
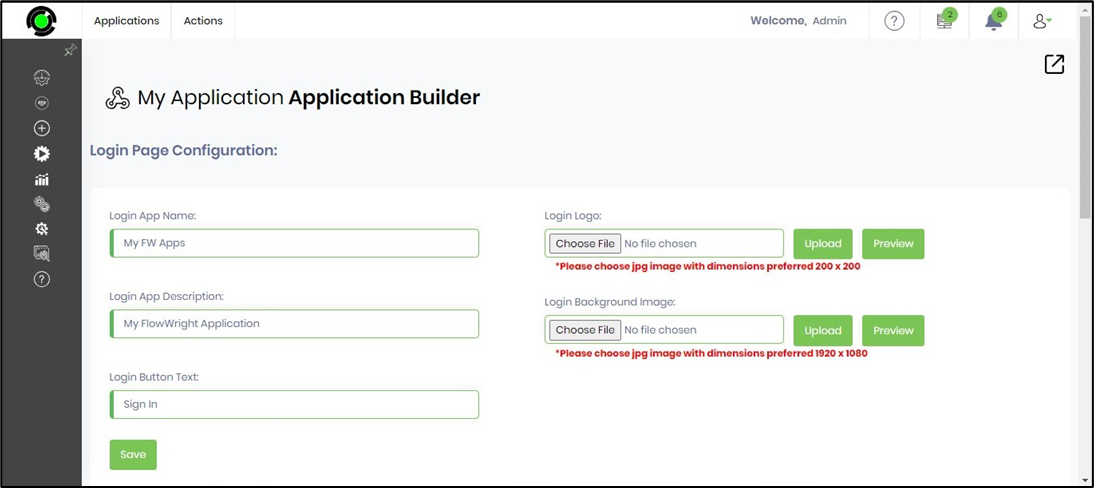
How to use the Login Page Configuration?
The Login Page Configuration UI manages the login name, app description, button text, login logo, and the background image information required to display during the application login.
Provide the login app name and description. Provide the login text for the button (for example: Sign In). Click on the Choose File button to upload the login logo and the background image. Click on the Preview button to view the image selected. Click on Save to confirm the changes.

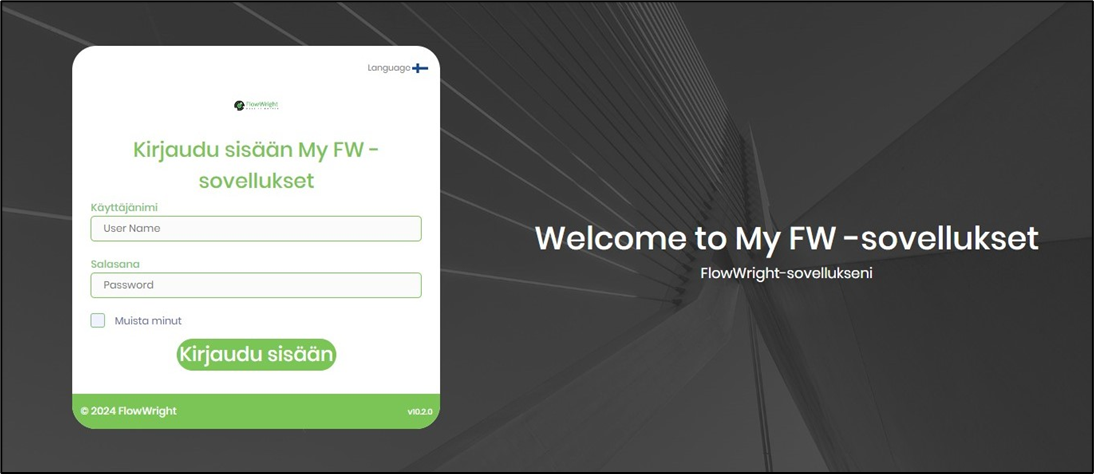
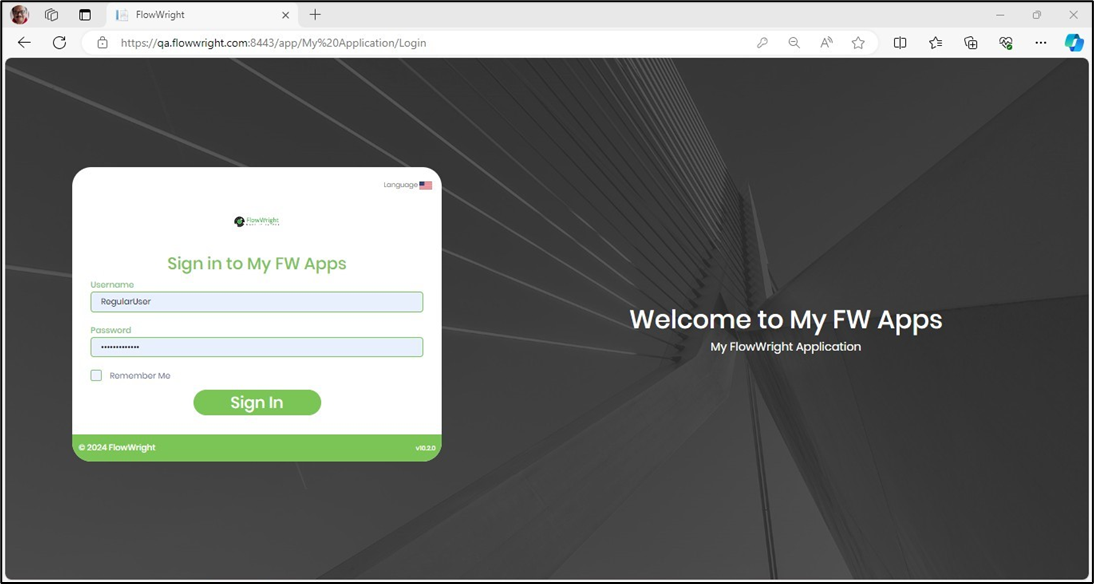
Click on the Preview button on the top right corner to preview. The application Login page is rendered as shown below.

How to use the Application Configuration?
The Application Configuration UI manages the application logo, menu items, user area, and display area information required to render during the application runtime.
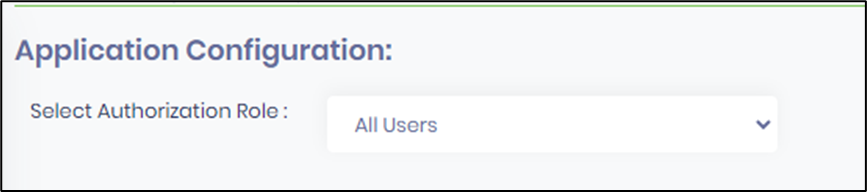
Select the authorization roles from the dropdown list as shown below.
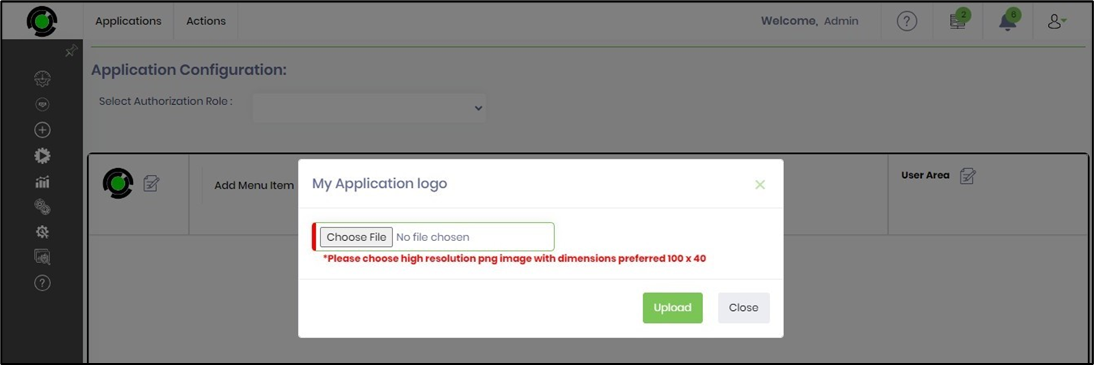
The application logo provided is a default FlowWright logo. Click on the modify icon to change this image. A popup window is rendered for configuration. Choose an image file from the local folder and confirm the upload. The sample input is shown below.
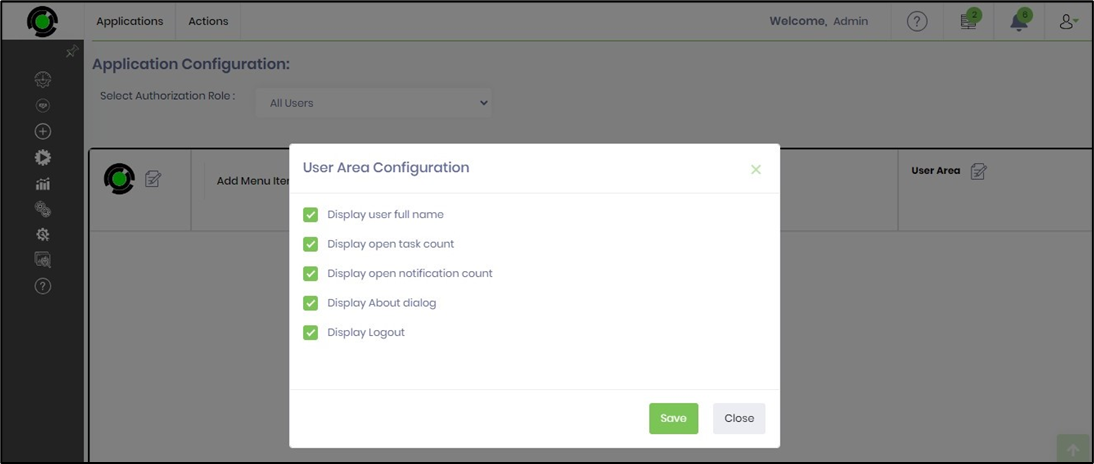
Click on the modify icon to configure the User Area. A popup window is rendered for configuration. Select the checkboxes to include information. Click on Save to confirm the changes. The sample input is shown below.
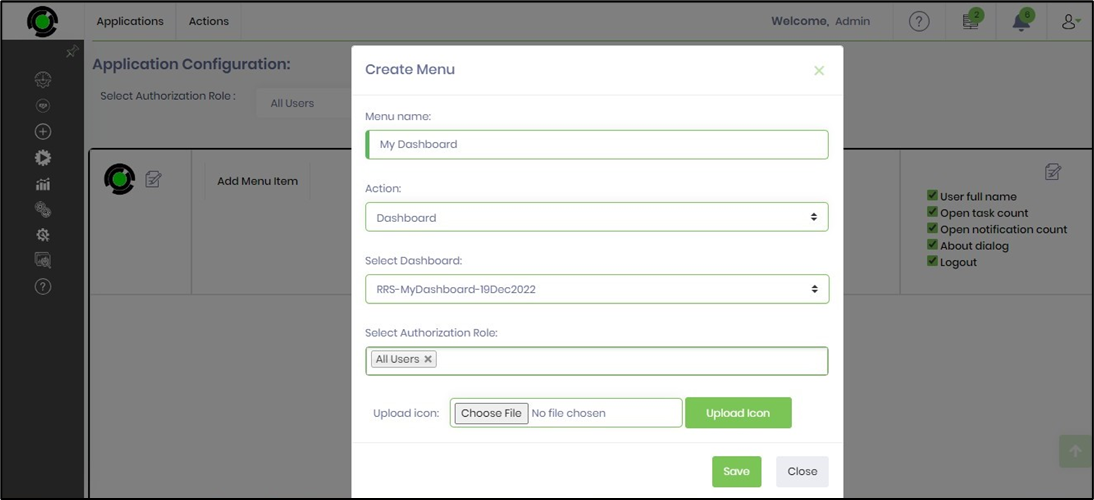
Click on the Add Menu Item button to create menu items. A popup is rendered for configuration as shown below.

Provide the menu name. Select one of the actions from the dropdown list - Dashboard, Form, Process, Report, Tasks, and Custom Action. Select the existing relevant items from the list. For example, select an existing dashboard from the list. Select the authorization roles from the list. Click on the Choose File button to upload an image icon for the Menu. Click on Save to confirm the changes. The sample input is shown below.
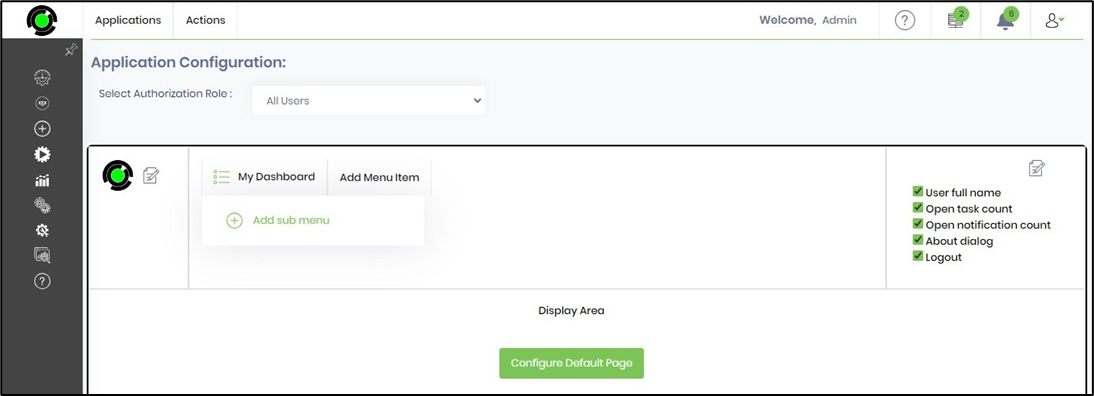
The menu item is created successfully. Mouse hover on the new menu item and click to add sub menus as shown below. The create submenu is similar in action to what is described above.
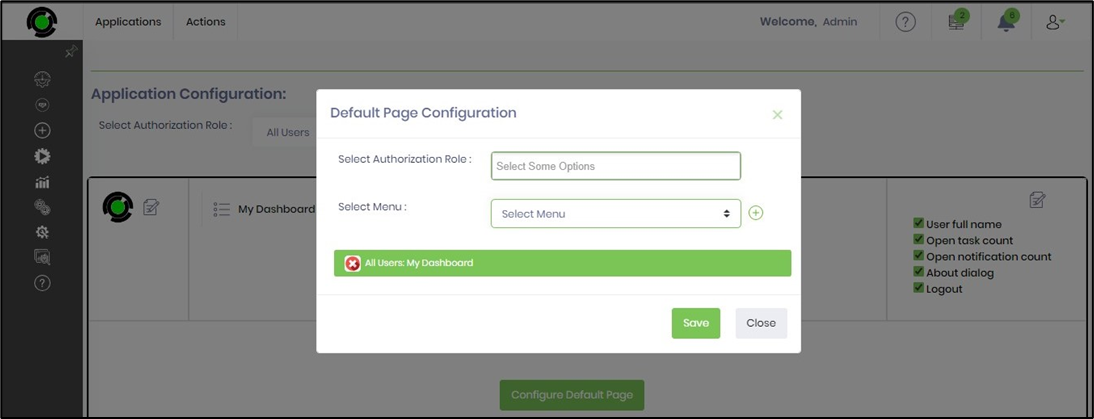
Click on the Configure Default Page button on the Display Area. A popup window is rendered for configuration as shown below.

Select the authorization role from the dropdown list. Select the menu item configured from the list and click on the plus (+) sign to include. The sample input is shown below. Click on Save to confirm the changes.
Use Add Menu Item and iterate to include more menu items related to Dashboard, Form, Process, Report, Tasks, and Custom Action. The items considered for the display area are listed as shown below.

How to execute the application?
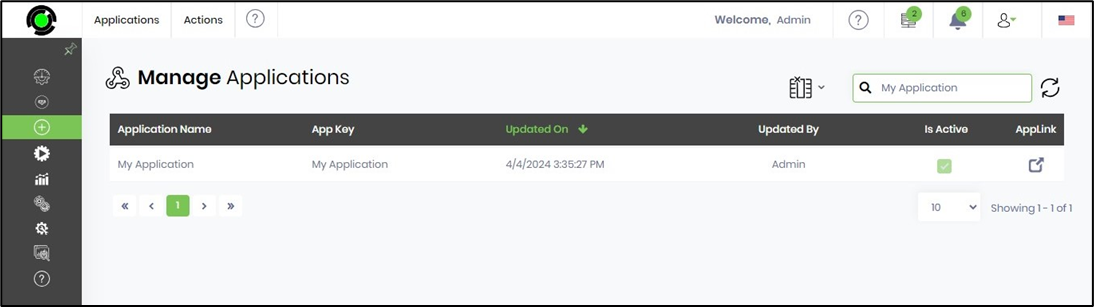
FlowWright Admins can navigate to the Create - Applications menu page and click on AppLink to execute the application.
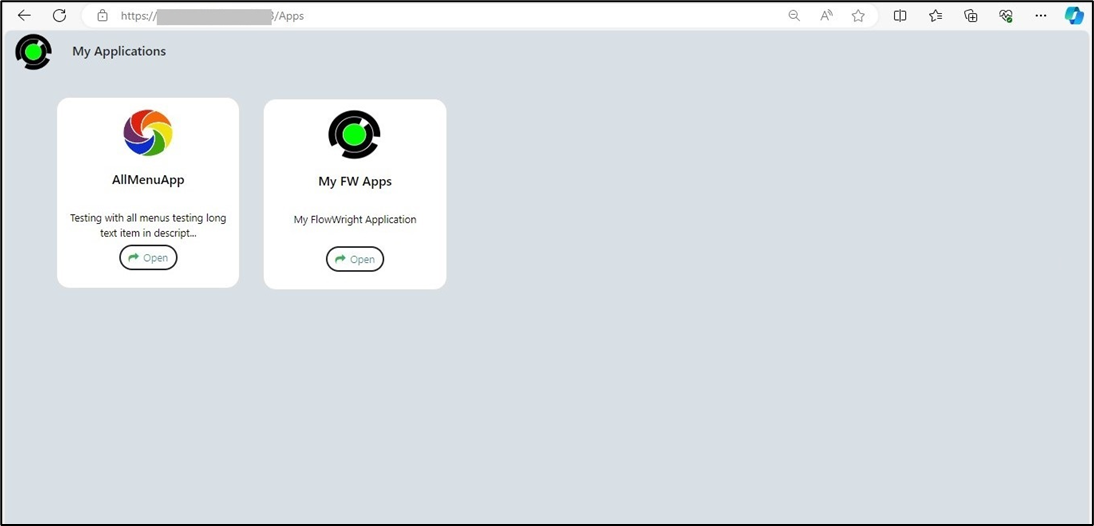
The app-authorized users can copy-paste the following URL after logging into the FlowWright application to view the applications page.
https://<your server>/Apps
My Applications page is rendered with a list of applications authorized for use, arranged in a deck as shown below. The user clicks the Open link on the app icon to execute the application.
The user authenticates on the application login screen as shown below.
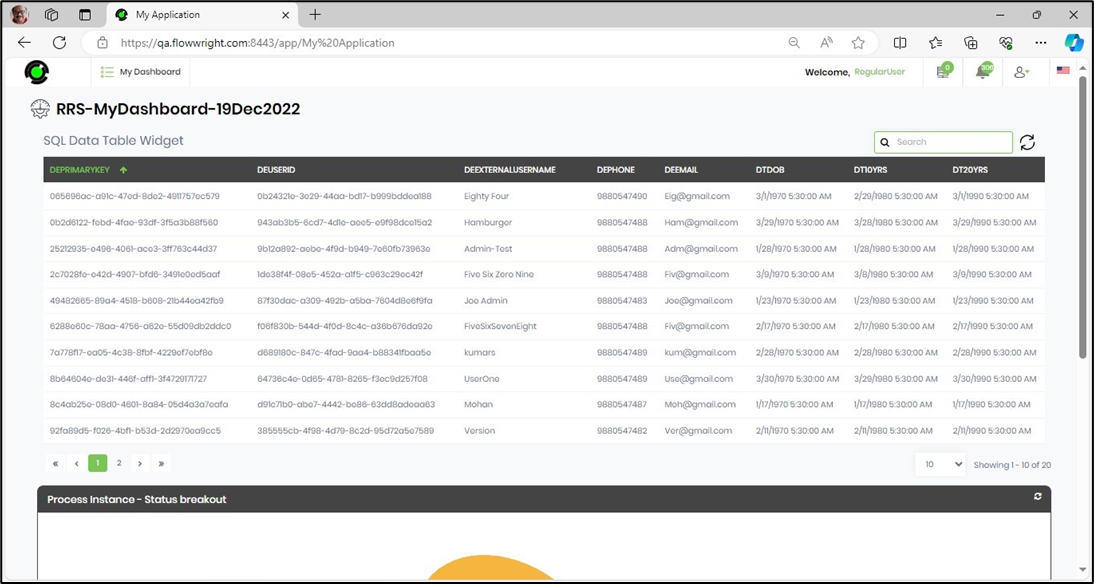
The application renders the default page on load as shown below. The user can navigate to other features using the menu items. Click on the User Profile - Apps menu option to navigate to the My Applications page. Click on User Profile - Logout to exit the application.
How to modify an application metadata like name and application key?
As FlowWright Admin, navigate to the Create - Application page and select the application from the table list. Select Actions - Edit menu option.
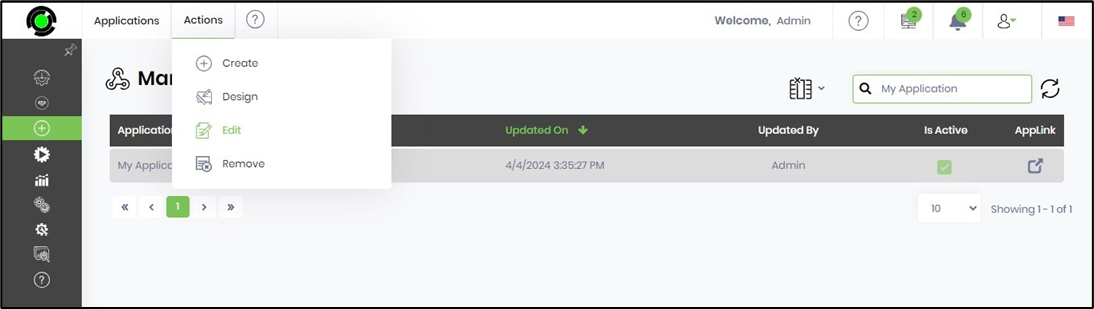
The Application metadata is rendered in the popup window. Here, you can modify the application name, application key, and user access by their application roles. Unmark the Active checkbox to disable the application from use. Click on the Update button to save the new configuration. An alert notification confirms the changes.

How to modify an application configuration?
As FlowWright Admin, navigate to the Create - Application page and select the application from the table list. Select Actions - Design menu option.
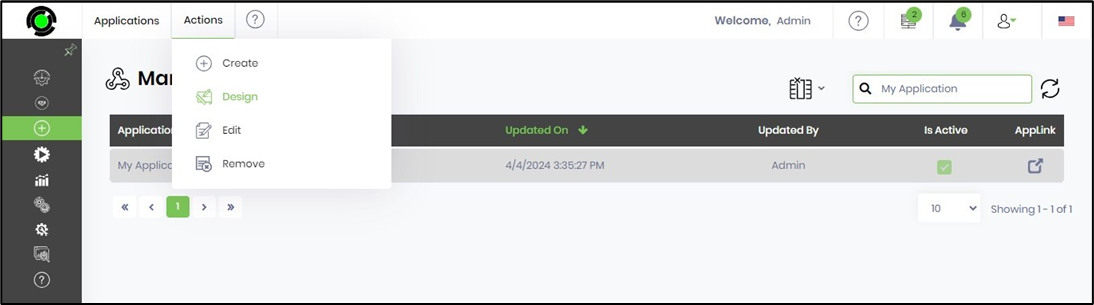
The Application configuration is rendered on the new page. Here, you can modify the login page and application configurations. Click on the Update button to save the new configuration. An alert notification confirms the changes.
The configuration changes are tracked and are available to view on the Status - Logs - System Log - Audit Log menu page.

How to globalize an application?
As FlowWright Admin, navigate to the Create - Application page and select the application from the table list. Select Actions - Design menu option.
The Application configuration is rendered on the new page. Select Actions - Globalize menu option.

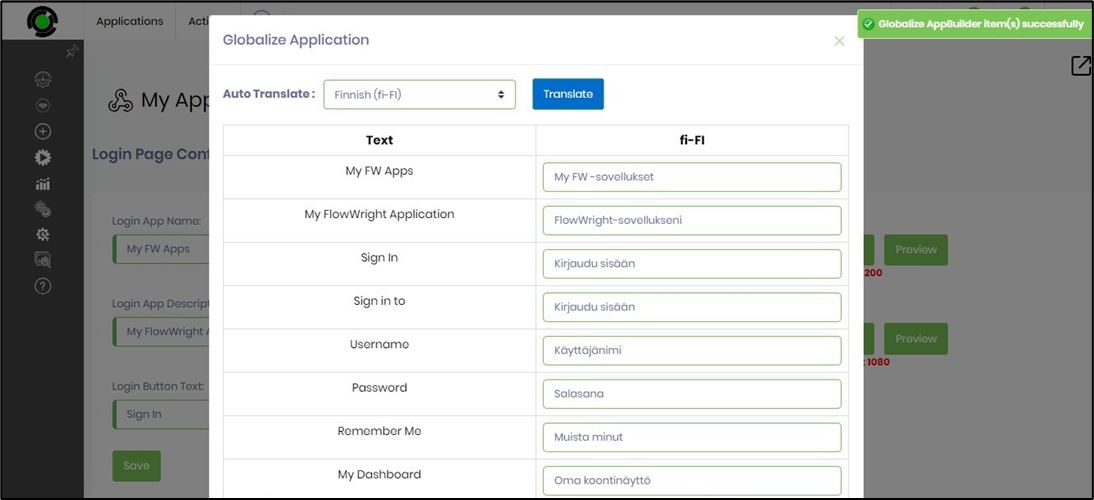
The Globalize Application popup is rendered as shown below. Select the language from the dropdown list and click on the Translate button.
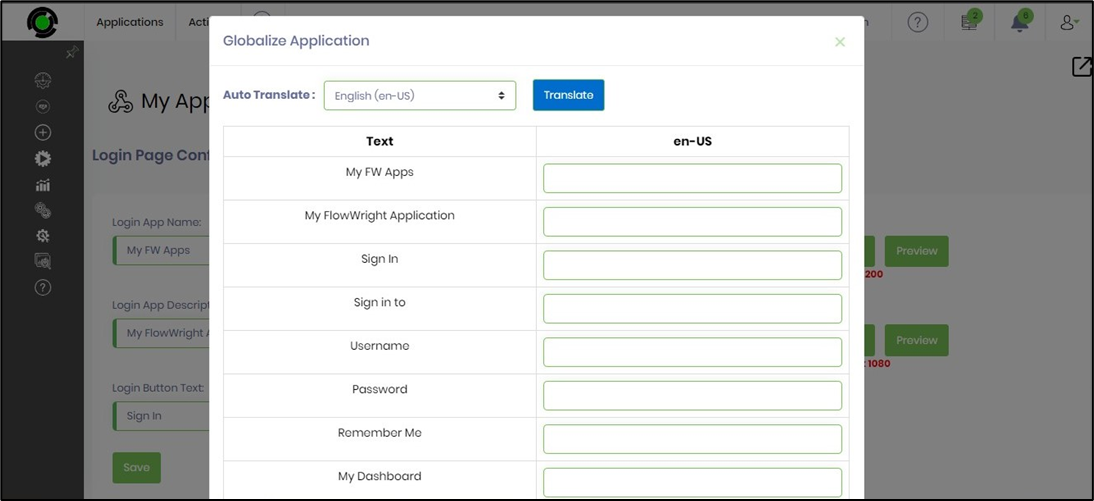
The text is translated using the Google Translate or Azure Translate AI service and placed in the adjacent textbox. An alert notification is displayed in the top right corner.
Navigate to the My Applications page and click on the Open link to execute the application. The application login page is rendered on the new page. Click on the culture flag icon and choose the language region.

The application login screen changes accordingly as shown below. Log in to the application to view the globalization changes.