Form definitions can be embedded within other forms using the sub-form control available in the form designer toolbox.
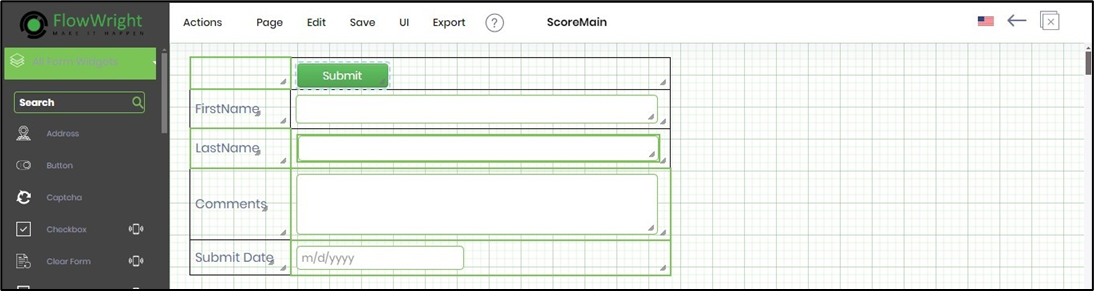
Create a form “ScoreMain” like the one below with a table, labels, textboxes, textarea, date picker, and submit button.
Create a form called “ScoreSubform,” like the one below, with a table, labels, and text boxes.

Embedding a form as a sub-form
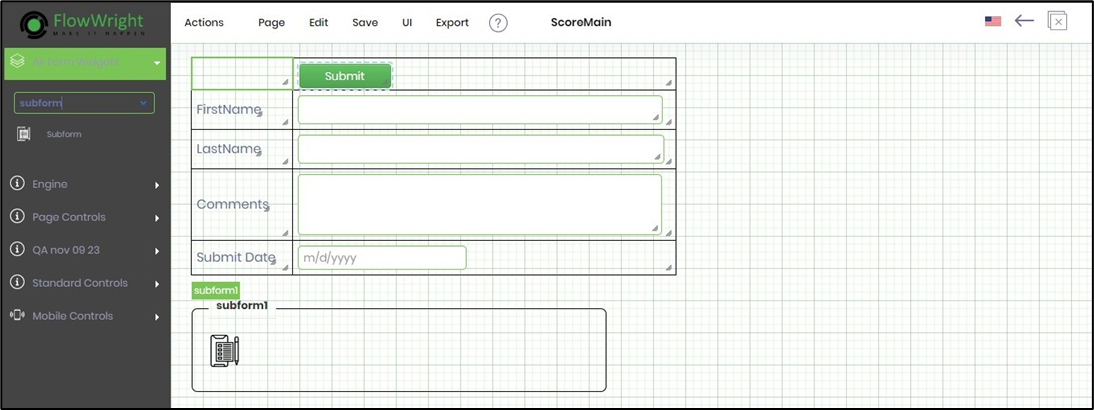
Navigate to the “ScoreMain” form definition and drag-drop a subForm control to the form designer canvas.
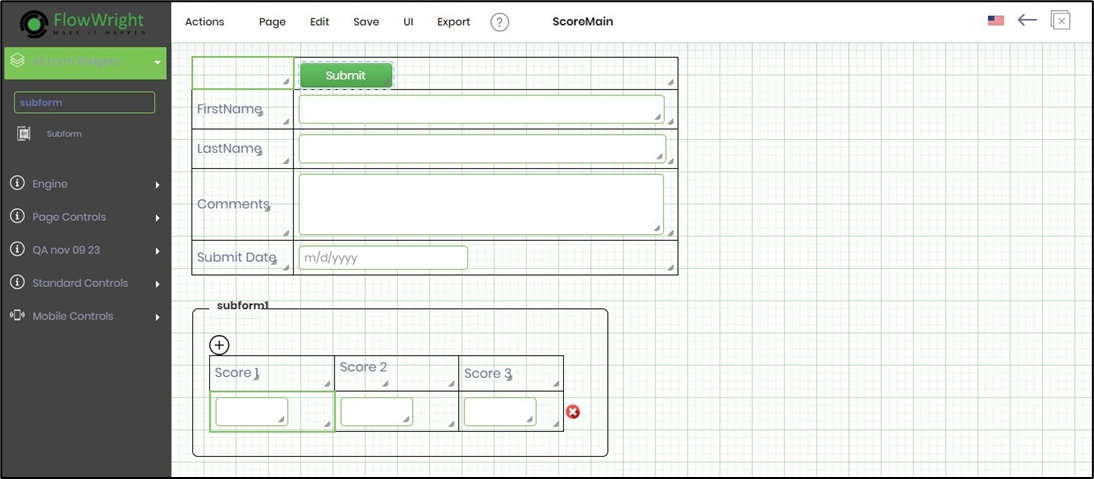
Double-click the subform control, and a popup window will appear for configuration. Provide a name for the subform (not mandatory). Select the form definition from the drop-down list to configure it as a subform. Click on the checkbox to show the subform in a grid view. Click the checkbox to consider the subform's first row of the table as column headers. Click the checkbox to hide the subform when the parent form is rendered. Click the checkbox to hide the subform border design when the form is rendered. Click on the Save button to confirm the configuration.

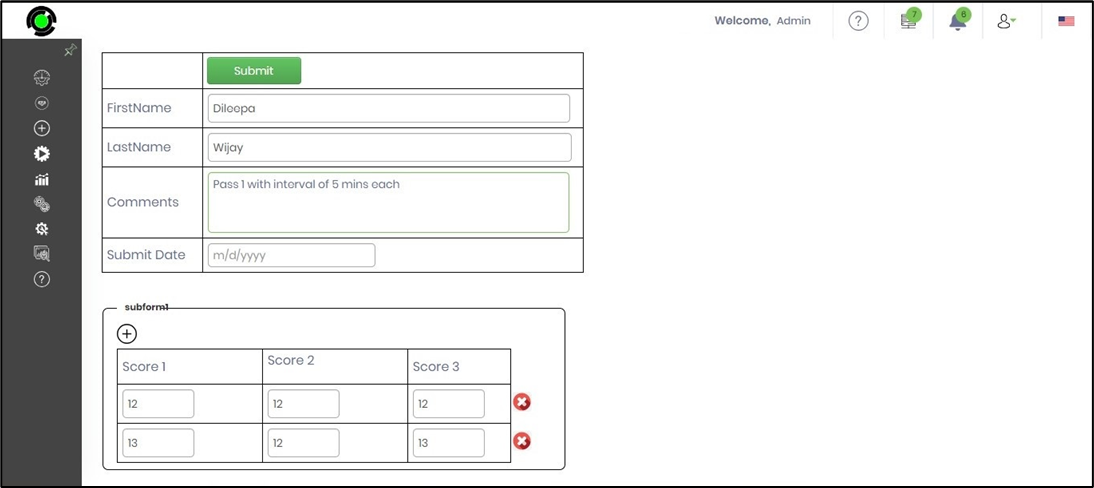
The “ScoreMain” form and the “ScoreSubform” are rendered below.
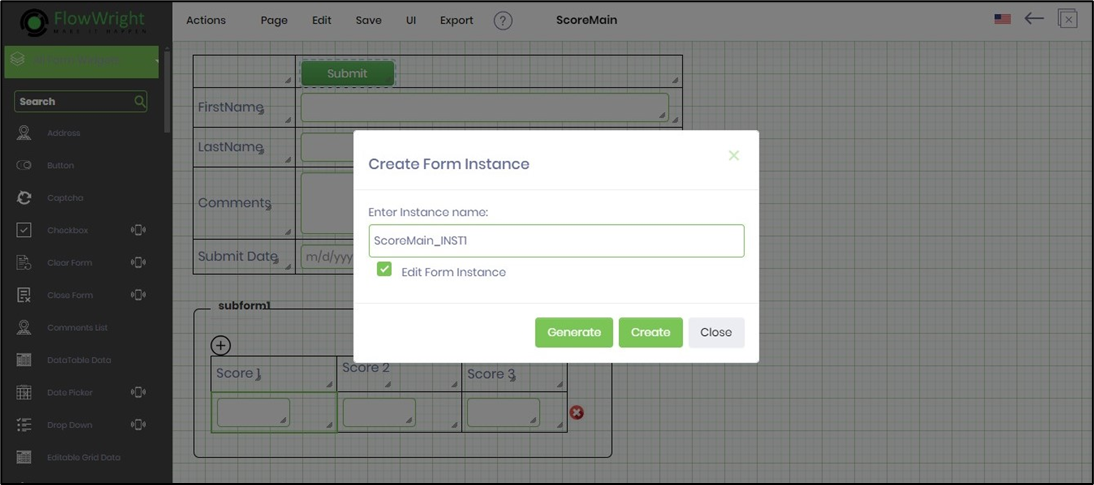
There are 2 ways to create a form instance using the UI. Navigate to the Actions - Create Form Instance menu option on the form designer page. A Create Form Instance popup is displayed for configuration. Click on the Generate button for the next instance name in sequence. Click on the checkbox to edit the form instance after it is created. Click on the Create button to create a new form instance.
The other approach is to navigate to the Run - Form Instance page and click on the Actions - Create menu option. A Create Form Instance popup is displayed for configuration. Click on the Generate button for the next instance name in sequence. Click on the Create button to create a new form instance.

Select the instance from the list on the form instance page and click on the Actions - Edit menu option. The form instance is rendered as follows:
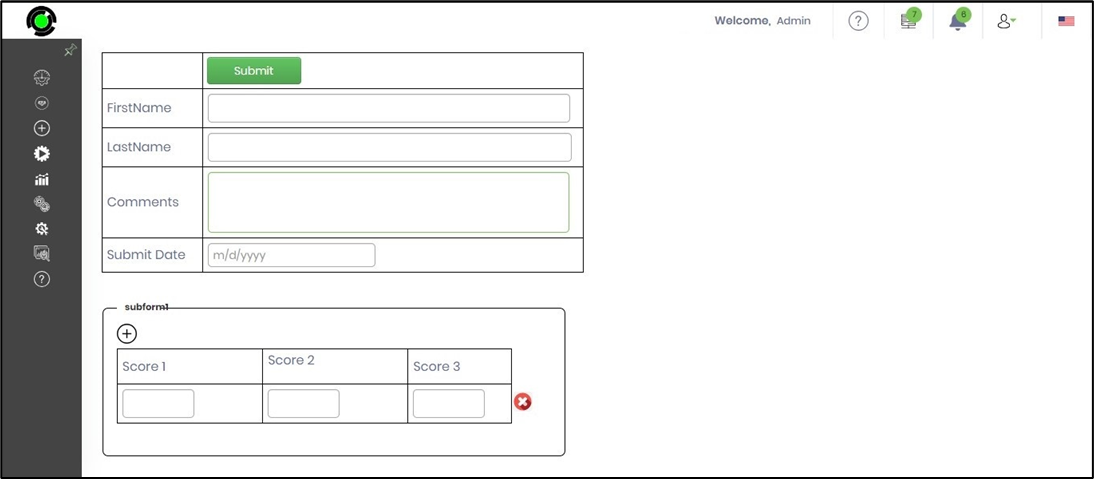
The subform configured as a grid view displays a plus sign icon (+) to add rows and an X sign icon (x) to remove rows from the grid view.