This user interface will let user’s define regions on an image for recognition. The regions are defined manually by using a mouse and drawing an box over a image region (similar to cropping). This image region is stored by a name (user defined) with their height, width and XY coordinates. The image regions are converted to text by using the OCR workflow step clsAzureMLGetText.
Select "Status -> Settings -> Image Regions" menu optioon as shown below.

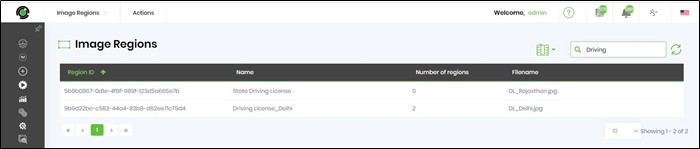
The image regions user interface is displayed as shown below.
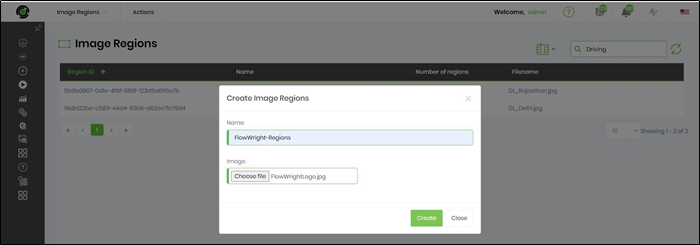
Select "Actions - Create" menu option to start with a new image region. Enter a name and select the image from the local system folder path as shown below.
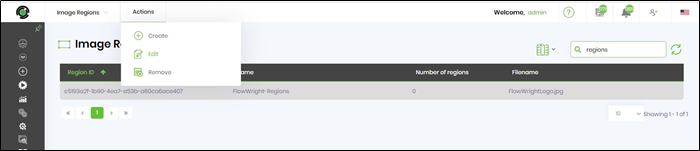
The new image region is created successfully with no image regions as shown below.

Select the image region and choose "Actions -> Create" menu option to edit as shown below.
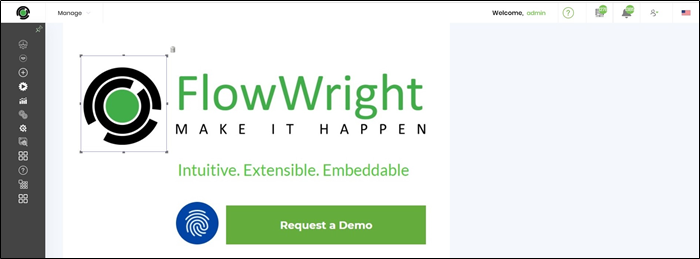
The Manage Image Regions user interface is displayed with the image to define image regions as shown below.

Use the mouse pointer to draw a box across the image. The image region is outlined with a "Delete" icon as shown below. The selection can be redone by clicking on the delete icon.
Double-click on the selected outline and provide the name as shown below.

The coordinates are mapped to the new image region as shown below.

Select the image region by their name and resize the coordinates by the corner handles as shown below.

The new coordinates are updated for the image regions in the table as shown below. Select the region name by their row and choose "Clear Regions" button to remove.
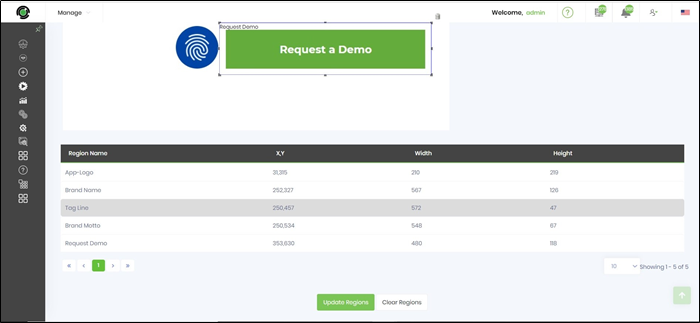
Select "Update Regions" button to save the definitons.

Create a new process definition using clsAzureMLGetText workflow step as shown below. As an option, clsTessearctGetText workflow step is also included here.

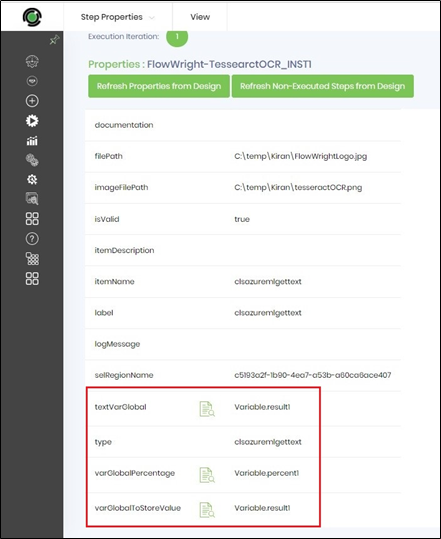
Configure the step properties “Settings” of the workflow steps as shown below.

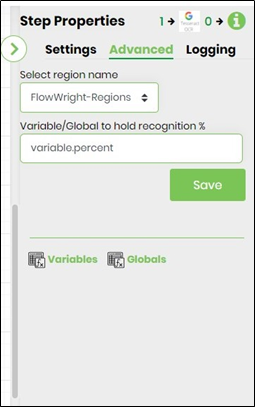
Configure the step properties “Advanced” of the workflow steps as shown below.
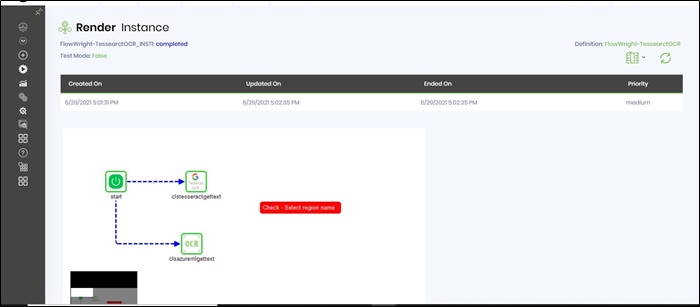
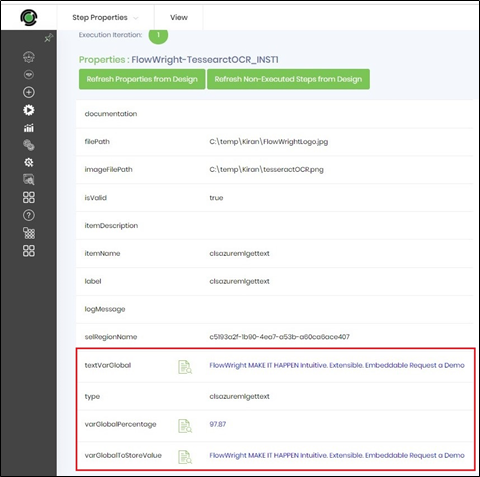
Create and execute a new process instance and render the instance to view the step properties as shown below. The image regions are seen converted to the text using the OCR approach.