Description:
This step waits for the mentioned date and time and then executes the next step
Inputs
- waitDateTime – Wait till
Returns
- True – step executed successfully
- False – step failed to execute
Usage:

Example:
Let’s build and execute the waitForDateTimeDef example.
- Create a new definition called “waitForDateTimeDef”
- Select the definition and click the “design” button
- Drag a “waitForDateTime” and “placeHolder” step to the canvas
- Connect the dots between the steps as shown above
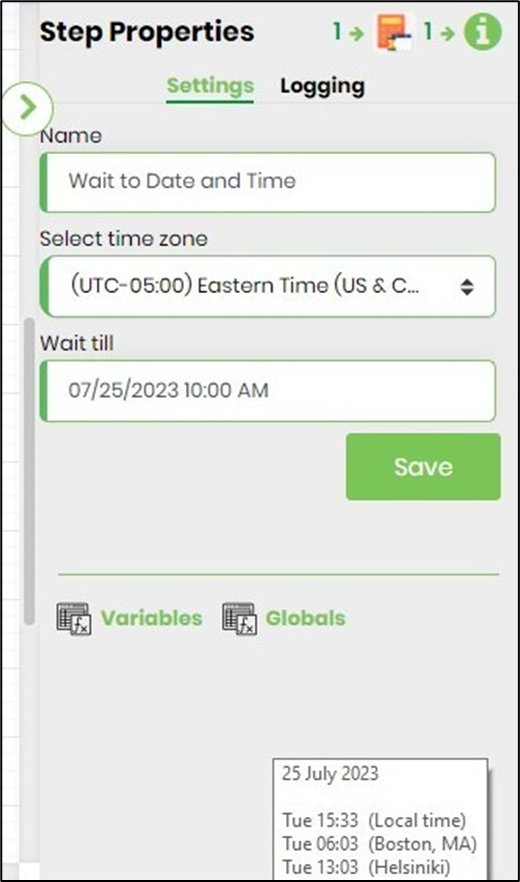
- Click on the “waitForDateTime” step to configure its “Settings” properties. Provide a name to the step. Select the time zone from the dropdown list. Configure the wait date and time. Click on “Save” to confirm changes.
- The “Logging” setting configuration is necessary for documentation and also measure the workflow progress and the percent complete. This is acheived by configuring the step state and percent fields individually as shown in the images below. Configure the “Logging” using the following properties.

- Save the process definition, create a new process instance and execute.
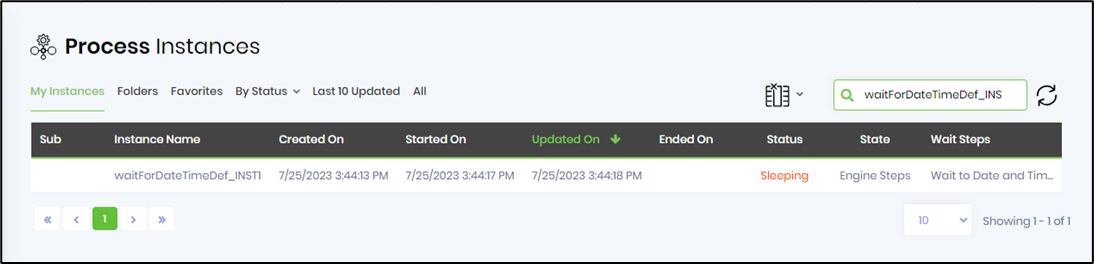
- Navigate to process instance page. The process instance is “sleeping” at the wait step. The instance continues to sleep till the configured date and time and later, executes the next step.