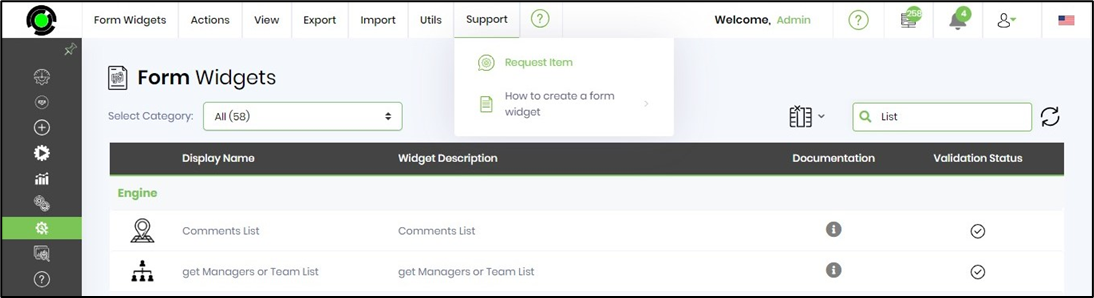
The form widgets administration activities are managed from this UI. Navigate to Administration - Form widgets menu option.
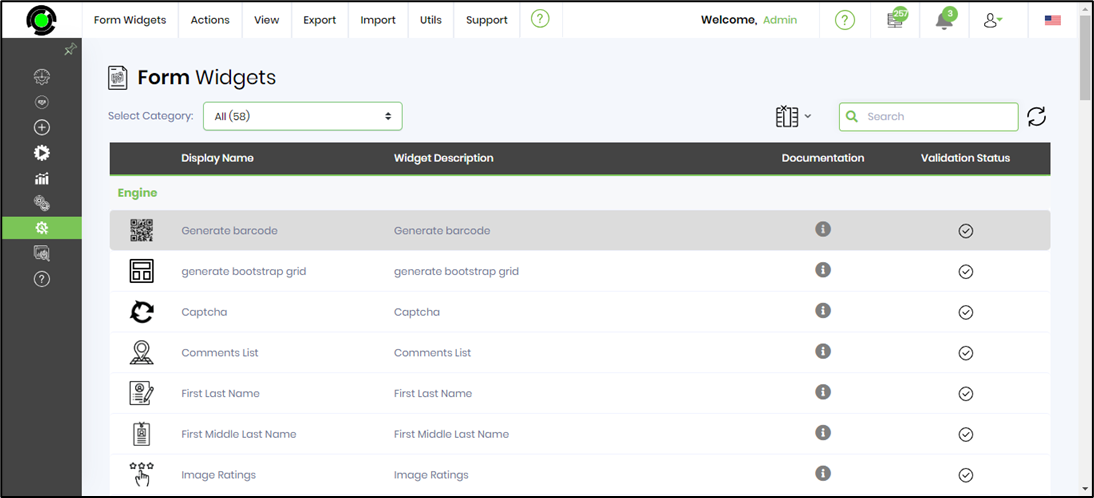
Select the category drop down list. The form widgets are categorized as ALL or specific to its feature function as shown in the following UI. The widget categories are sorted alphabetically. The total count of widgets are mentioned in the brackets.

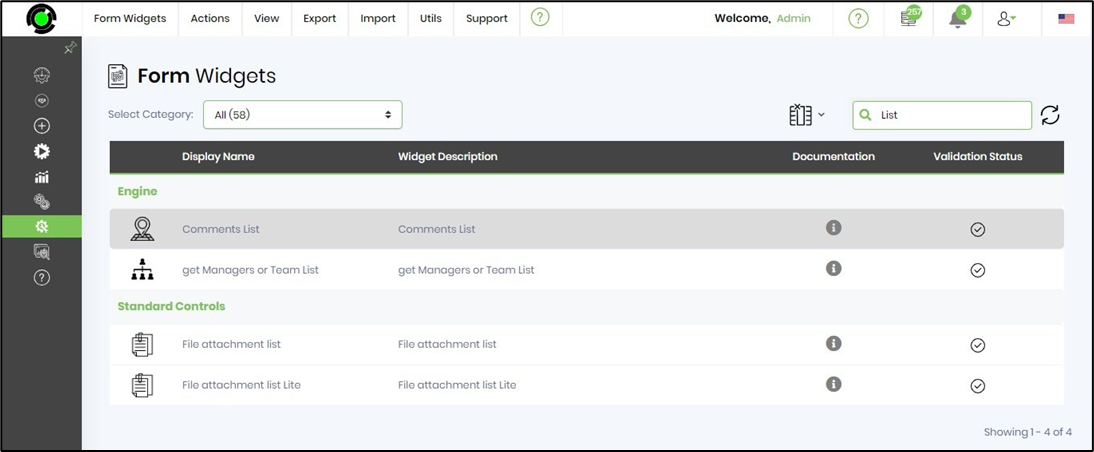
Select ALL category to view the form widgets sorted alphabetically in a table. Each row contains the widget icon, name, description, help documentation link and validation status. Use the search box to narrow down the result. Use the column selector to add or remove columns to the table.
Create a form widget
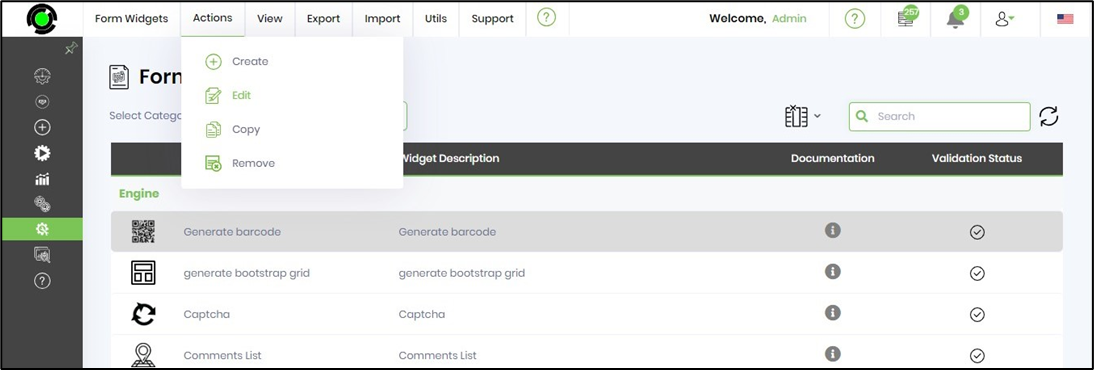
Admin User can create a new custom form widget by navigation to Administration - Form Widgets - Actions - Create menu option.

The Create menu option provides an UI which requires information to create a form widget. Click on Validate button to validate the step inputs. Click on Create button to create the new process step.

The new custom form widget is available in the table by the category.
Edit form widget information
Search and select the step name from the table displayed. Navigate to Actions - Edit menu option. The widget information is provided for modification as shown below. NOTE: Any widget modifications which fails the validation shall set back the existing form definitions.
For e.g. the form widget display name can be changed here. Click on Update to confirm the changes.
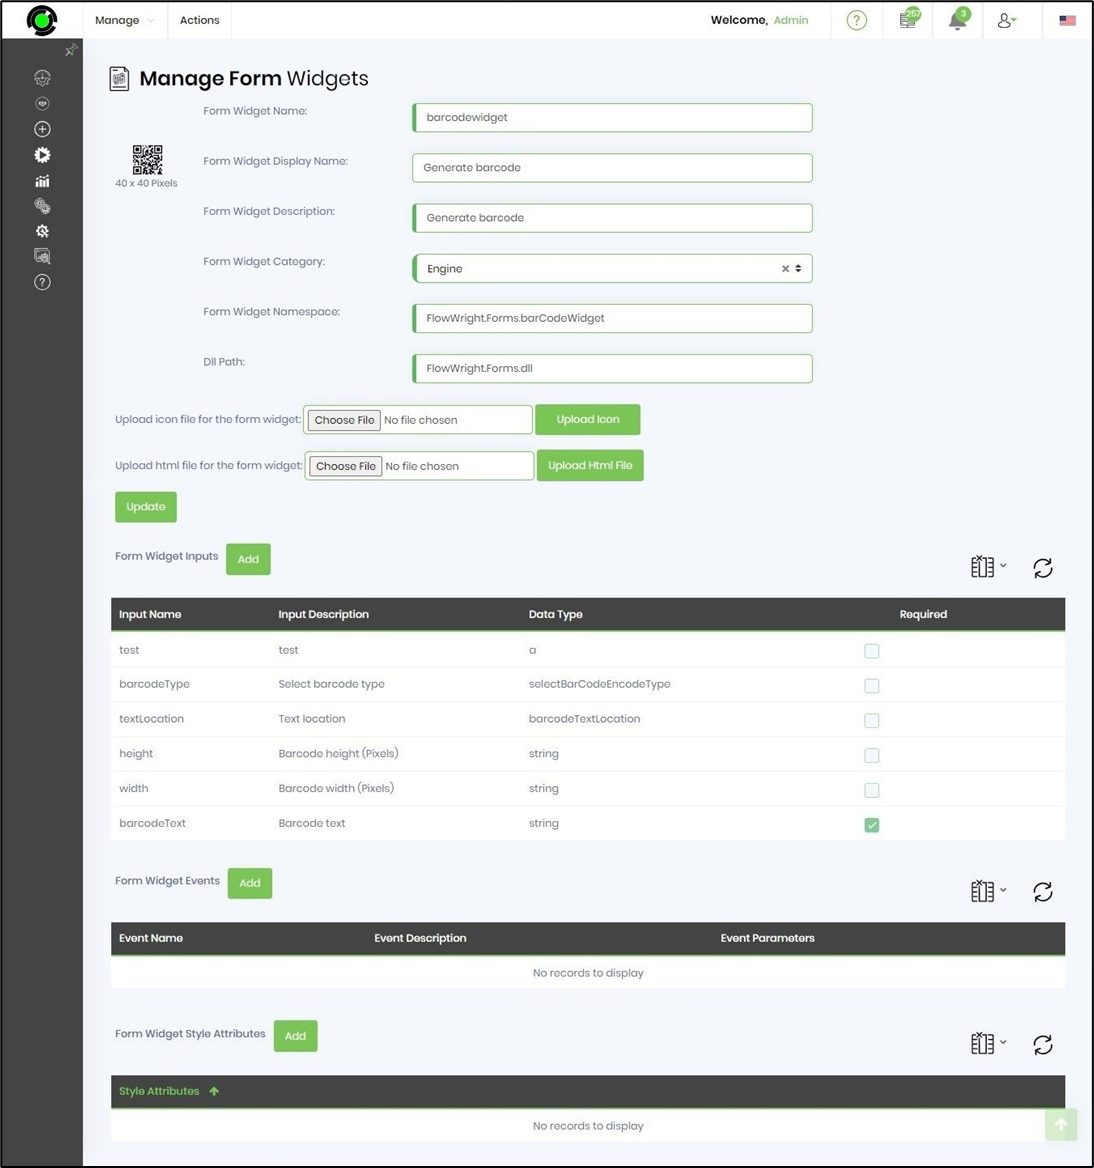
The widget icon can be changed by uploading the icon file here. New inputs can be added here. The input fields and its data type can be modified here. The hierarchy of the fields can be ordered by drag and drop action. The input fields can be configured as required here.
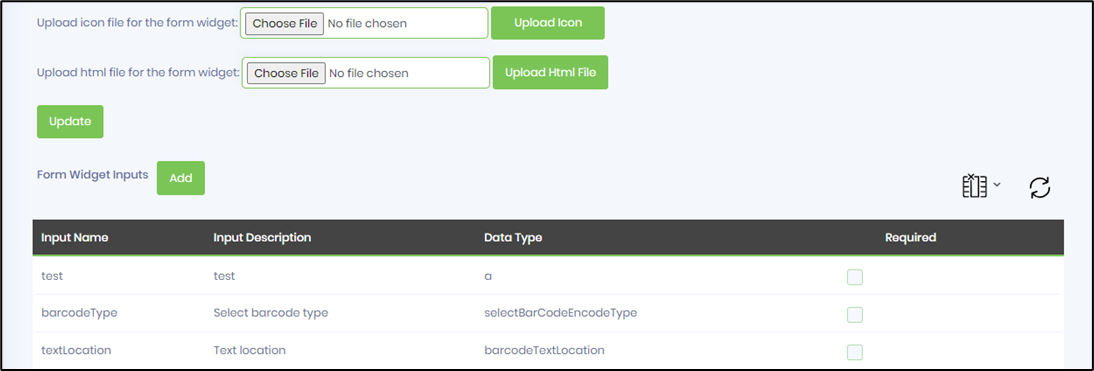
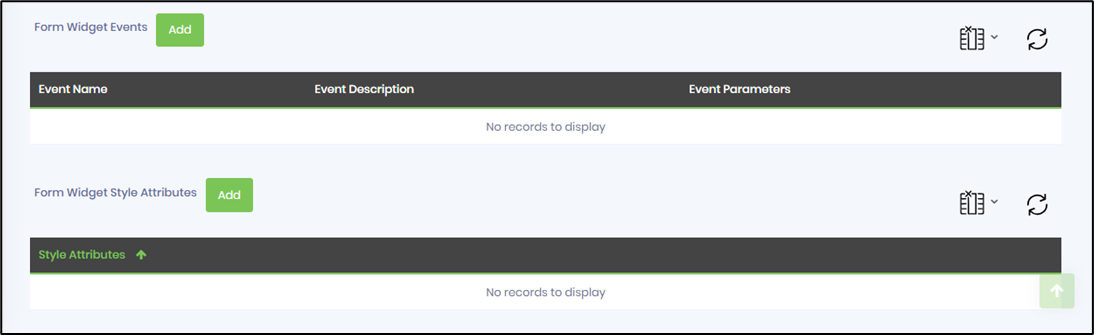
The widget events and style attributes can be configured here.
Search form widgets
Select a category from the dropdown list to view the widgets belonging to the category. Type in the widget name in the search box to filter as shown below.

Copy a form widget
Search and select the widget name from the table displayed. Navigate to Actions - Copy menu option. A popup window is displayed. Provide the new widget name. Click on COPY button to confirm the action. The new widget is created and listed in the category.

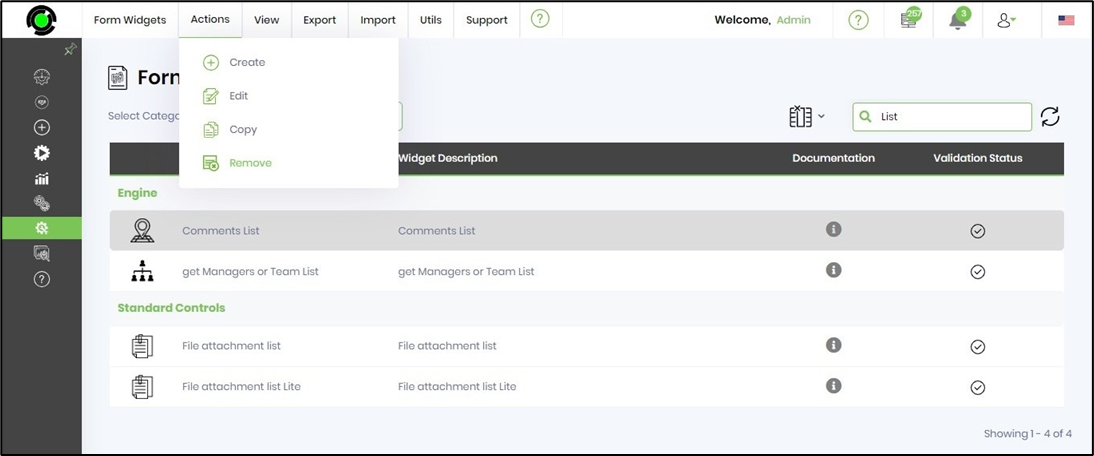
Remove / Auto Detect a widget
The form widget can be removed and configured again when necessary. Search and select the widget name from the table displayed. Navigate to Actions - Remove menu option.
An alert notification prompts you to confirm the changes.
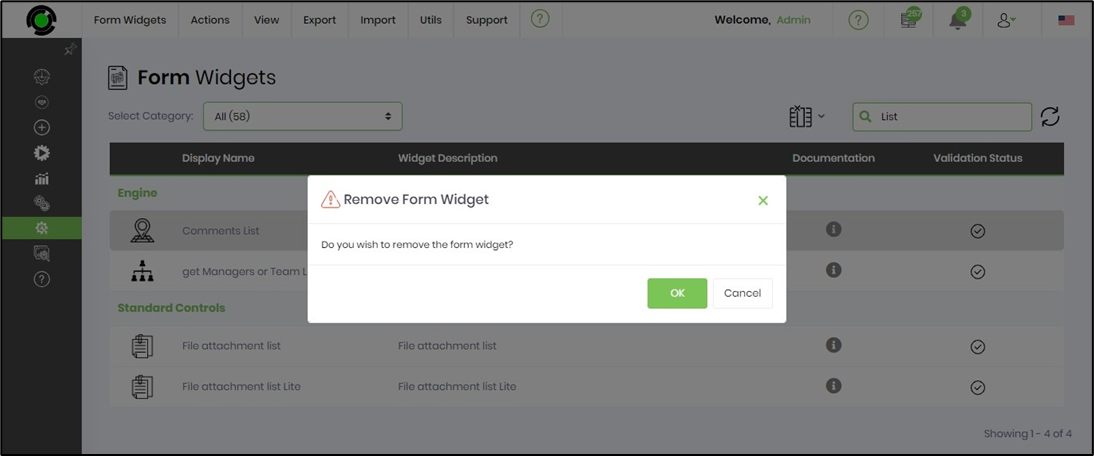
The form widget is removed successfully.

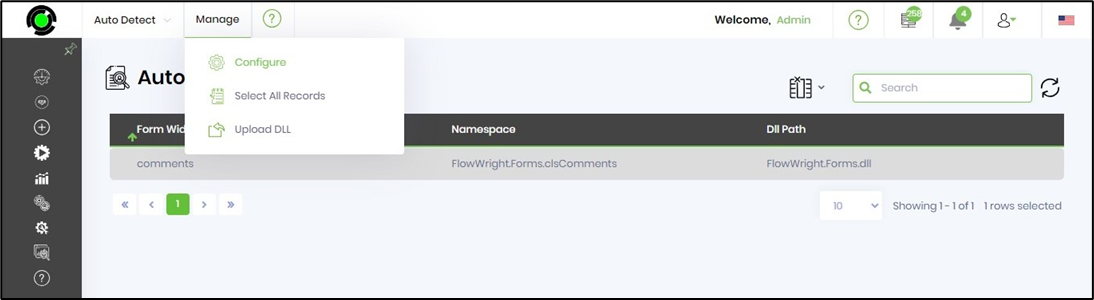
Navigate to Utils - Auto Detect menu option. A new tab is displayed.

The form widgets are introduced when FlowWright is updated by a patch release. These widgets may be new or modified with feature enhancements. The widgets (including the ones which were removed) are displayed in the table after auto detect. Select the widget to configure manually. Repeat the configuration for all widgets in the table if necessary.

The configured widget is now available for use.
View With Errors
View form widgets which have failed configuration. Navigate to View - With Errors menu option. The widgets which have failed validation are listed in the table as shown in the image below.

View usage
Select the widget category from the dropdown list. Navigate to View - Usage menu option. The usage information is provided for all widgets as shown below.

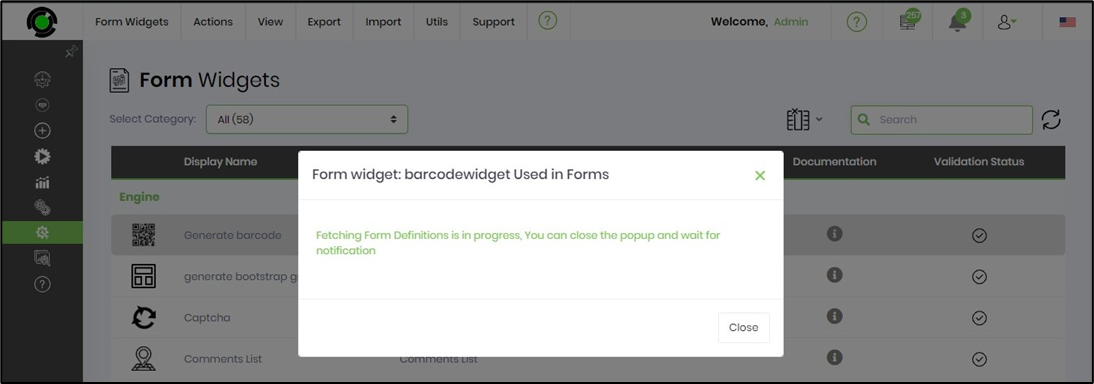
View forms Used by / Not used by
Search and select the widget from the table. Navigate to View - Forms - Used by / Not used by menu option.
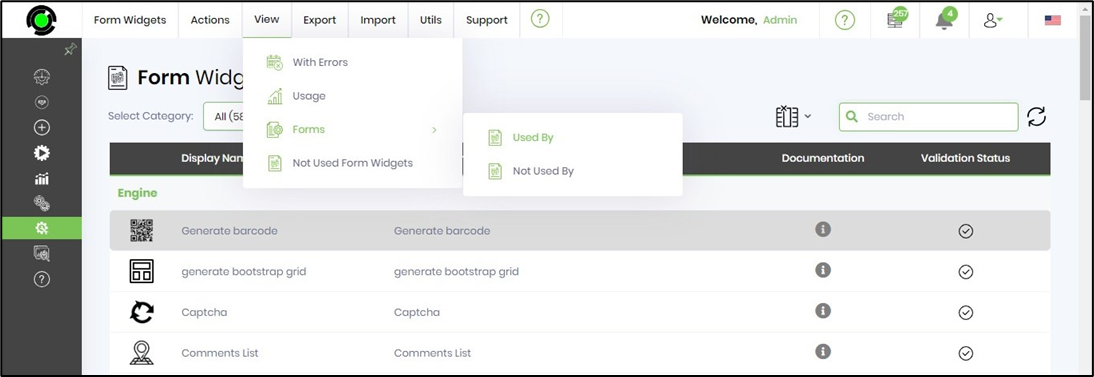
The application executes a background task to list all form definitions using this widget. A notification is sent to the user on the job completion. Likewise, the a list of form definitions not using this widget is also generated by selection.
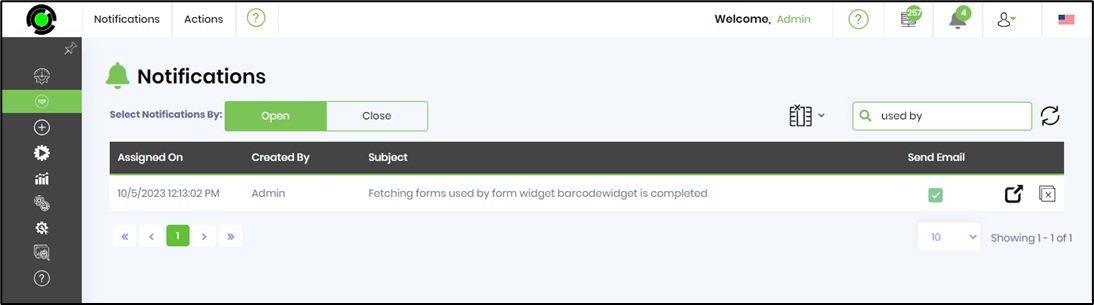
A notification (including email) is sent to the user on the job completion.
Navigate to Notifications and select “View all Notifications” button. The notifications are rendered in the new tab.

Select the appropriate notification and click on the pop-out icon to view.
The list of process definitions or workflows using this decision step are rendered as a popup window. Select the process definition hyperlink to view the definition in detail.

The email notification is delivered to the user's mail box.

Not used widgets
Navigate to View - Not used widgets menu option.

The application executes a background task to list all forms definitions not using this widget. A notification is sent to the user on the job completion.
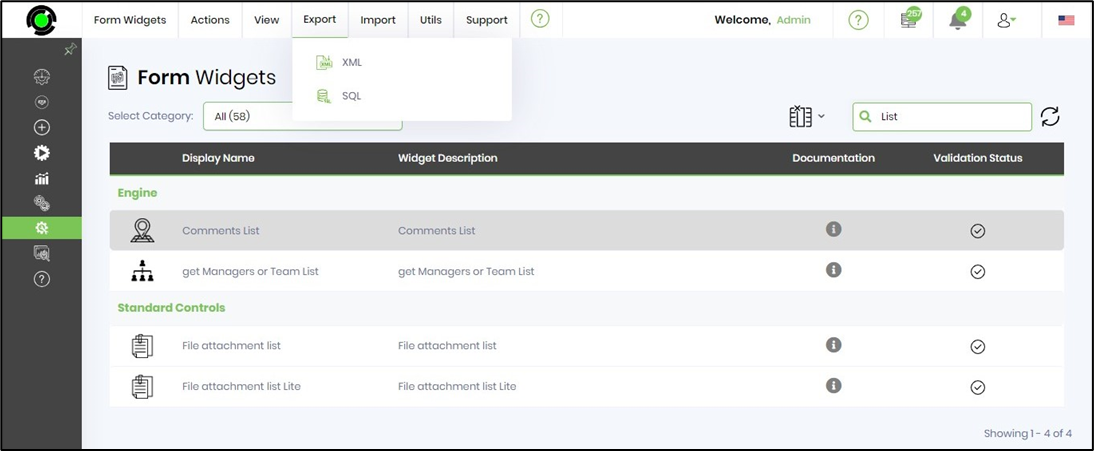
Export a widget
Search and select the widget name from the table displayed. Navigate to Export - XML menu option. The widget information is exported / downloaded as XML file for sharing between FlowWright environment. Select SQL menu option to download the SQL insert steps as a file.
Import a widget
Navigate to Import - XML menu option to import the widget to a FlowWright environment. Select the XML file from the local folder and click on Import to accept the changes.

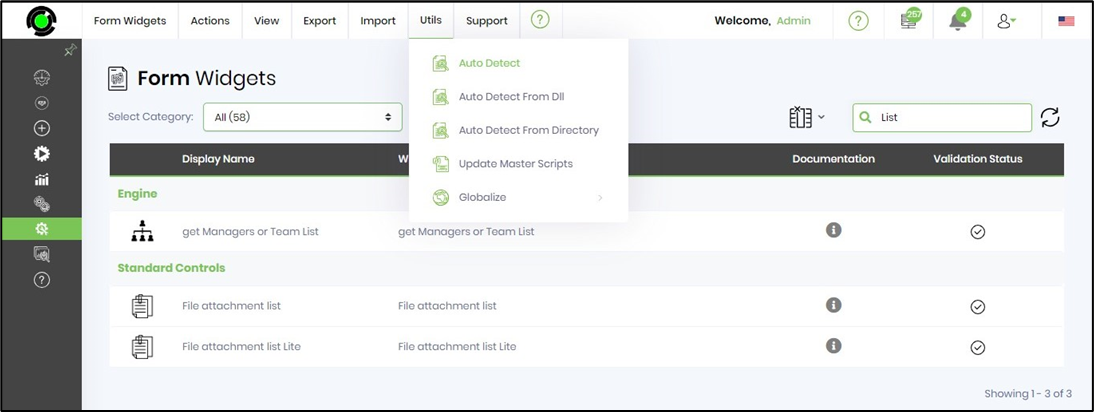
Auto Detect
Navigate to Utils - Auto Detect menu option to identify new form widgets, modified widgets which needs to be manually configured to your FlowWright environment.
The auto-detect feature opens in new page. The table lists the widgets by the name, namespace and DLL path configuration. Select the widget row and click on Manage - Configure menu option. The widget shall be configured manually. Use “Select all records” to configure more than one widget rows in the table.
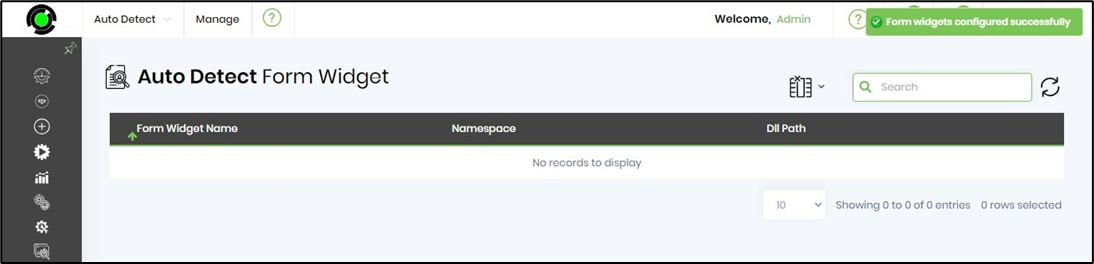
An alert notification confirms the successful widget configuration.
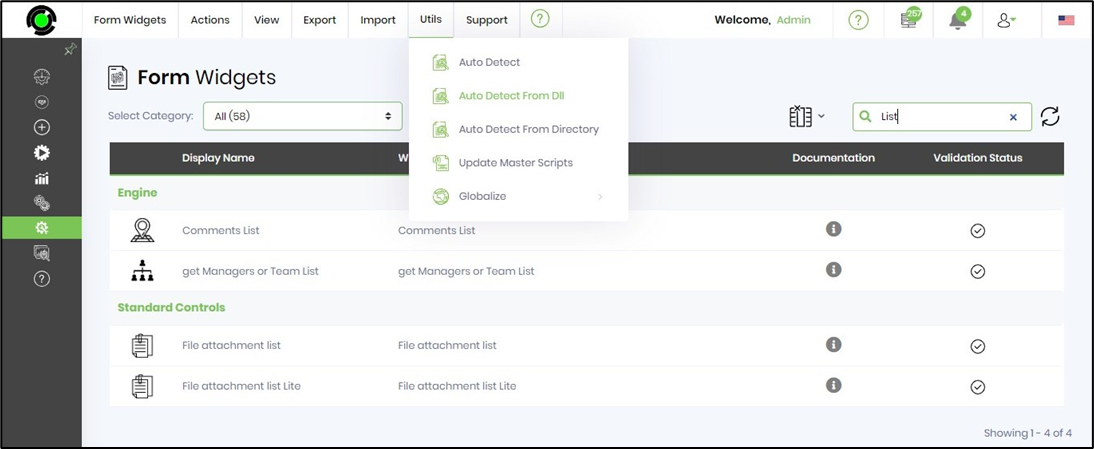
Auto Detect from DLL
Navigate to Utils - Auto Detect from DLL menu option to identify new custom widgets, modified custom widgets which needs to be manually configured to your FlowWright environment.
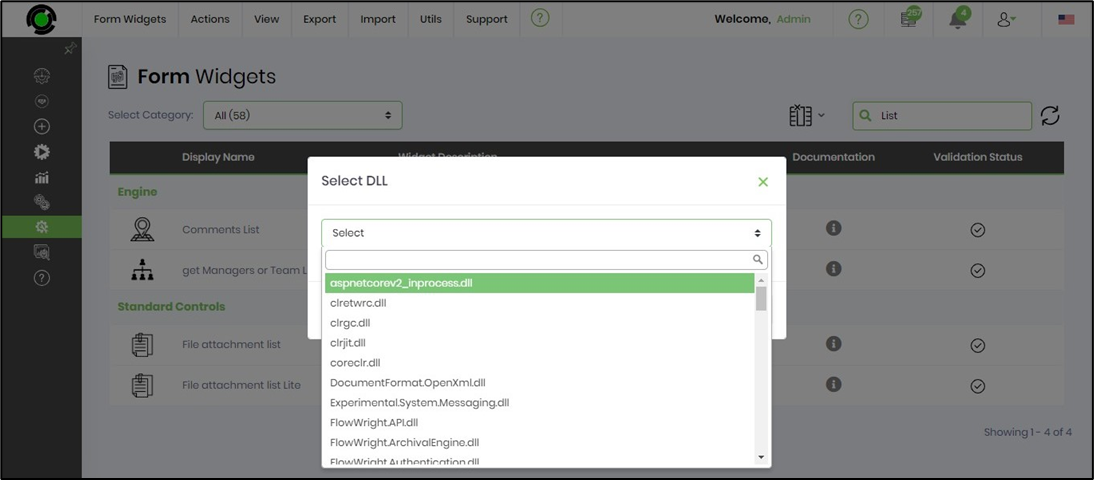
Select the custom widget DLL from the drop down list. Click on SELECT to confirm the action. The widget shall be configured manually. An alert notification confirms the successful widget configuration.
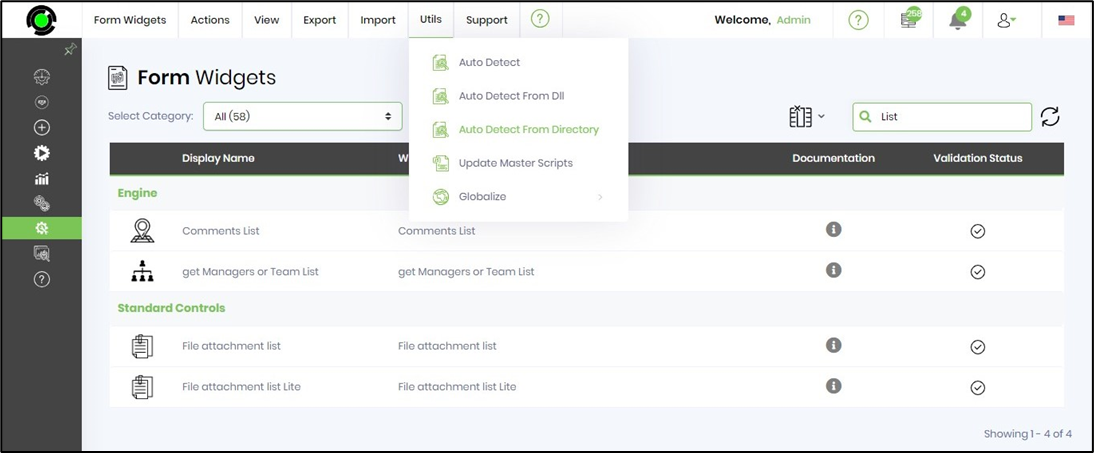
Auto Detect from Directory
Navigate to Utils - Auto Detect from Directory menu option to identify new custom widgets, modified custom widgets which needs to be manually configured to your FlowWright environment.
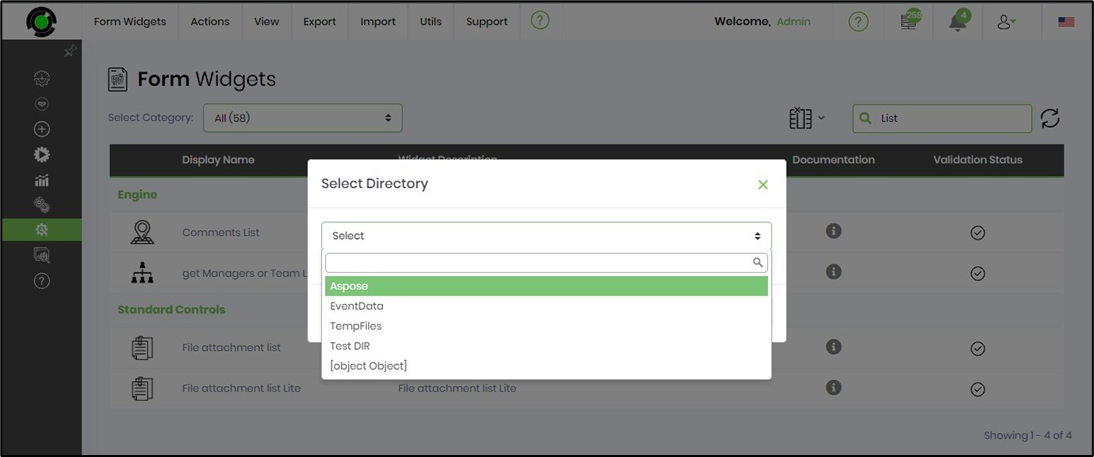
Select the directory from the drop down list. Click on SELECT to confirm the action. The widget shall be configured manually. An alert notification confirms the successful widget configuration.
Update Master Scripts
When new form widgets are configured, form widget comprises of a javascript code file, these code files must be updated for the forms to function. By selecting the “Utils→Update master scripts” menu item, the master script file will be rebuilt.

An alert notification confirms the successful action.

Globalize a widget
The form widget resources can be globalized through this feature. Search and select the widget name from the table displayed. Navigate to Utils - Globalize - Selected Widget menu option. All widgets can be globalized as another option.

An alert notification prompts you to confirm the changes.

An alert notification confirms the changes.

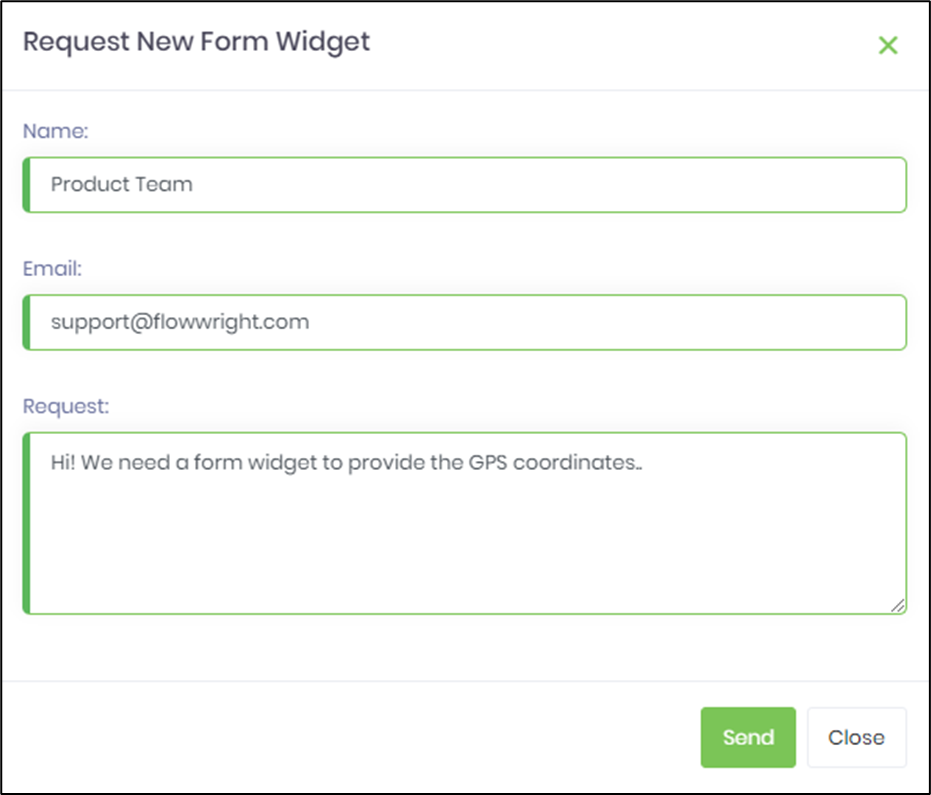
Form Widget Request
Navigate to Support - Request Item to ask the FlowWright support team for any enhancements or challenges noticed.
Provide the necessary details to send the request to the product team by email.