Create a new process instance
A new process instance can be created from a process definition by clicking the “Actions -> Create” menu item.

The following “Create Instance” dialog is displayed:

Generate instance name
The generate functionality generates a name for the new instance based on the definition name and the next incremented index for the selected definition from the pull-down menu as shown below:

Select a process definition from the pull-down menu list and click the “Generate” button to create the new instance name. Click the “Create & Execute” button, the newly generated instance is created. Once the instance is created, the workflow instance will have a status of “executing”, as shown below:

Reset process instance
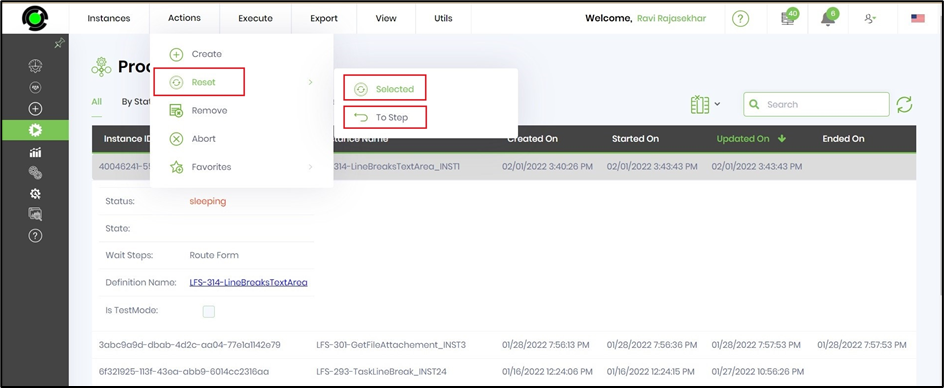
A started workflow can be reset back to its original design by selecting a process instance from the list and by clicking the “Actions -> Reset -> Selected” button. This is useful, after executing an instance if the design of the process changes. A new instance based on the definition does not have to be created to re-test the definition. A workflow instance can also be reset back to any given point of execution, executed step within the Instance. This is useful when debugging an Instance.
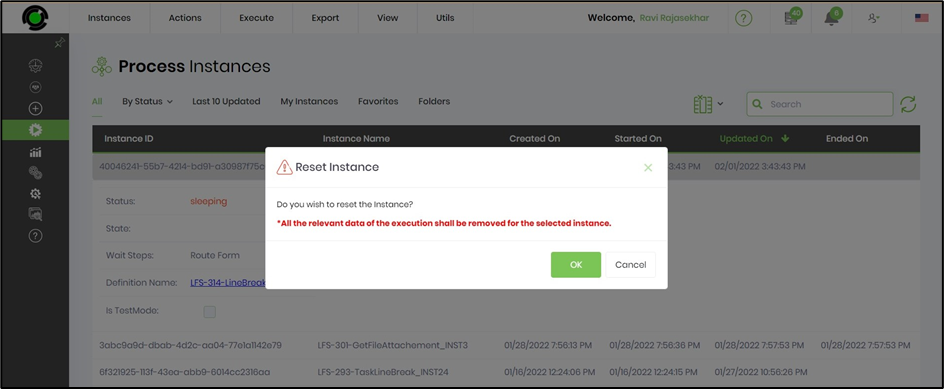
Note: All the relevant data of the execution shall be removed for the selected instance.
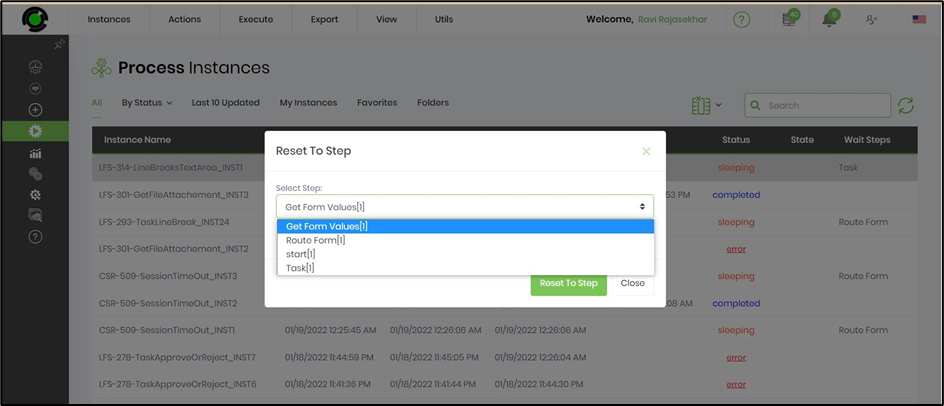
A started workflow can be reset back to a selected workflow step by selecting a process instance from the list and by clicking the “Actions -> Reset -> To Step” button. Select the desired step from the popup window and confirm.

Note: All the relevant data of the execution shall be removed for the selected instance.

Remove process instance
A process instance can be removed permanently by selecting an instance from the list and by clicking the “Remove” menu item. When an instance is removed, all data associated with the instance will be also removed. Items such as sub-workflows, tasks, and any other associated data.

Mark process instance as favourite
Each user can maintain a list of favorite process instances. In most times, there might be a large workflow that you are working on or monitoring, just add it to the favorite list, so that you can navigate to it easily.
Add process instance to favorites
Add to favorites will add the selected process instance to the favorites section.


Remove process instance from favorites
Removes the selected process instance from the favorites section.


Abort process instance
A workflow instance that is sleeping/waiting can be aborted by selecting a workflow instance from the list and by clicking the “Abort” menu item. The abort menu item is enabled only when the instance is in “Sleeping” status.


Execute process instance
Execute menu item will start the execution of a selected workflow instance. Select an instance from the list and click the “Execute” menu item.


Execute process instance with input parameters
If a process instance requires input parameters to be passed in at execution time, by selecting a process instance and clicking on the “Execute – With Params” menu item will render the input parameter UI.

Based on the variables defined for the Instance, an input parameter UI will be generated. UI may look as follows:

Click the “Execute Instance” button, the input parameters of the executing instance is displayed as follows:

Using the above UI, the execution priority and date/time to execute the Instance can be also set.
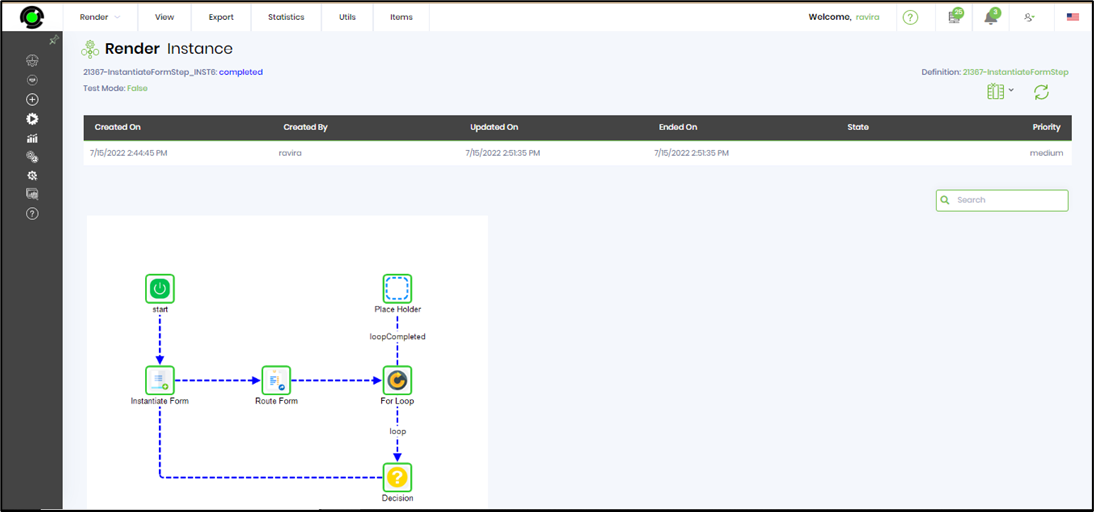
Render process instance
Select the process instance from the list and click View - Render menu item. The process instance shall be rendered in a new tab, displaying the process workflow from start step to current process step (for sleeping status) or till the last process step (for completed status).
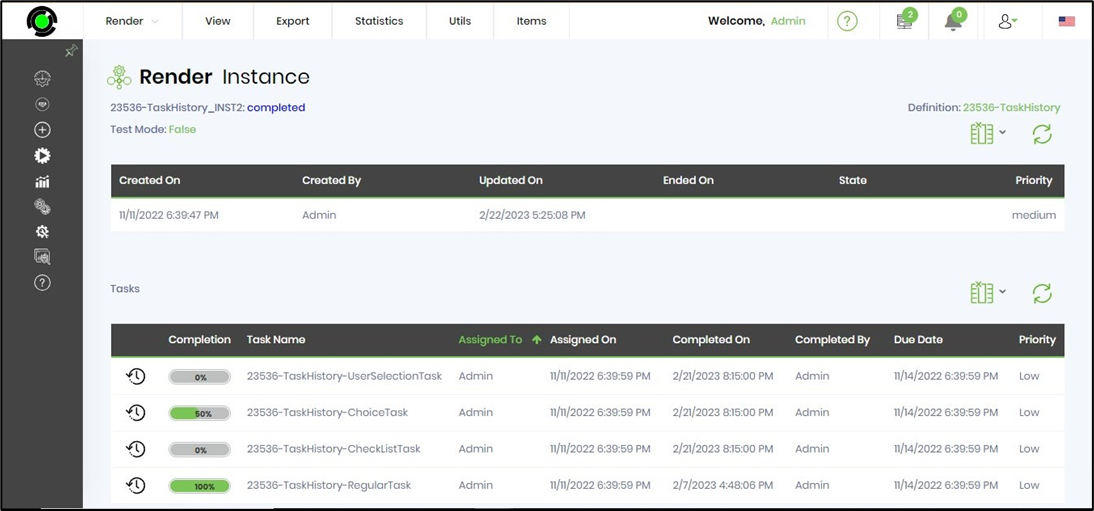
Select the Items - Tasks menu item to view the tasks created by the process instance. The task list is displayed as a table in the same page. Click on the "Clock" icon to view the "Task History" popup; which provides an audit log of the task activity since the datetime created.
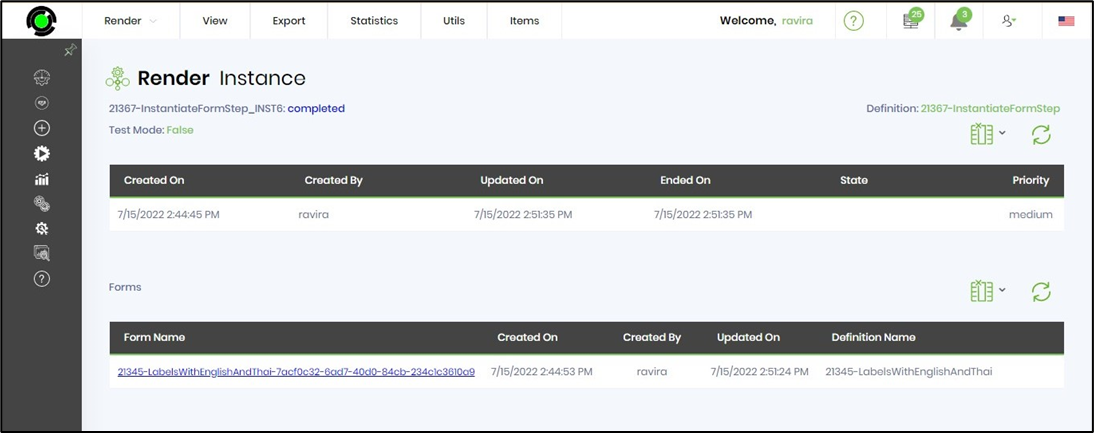
Select the Items - Forms menu item to view the form task created by the process instance. The forms task list is displayed as a table with navigable link the same page.This list includes forms from subworkflows as well.
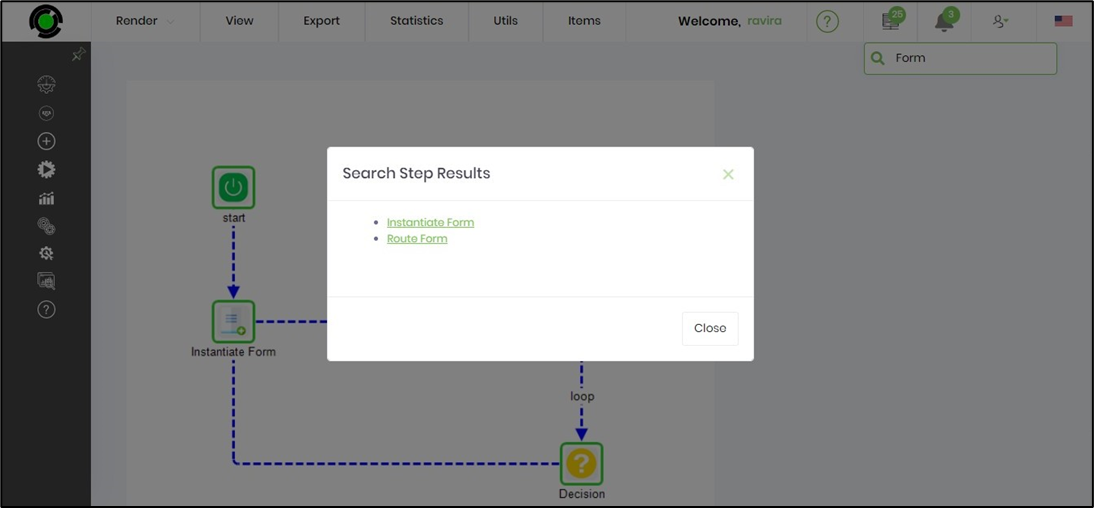
Search within the process instance for task, steps, forms, reports by their names. Type in the information in the Search textbox and press enter. The search result is displayed in the popup window as navigable links. Click on the search item and the workflow in the background aligns correctly to the result.
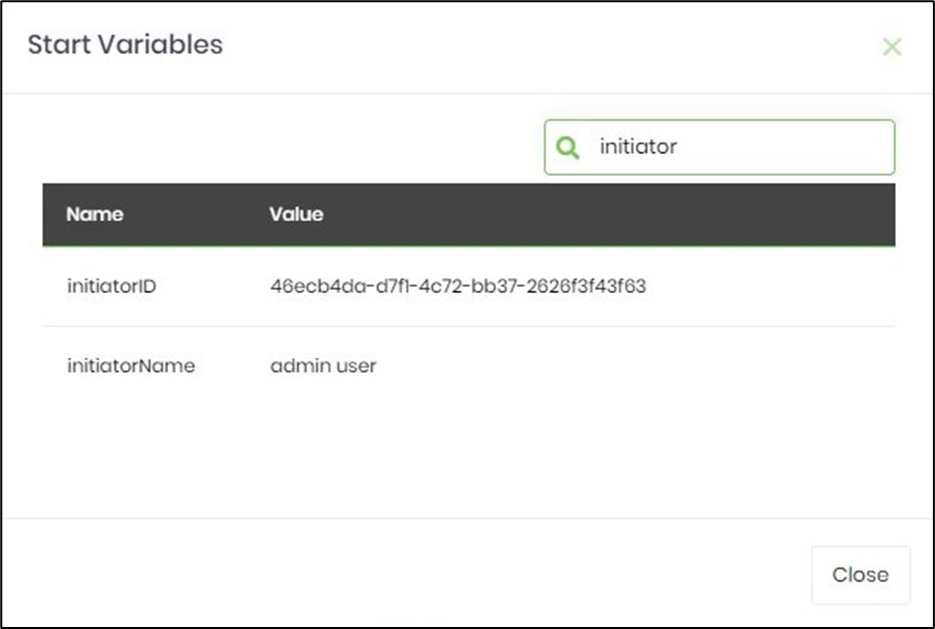
Navigate to Items - Variables - Select Start / Latest variables menu option to search within the rendered process instance for variables by their names. Type in the information in the Search textbox and press enter. Likewise, the Globals can be searched by their names within the rendered process instance.
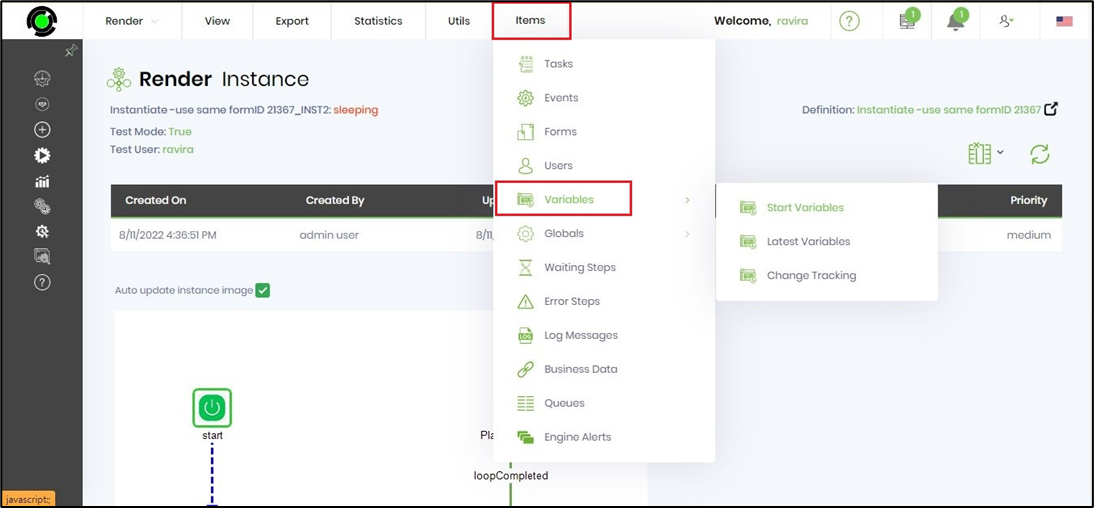
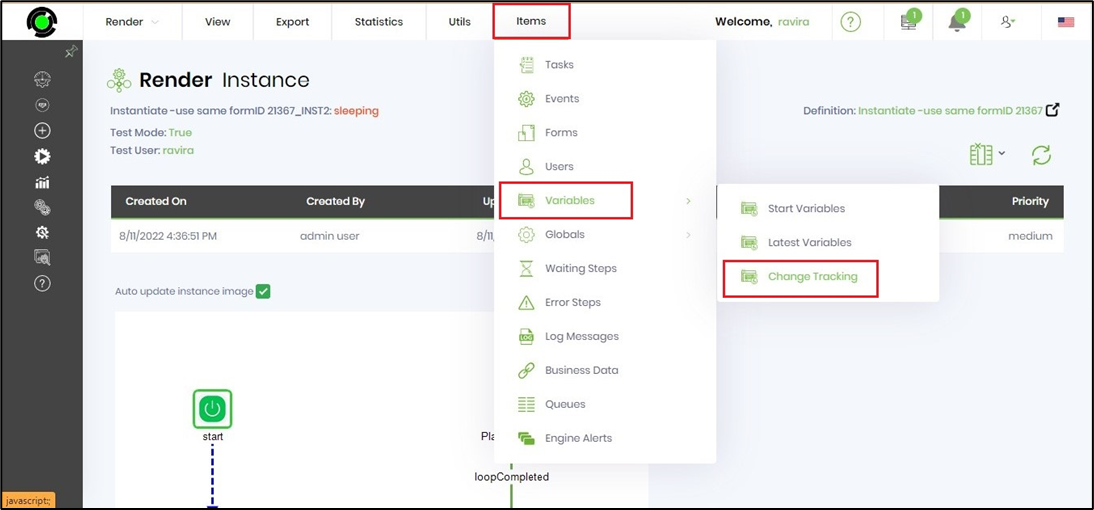
Navigate to Items - Variables - Select Change Tracking menu option to track the variable changes within the process instance. Select the variable from the dropdown list to view the changes with datetime stamp.

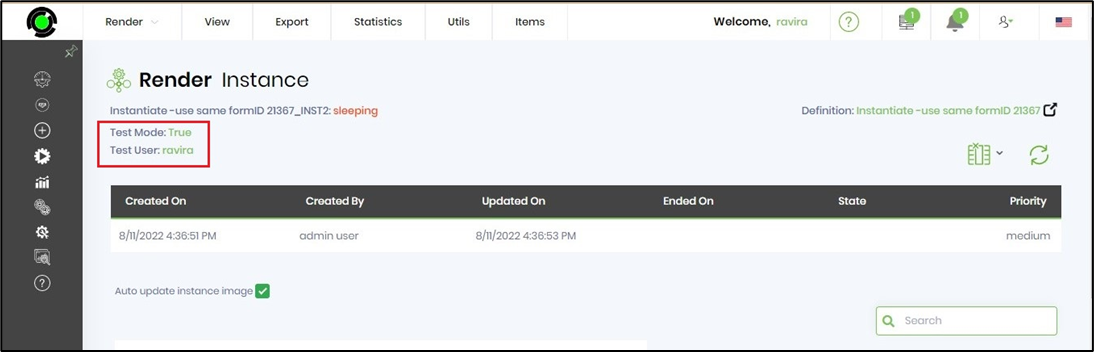
In FW v9.12 the process instance displays the "Test User" information.