Description:
Execute Navigate Task widget is very similar to 'Execute Workflow' widget. Use this on the form to execute any workflow, and if the process has assigned any task/form to the current user, then the system automatically navigates to the first task assigned by the process.
Design:
Example:
Let’s build and execute the ExecuteNavigateTaskDef example.
- Create a new form definition called “ExecuteNavigateTaskDef”
- Select the Open Designer checkbox and click the “Create” button
- Drag a ExecuteNavigateTask, Label and Textbox widgets to the canvas
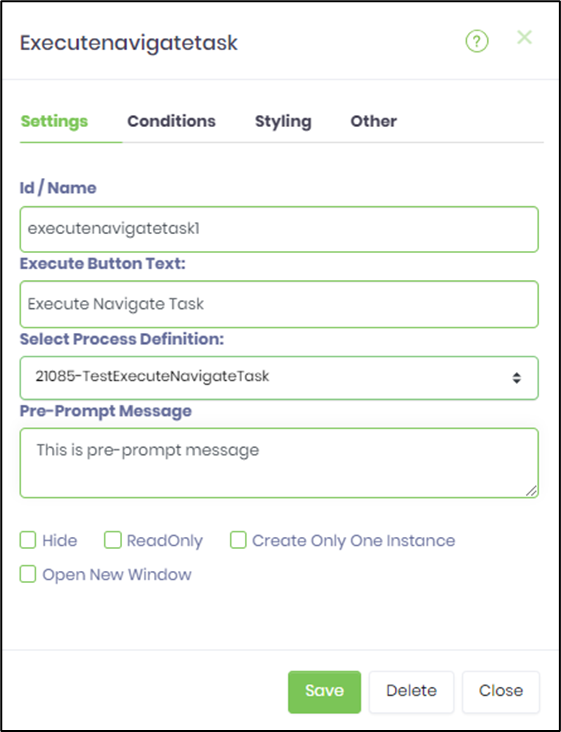
- Double-click on the widget to configure the inputs as shown in the below graphic. Select the process definition to navigate and execute the task. Map the form inputs to the variables and these values are available while executing the process workflow.

- Double-click on the widget to configure the “Settings” properties. Provide a name to the control. Provide title to the button. Select process definition from the drop down list. Provide text information to pre-prompt on click on SUBMI button during run time. Select check box “hide” or “read-only” to conceal or disable the control during run time. Select check box to create one process instance during run time. Select check box to open the page in new window.
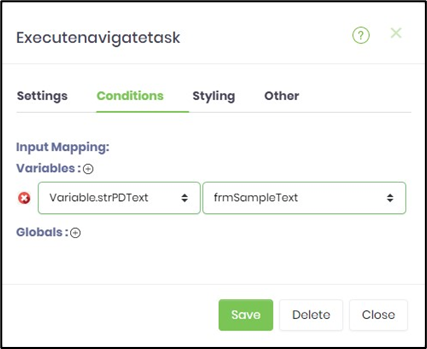
- Double-click on the widget to configure the “Conditions” properties. Click on the plus sign (+) to add variable row. Provide the input mapping between variables and form controls.
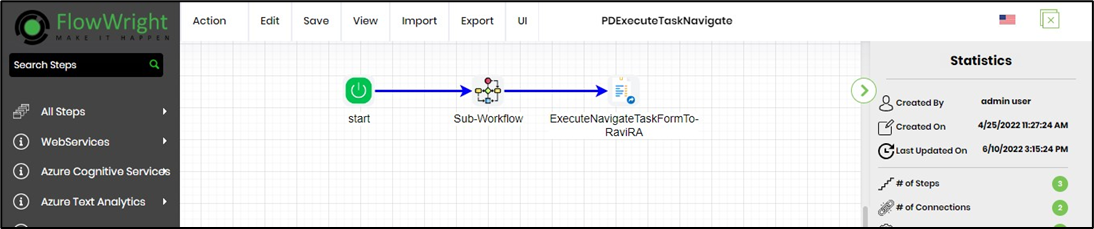
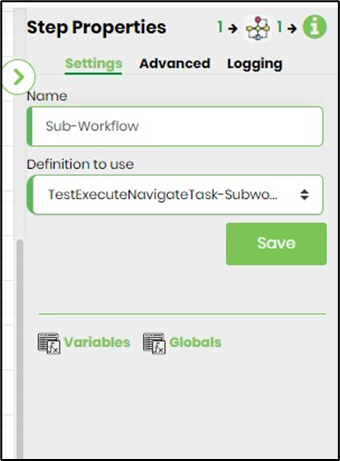
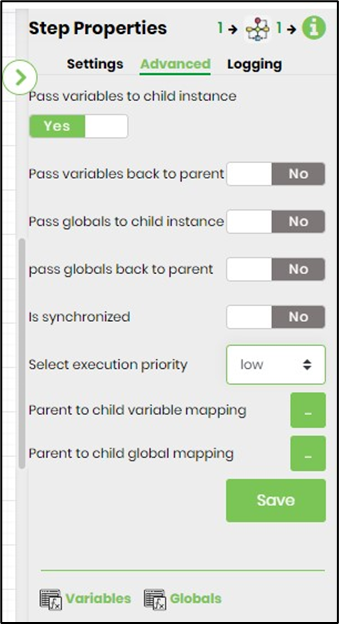
- Create a new process definition called “PDExecuteTaskNavigate” for the above form. Configure the subworkflow step to use another process definition.
 |
 |
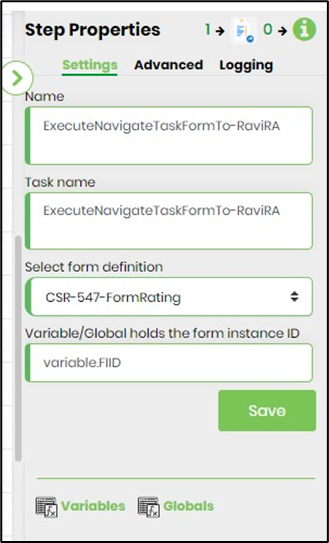
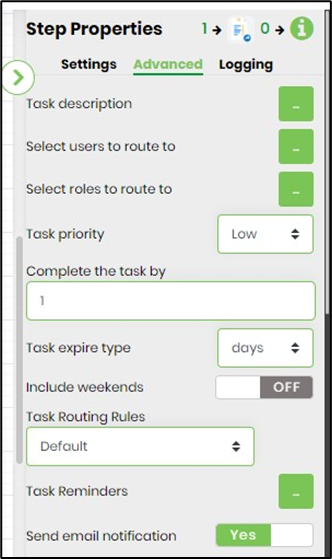
- Route the form to the user initiating the process workflow.
 |
 |
- Click on "Select Form Definition" drop-down and select existing form definition
- Click on "Select Workflow Definition" drop-down and select relevant workflow definition related to form definition
- Click on "Select variables to hold Form-ID" drop-down and select variable existing in the workflow definition
- Click on Save button and Close the popup window
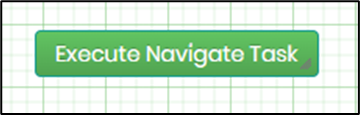
- Generate a new Form Instance. Navigate to Actions menu and Edit the form instance. The rendered widget will appear as shown in the below graphic.
- On Click, the "Execute Form" widget shall render the form based on the configuration and waits for any user input and a Submit button to proceed. The form is submitted successfully as shown in the below graphic.
- The "Execute Form" widget shall execute the form, create a new workflow instance. Navigate to Form Instance page to view the new workflow instance created automatically.