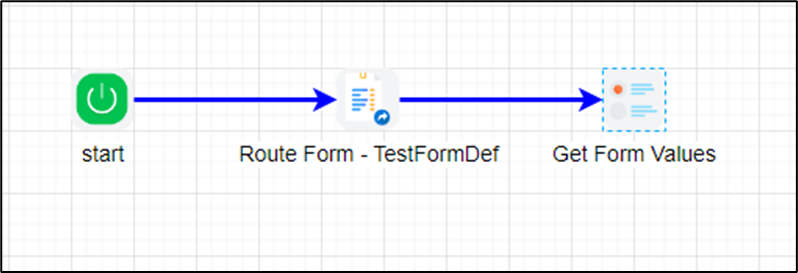
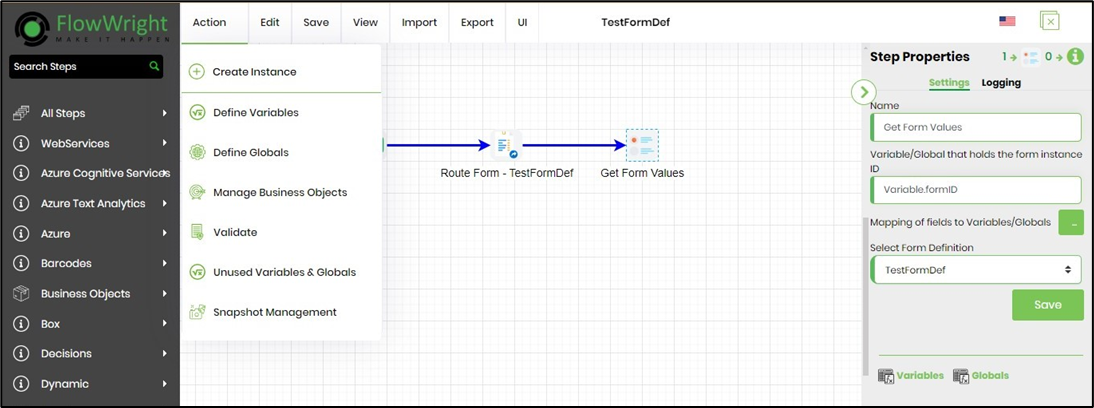
Open the “TestFormDef” workflow definition in the designer for editing. Drag and drop a “getFormFieldValues” step into the designer and connect the last step (routeform) to the new step.
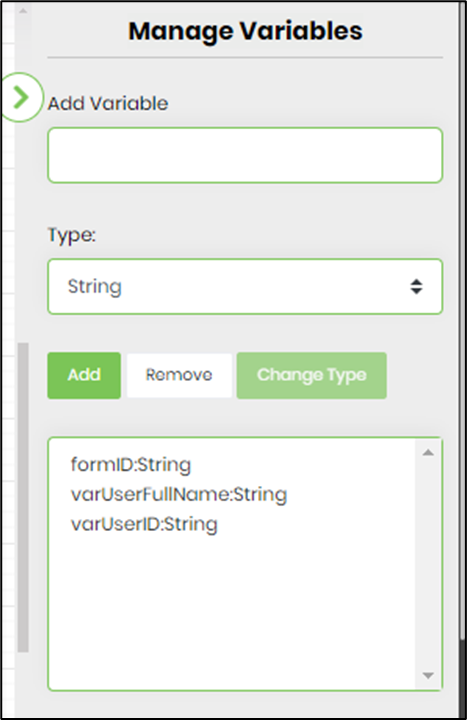
Next, let’s define process variables to store the form instance ID and the form field values as string data types. Click the Save button to save and close the Variables page.
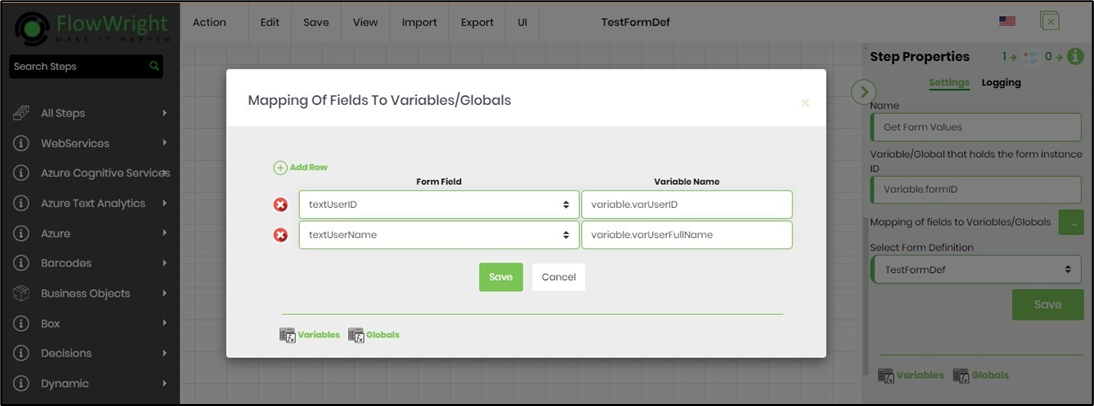
Click the new “geFformFieldValues” step and configure the “Settings” properties. Provide the step name and a variable/global reference to store the form instance ID and select the form definition from the drop-down list provided. Click on the button to map the form fields to process variables.
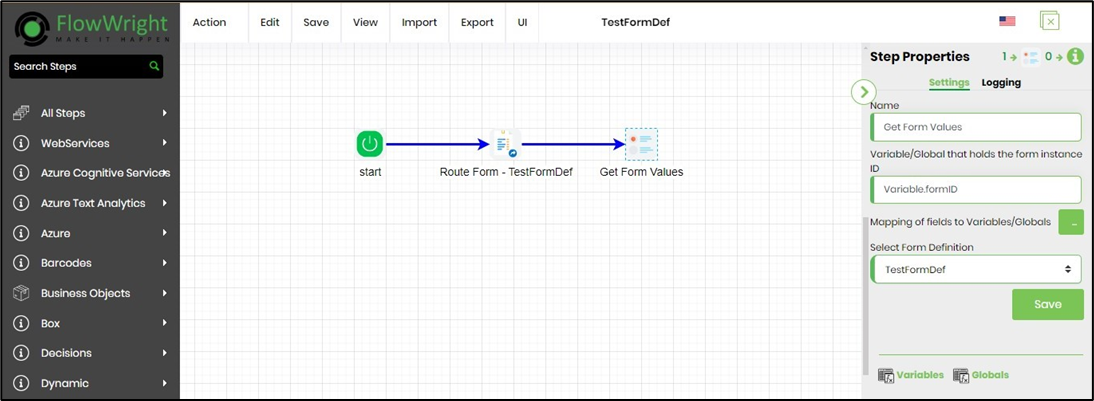
Click on the button to map the form fields to process variables. Click on the Add Row (+) button to map the form field with the variable names as below. Click on the Save button to confirm.
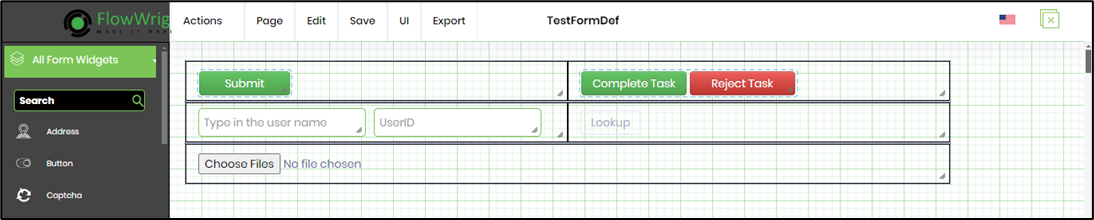
The definition of the “TestFormDef” form used in this example is rendered below.
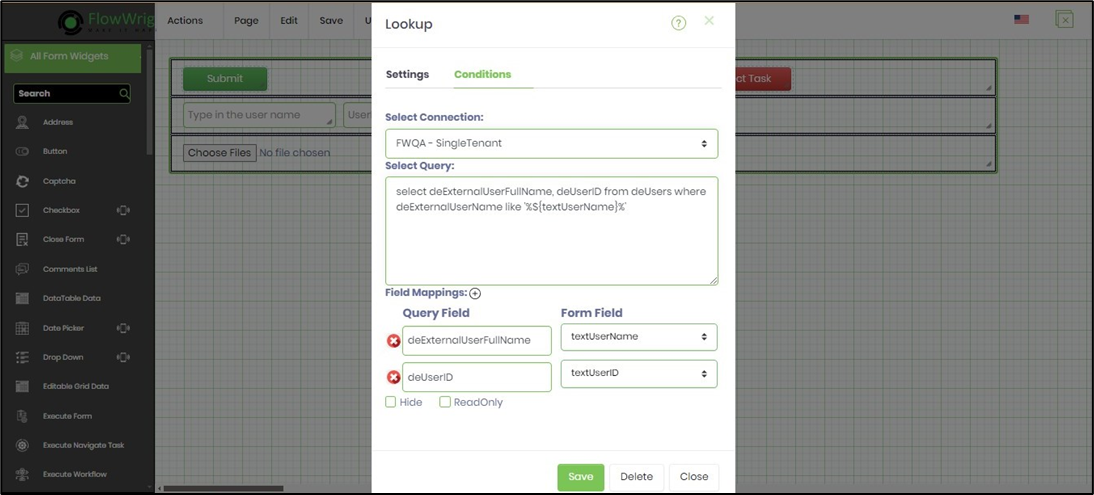
The LookUp control configuration to map the SQL table columns to form fields is rendered below. Here, the LookUp control shall fetch the user names and their IDs matching the text value provided as input in the username text box.
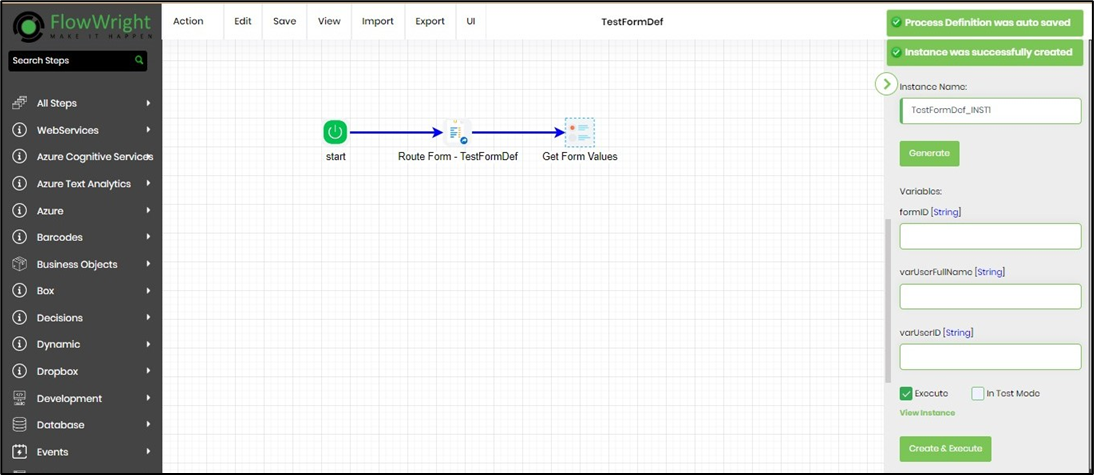
On the Process Designer page, click the Actions—Create Instance menu option to instantiate a new process.
In the right-side pane, click the Generate button to create a new instance name. Scroll to the bottom to select the Execute checkbox and click the Create & Execute button. A new process instance is generated with the name provided and executed in the background. A form task is assigned to the configured user, and a task notification is visible in the top right-end corner.
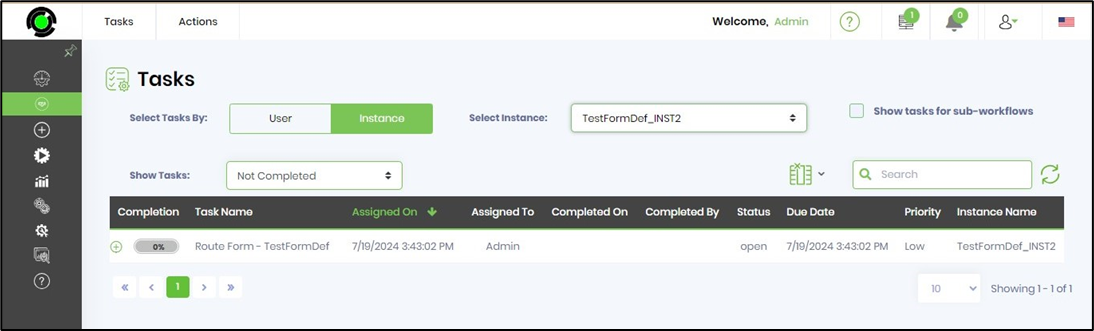
You may click the task notification or navigate the Engage - Tasks page. The list of tasks assigned to the current user is listed in the table as below.
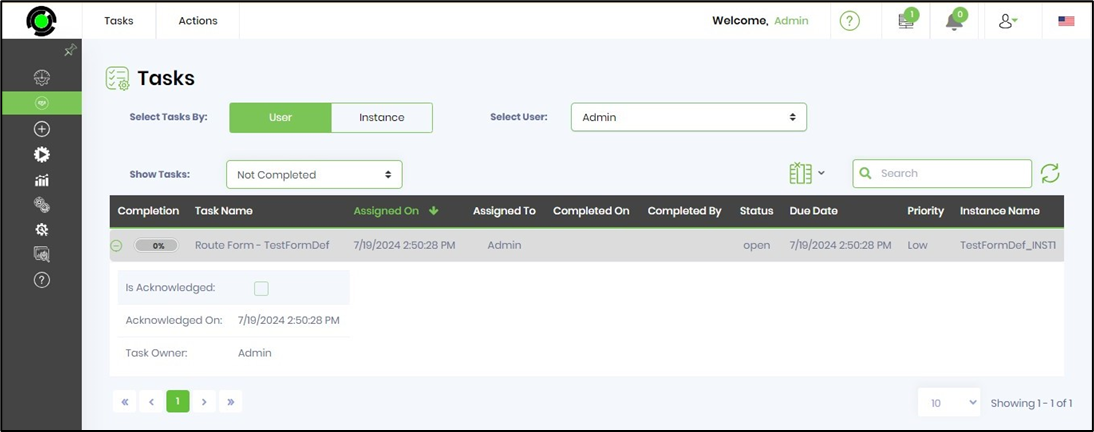
You may click the Instance filter and select the instance from the drop-down list to view all the tasks by the instance.