Description:
This step gets the XML data from the web service.
Inputs
- serviceID – web-service name
- webServiceMappings – Web Service Mappings
- result -- Variable to hold the result from the web service
Returns
- True – step executed successfully
- False – step failed to execute
Usage:
Example:
Let’s build and execute the webServicesDef example.
- Create a new definition called “webServicesDef.”
- Select the definition and click the “design” button
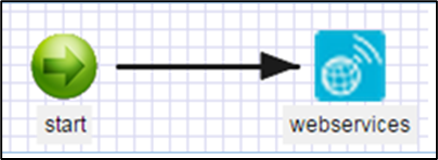
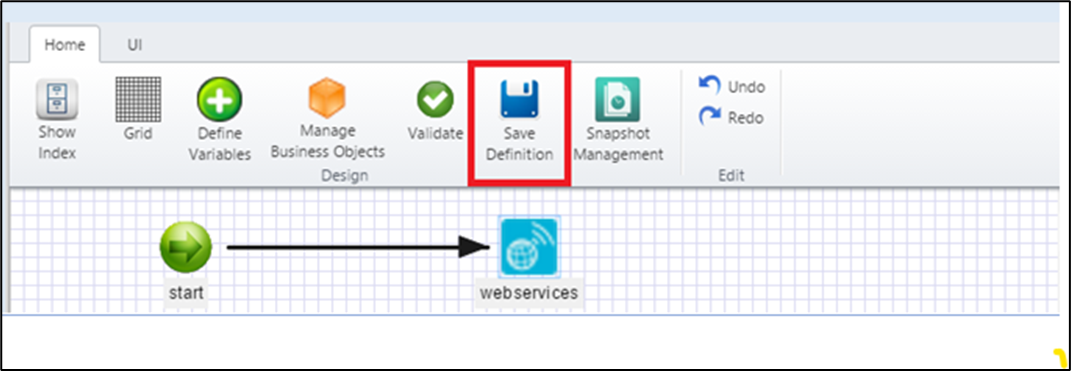
- Drag a webServices step to the canvas
- Connect the dots between the start and web services step
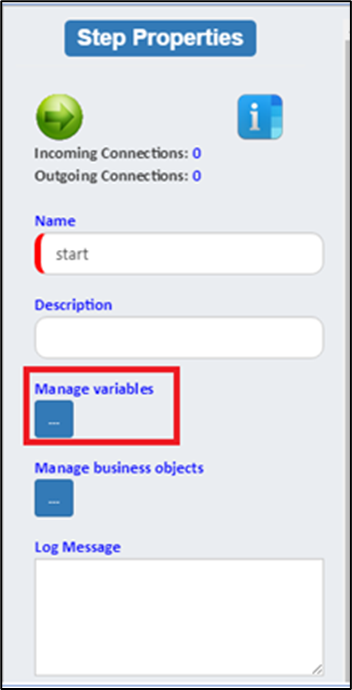
- Let’s define a variable called “result". Click on the “start” step and select the “define variables” button
- Enter “result” for the name of the variable, select “String” as the data type, and click the “add” button.
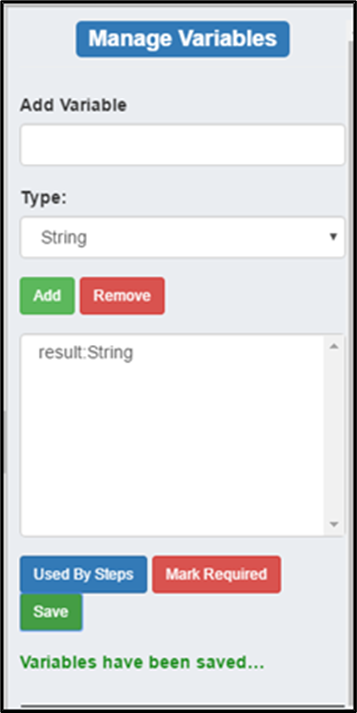
- Click the “save” button to save the changes
- Drag a web services step to the canvas
- Connect the dots between the start and web service steps

- Click on the “web services” step to configure its properties
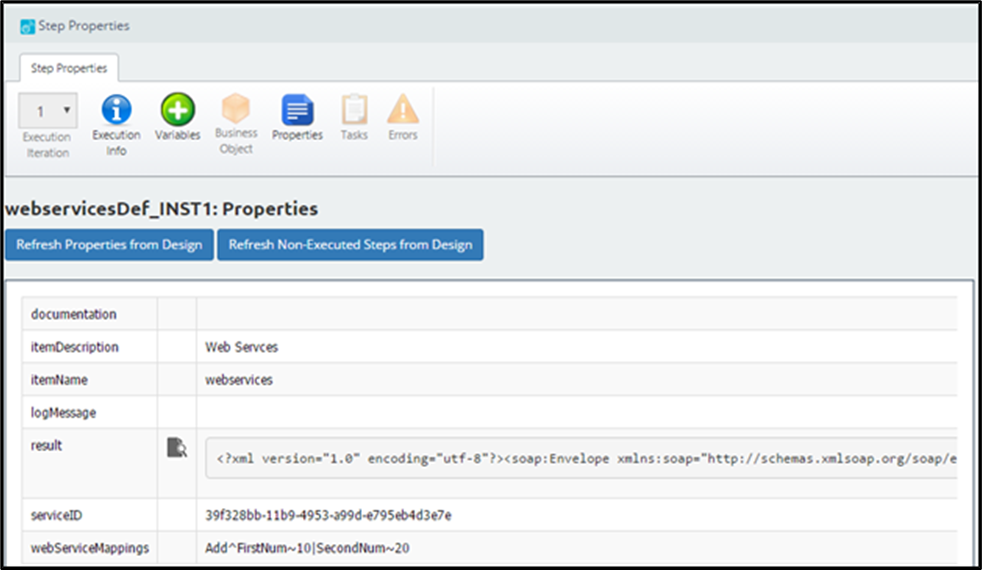
- Configure the following values for the properties as shown in the below graphic
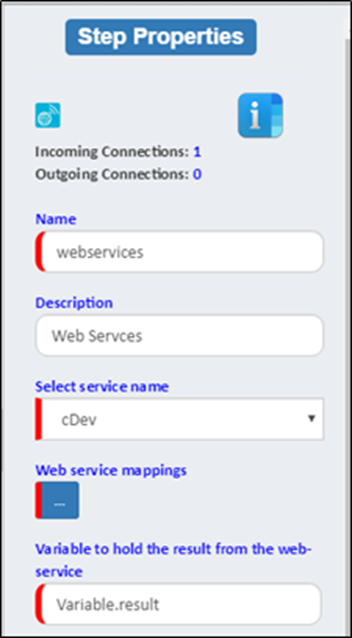
- Click the “save” button
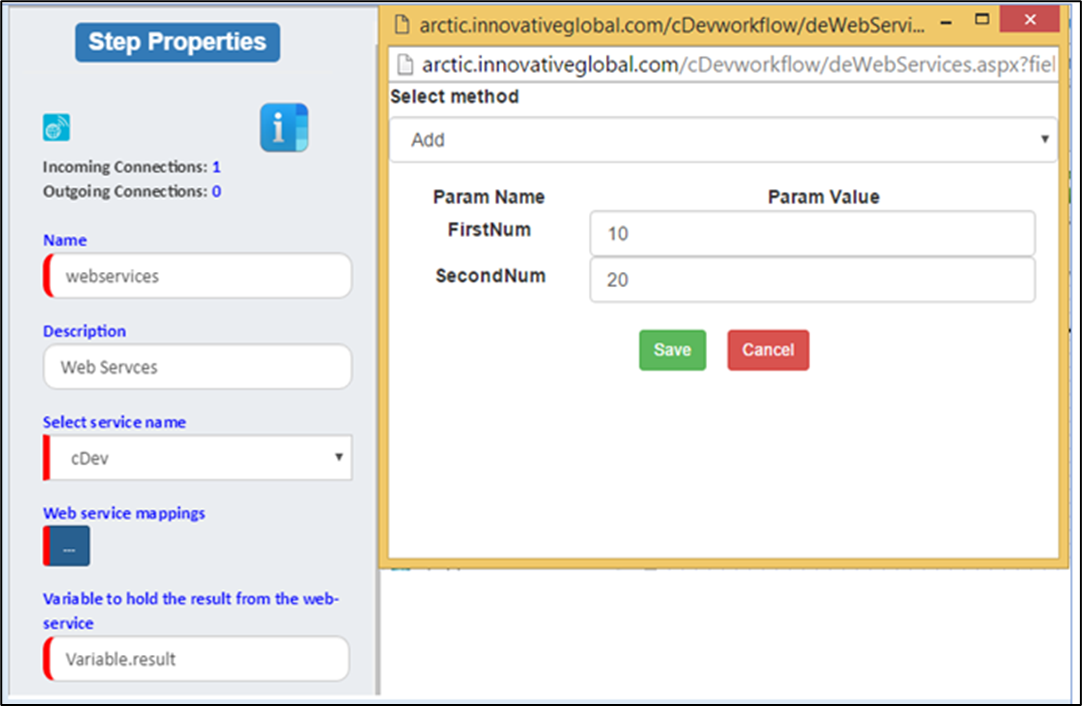
- Click the “Web Service Mappings*” button to set values to the fields. Click the “Save” button to save the settings.
- Click the “Save Definition” button to save the definition
- Close the workflow designer
- Click on the “Instances” tab on the Configuration Manager
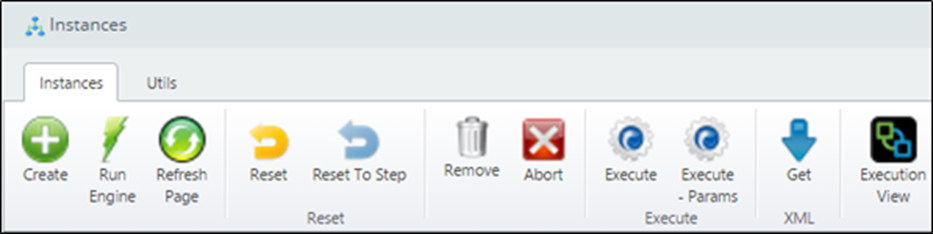
- Click the “Create” button, enter the following information into the dialog
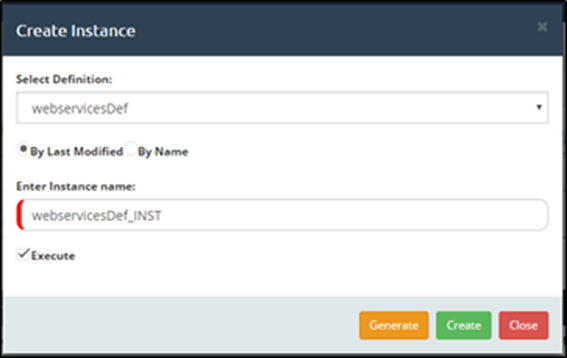
- Click the “Create” button
- Newly created instance should be rendered on the list of instances

- Select the “webservicesInst” by selecting the instance from the list
- Click the “Execute ” button to execute
- Select the “webservicesInst” instance from the table
- Click the “Render” button
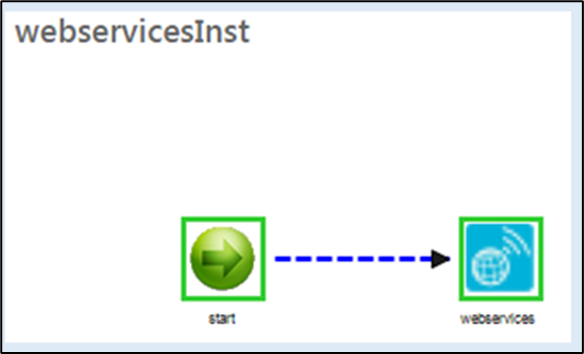
- Click on the “web services” step to view execution details on the step