SAML implements a secure method of passing user authentication and authorizations between the identity provider and service providers. When a user logs into a SAML-enabled application, the service provider requests authorization from the appropriate identity provider. The identity provider authenticates the user’s credentials and then returns the user's permission to the service provider. The user can now use the application.
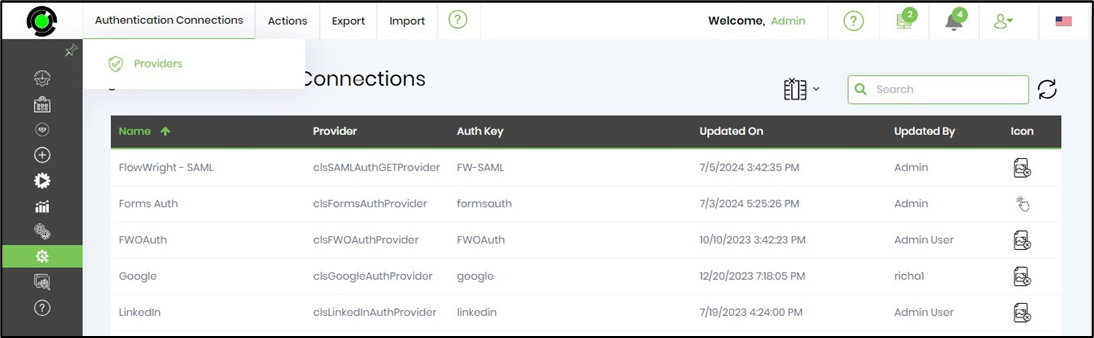
As an Admin User, you must create the SAML Authentication Provider definition in FlowWright. To do so, navigate the Administration menu and select the Authentication menu option. The Authentication Providers page is displayed in the same tab.
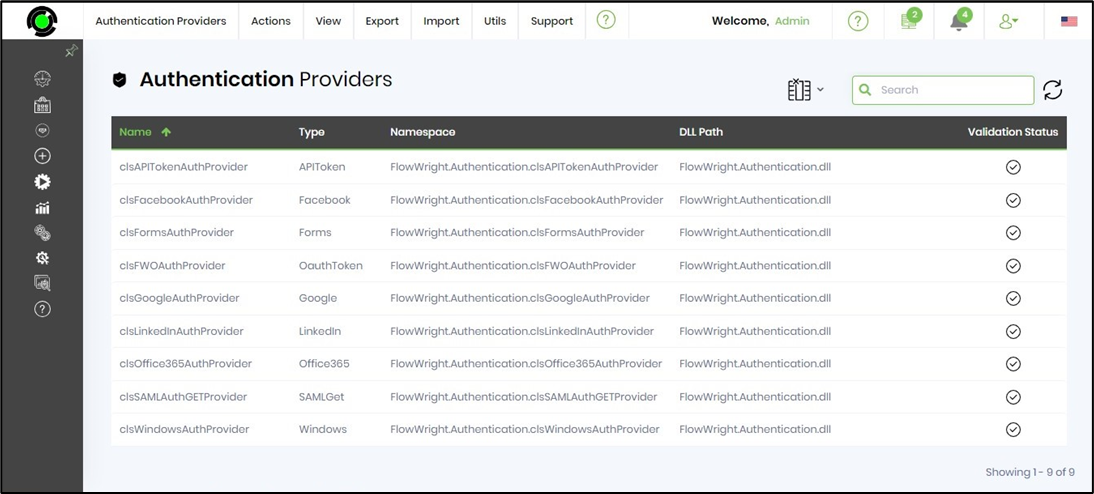
The authentication providers are listed on a new page, as shown below. The Authorization Providers are sorted by Name, including type, namespace, DLL path, and verification status columns. You may use the Search box to filter the results.
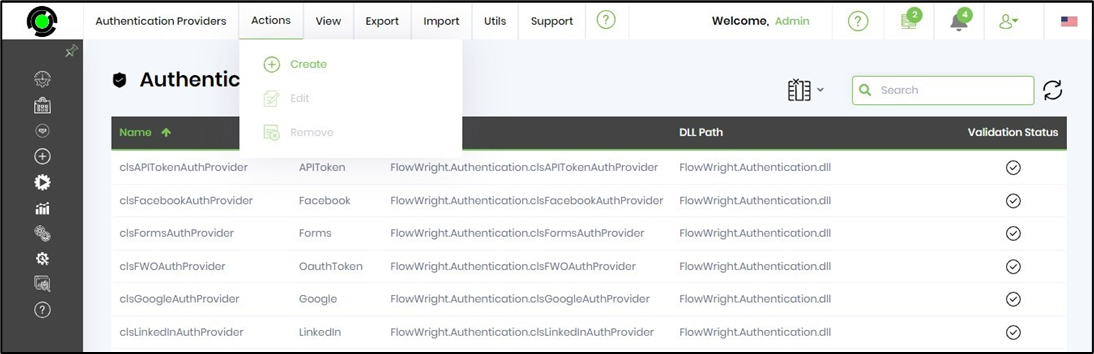
On the Authentication Provider page, click the Actions - Create menu option.
A pop-up window displays for configuration. Please provide an Auth Provider name and description, select the Auth Provider from the list, and choose the Auth-key as shown below. Provide the appropriate SAML parameters. Click on the Create button to initiate the action. The new Auth Connection is created, and a confirmation alert message is displayed in the top-right corner.

You can provide any name for Auth Connection, and Auth Key can be any keyword you want. This is how you tell the Login screen which provider to use.
- RequestAppURL - FlowWright Application URL
- SAMLAuthURL - SAML provider authentication URL
- SAMLLogoutURL - SAML provider logout URL
- SAMLCertificate - Contents of the digital certificate
As an Admin User, you must create the Login UI Auth Connection, which facilitates a login interface to the FlowWright application.
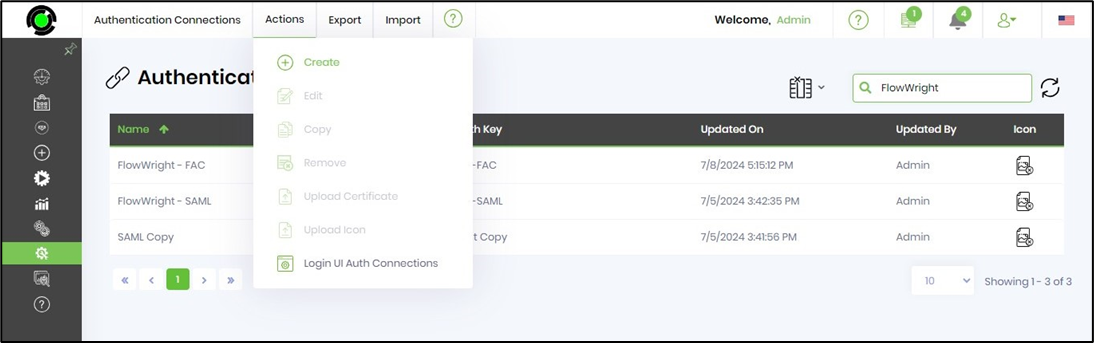
On the Authentication Connections page, navigate to the Actions - Login UI Auth Connections menu option.
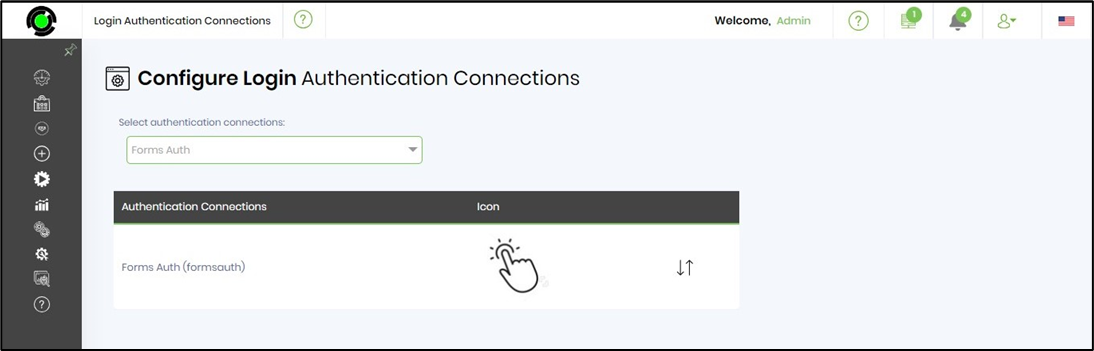
The Configure Login UI Authentication Connections page is rendered as below. In the drop-down list, you can select which authentication connections to include or exclude in the user interface. The table below displays a list of active OAuth connections.
Use the drop-down list and select 'Login UI Auth Connections' from the list by enabling their checkboxes. You may also remove the login options by unselecting their checkboxes. A confirmation message is displayed in the top-right corner.
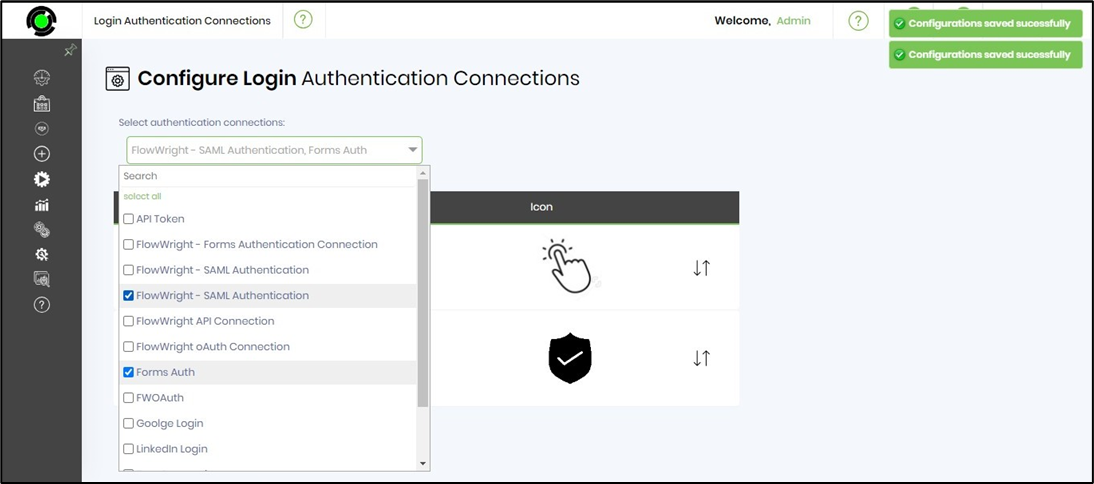
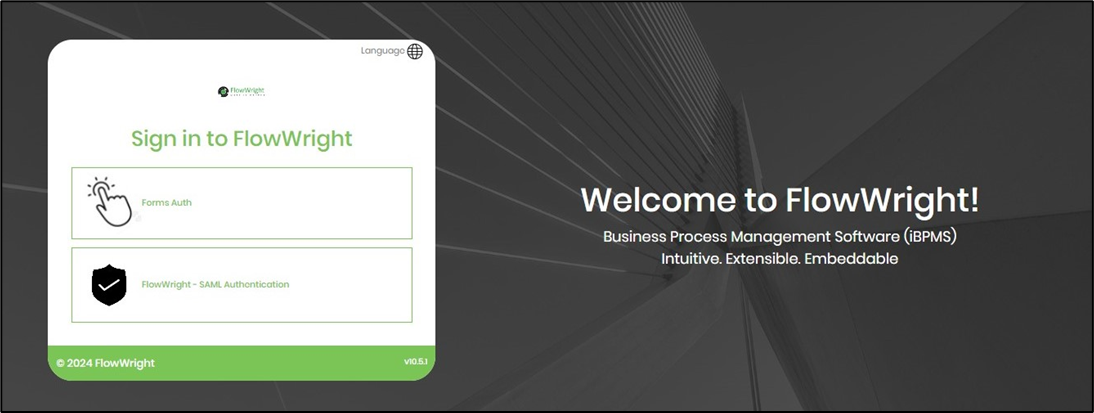
The Login UI Auth Connections, which facilitate the login of forms, are visible below. You may use the arrow keys to rearrange the order of the positions.
As an Admin User, you can navigate the above steps and deselect the checkbox option if needed.