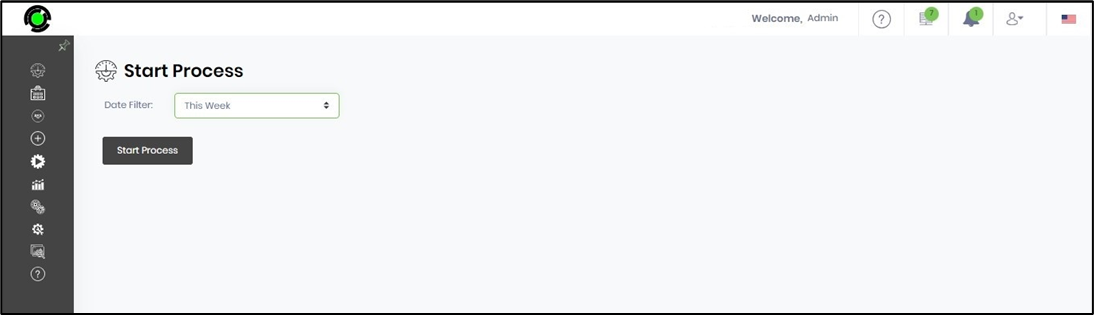
The Start process widget initiates a process instance using a form through the dashboard.
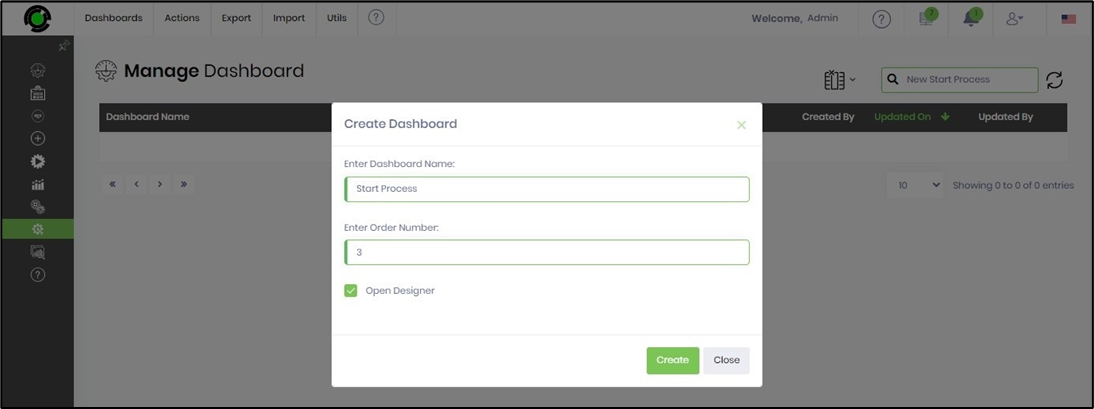
Navigate to the Manage > Dashboards page.

Click the Actions > Create menu option on the Manage Dashboard page to create a new dashboard. You need to provide the dashboard name and display order number.
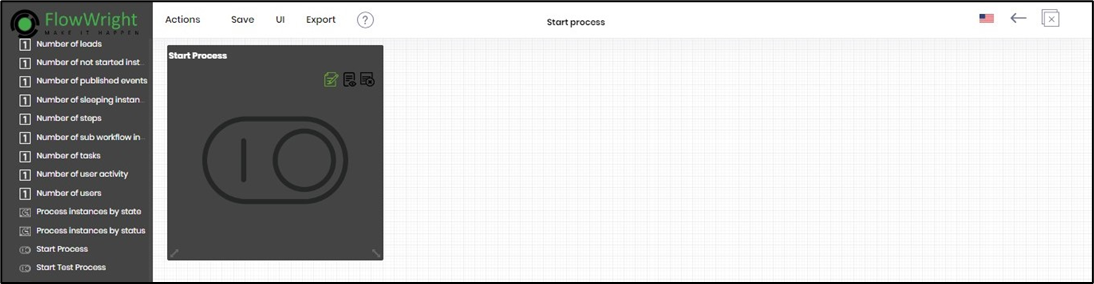
The dashboard designer canvas opens on a new page. Drag the Custom Bar Chart Widget from the toolbox onto the designer canvas. Click on the Edit icon to configure it.
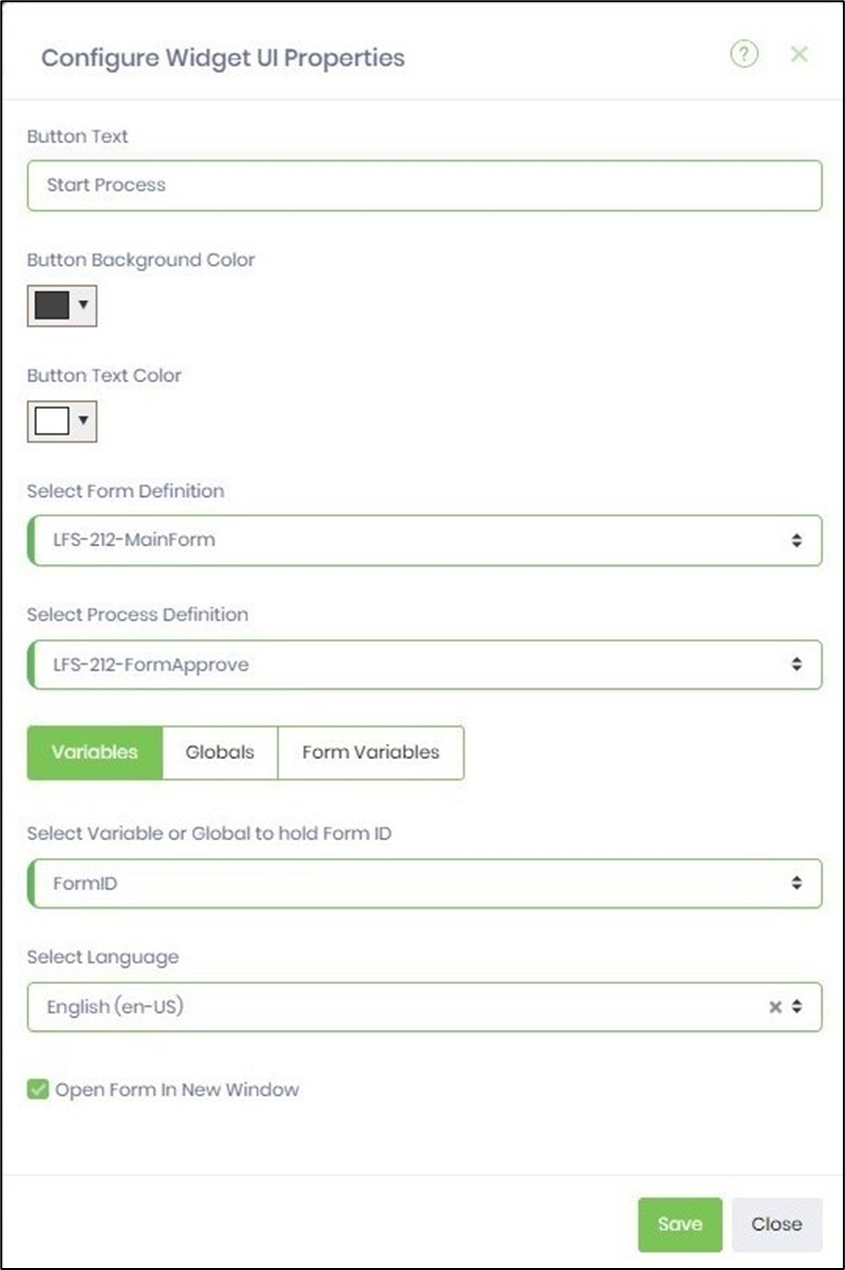
The Configure Widget UI properties are displayed in the pop-up window below. Provide the title name. Select the colors from the drop-down list for the button. Choose the Form Definition from the drop-down list. Choose the Process Definition from the drop-down list. Use the filters (Variables, Globals, Form Variables) to select the variable that holds the form instance ID during run-time. Select the language from the drop-down list to render the form page. Use the checkbox to open the start process in a new window. Click the Save button to confirm the changes.
On the dashboard designer canvas, choose the Utils > Preview menu option to view the dashboard.

The Start process widget dashboard appears on the new page. Click the button to initiate the new process via the dashboard.