Description:
This widget displays a ratings control that allows users to configure and accept multiple ratings.
Inputs
- ID/Name - Name of widget
- Required - Select the checkbox for mandatory (tick mark)
- Hide - Select the checkbox to Hide (tick mark)
- Read Only - Select the checkbox to Read-Only (tick mark)
- Rating Label - Provide label name
- Rating Value - Provide rating value
- Rating Icon - Choose the image file
- Add button - Add button to include multiple ratings
- 'X' red button - Remove rating
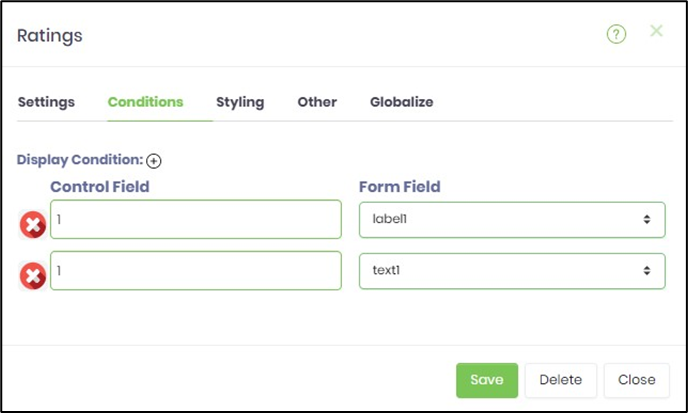
- Conditions Tab - Display Condition - Configure form fields to display according to the rating value
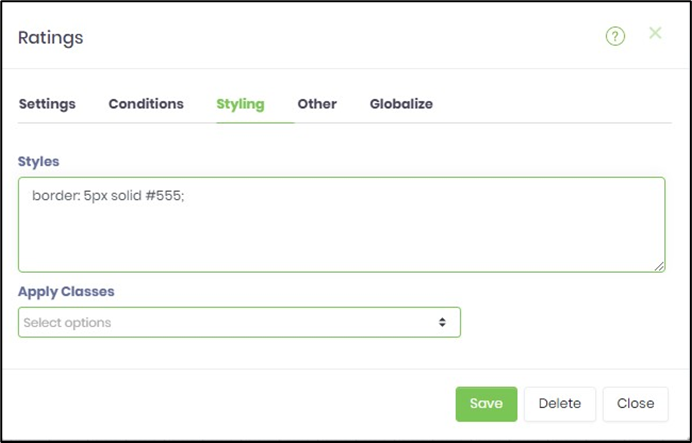
- Styling - Styles - CSS style scripts to enhance the UI
- Styling - Styles - Apply Classes - Select between custom classes defined
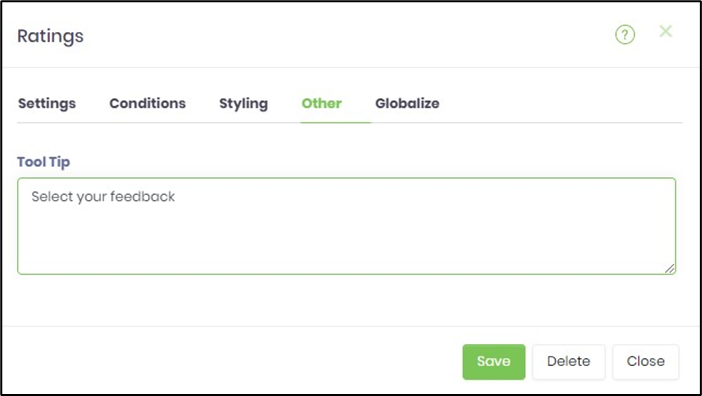
- Other Tab - Tool Tip - Enter information to display on mouse hover on form render
- Globalize - Auto Translate - Localize the rating label names
- Save - Save the input values
- Delete - Remove this form widget from the designer page
- Close - Close the input popup window
Design:

Example:
Let’s build and execute the “FormRatingsDef” example.
- Create a new Form Definition called “FormRatingsDef.”
- Drag a “BootstrapGrid, Form Ratings widget, Label, and Submit” button onto the canvas and arrange them as shown below.

- Double-click the “Form Ratings” control. A pop-up window appears with configuration options. Select the “Settings” tab to configure. Use the checkbox to hide the form, mark it read-only at runtime, and make user input mandatory. Enter the rating label and rating value, and choose the image file from the local folder. Click the Add button to build the list.

- The pop-up window displaying the ratings list is shown below. Enter the rating label and value, then select the image icon from the local folder. Click the Add button to build the list.

- You may add multiple ratings as shown below. Click the Close button to continue. Select the red icon (x) to remove the list item.

- Select the “Conditions” tab. Enter the control field value and select the Form field value from the list to hide or display. You may control the display condition for multiple Form field values, as shown below. This tab setup is optional. Click the Save button.

- Select the “Styling” tab. Enter the CSS-style scripts. Select the style classes from the drop-down list to apply. On the Form Definition page, select the Import > Global CSS style options to apply the style classes across multiple forms, as shown below. This tab setup is optional. Click the Save button.

- Select the “Other” tab. Enter the tool tip information text. This tab setup is optional. Click the Save button.

- Select the “Globalize” properties. The application will alert you if there is nothing to globalize, as shown below. Otherwise, select the language from the drop-down list, then click the Translate button. The Azure ML service translates the text into the empty text boxes. Click the Save button.

- Save the Form Definition. Select Actions > Create Form Instance. Generate a new Form Instance, then select the check box to edit it.

- The Form is rendered for the user as shown below. Select the ratings, then click the Submit button to complete. The selected value shall be stored in the Form Instance.

Definition Sample:
You may download the sample definition(s) from the link provided and later import them (drag-and-drop) into your FlowWright Process Definition (XML file) or Form Definition (HTML file) page.
Note: Please verify and complete the process steps for any missing configurations, such as file path references and database connections, after the import. Then, save the definition to confirm the changes.
Click here to download the sample file.