Creating a dashboard.
This function lets you modify the dashboard metadata and its contents.
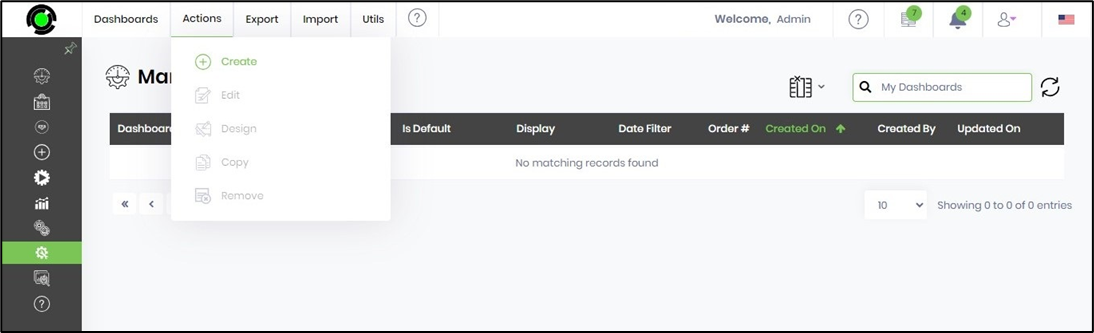
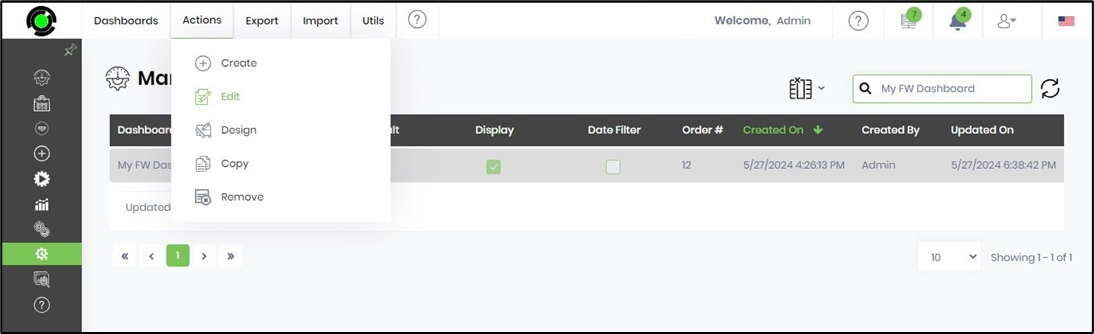
To manage the dashboards, you must navigate to the Administration—Dashboard page. Select the dashboard from the list and click on the Actions—Create menu option to initiate it.
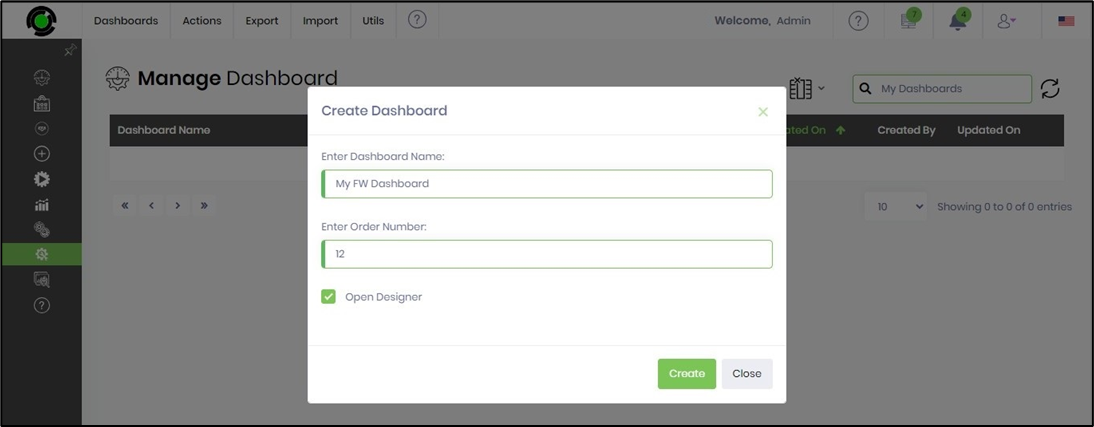
The Create Dashboard popup window is displayed for configuration, as shown below. You must provide the dashboard name and the display position number. Click on the Create button to confirm.
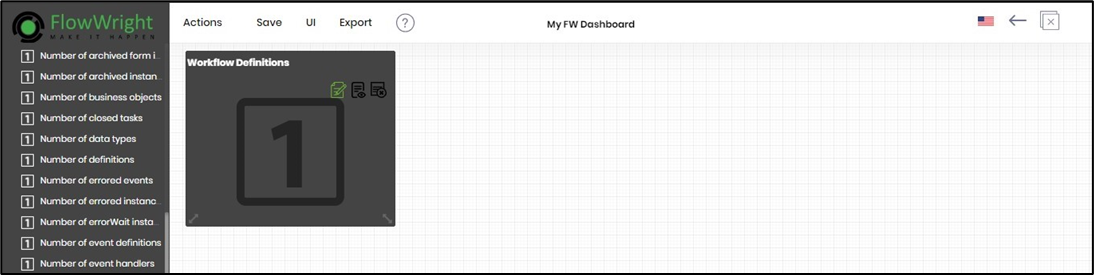
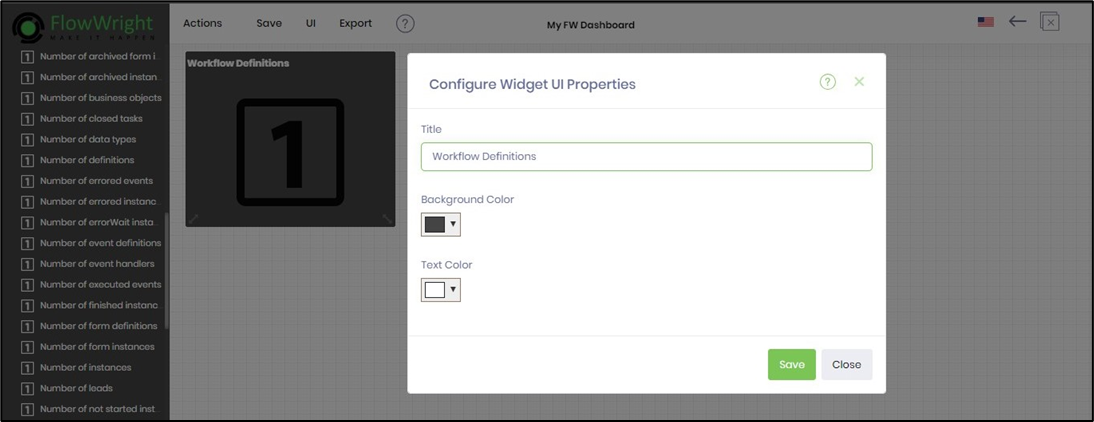
The new dashboard is created and rendered on a new page, as shown below. You must drag a dashboard widget from the toolbox on the left to the designer canvas in the center to use it. Click on the Edit icon to configure the dashboard properties.
The Configure Widget UI properties are displayed in the popup window. You may provide the title name and change the background and text color in the drop-down color palette. Click on the Save button to confirm the configurations.
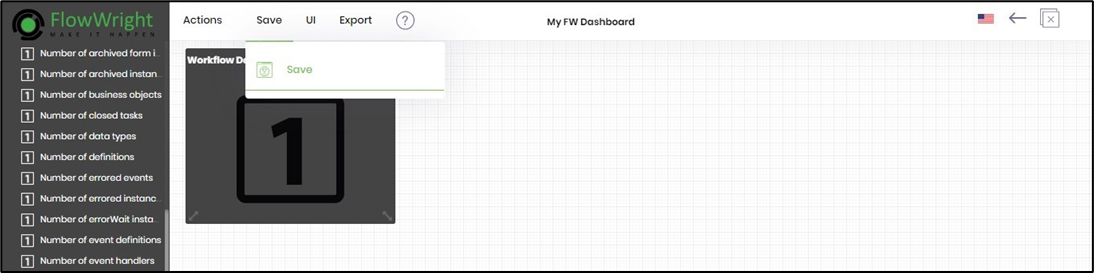
Click on the Save menu to save the dashboard definition.
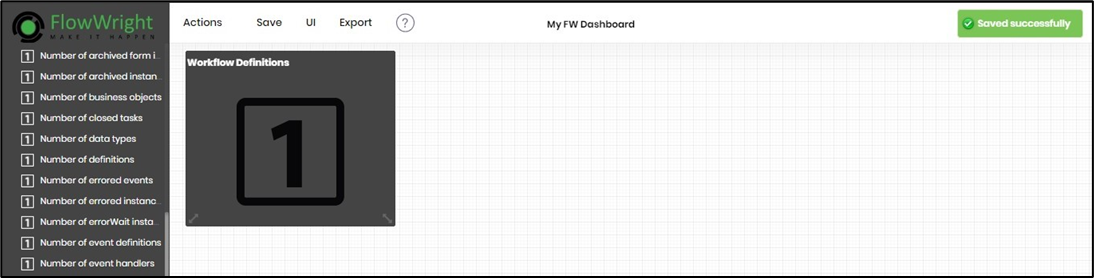
A confirmation message is displayed at the top right-end corner.
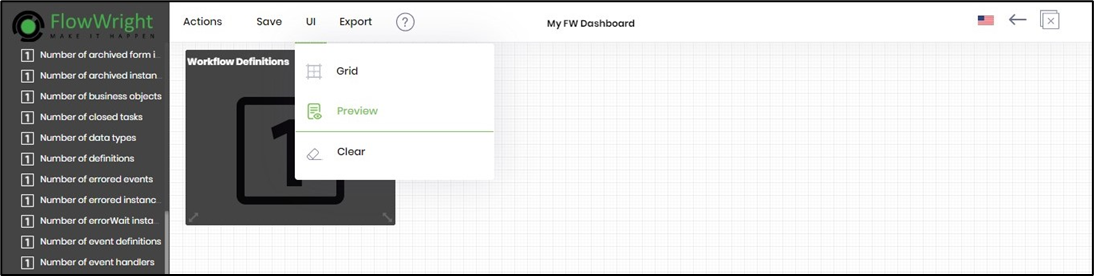
To view the dashboard, navigate to the UI - Preview menu option. The dashboard preview is rendered on a new page.
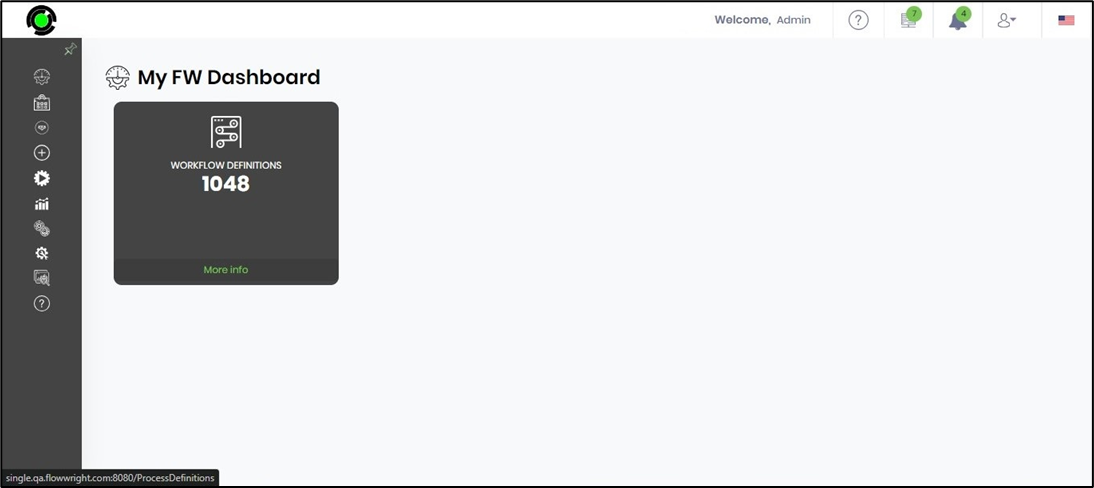
The new dashboard is rendered with the data point as below. Here, the dashboard widget shows the count of workflow definitions in the FlowWright application. Mouse over the More Info link to navigate to the process definitions page. The link URL is visible at the bottom left.
Edit dashboard / Design dashboard.
This function lets you modify the dashboard metadata and its contents.
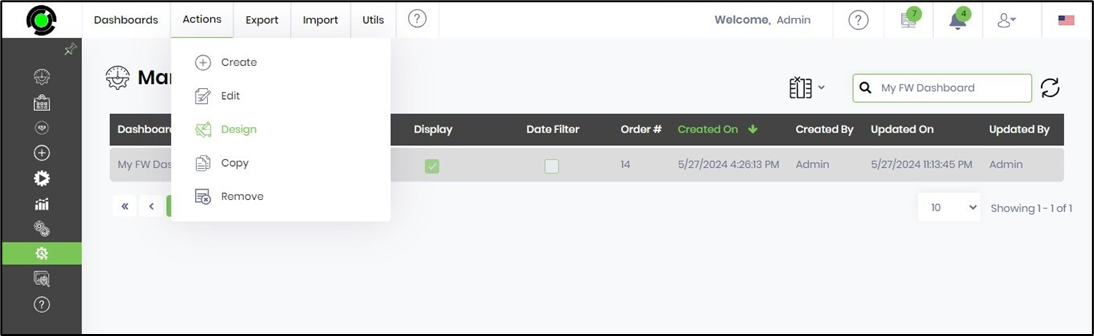
You must navigate to the Administration—Dashboard page to manage the dashboards. Select the dashboard from the list and click on the Actions—Edit menu option to modify the dashboard metadata.
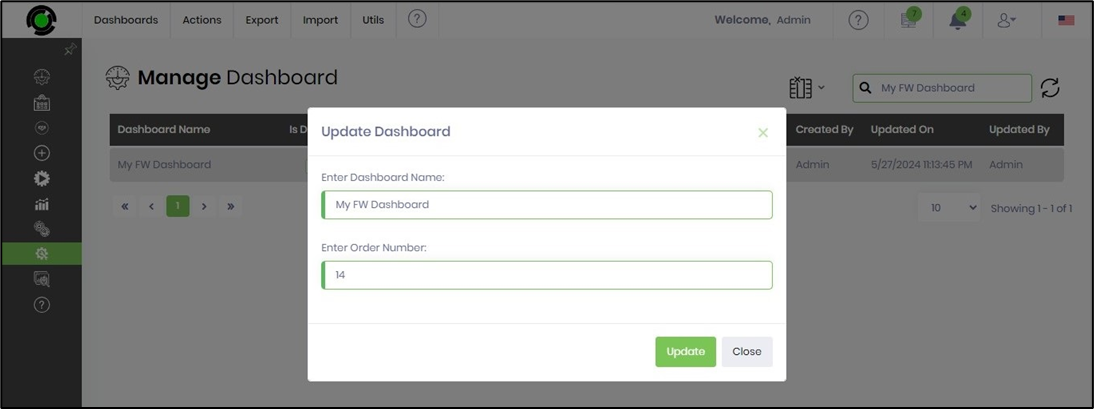
The Update Dashboard popup window displays the metadata for modification. After changes, click the Update button to confirm.
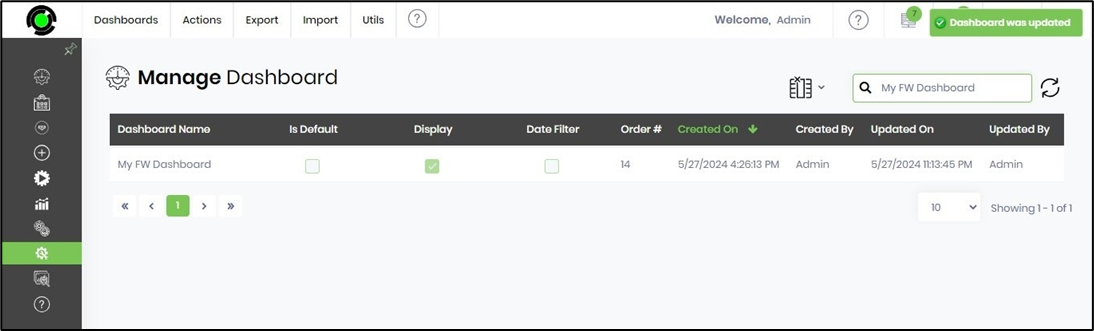
The changes to the name or display order number are updated, and a confirmation message is displayed in the top right-end corner.
To change the dashboard content, click the Actions - Design menu option.
The dashboard contents are rendered on a new page.
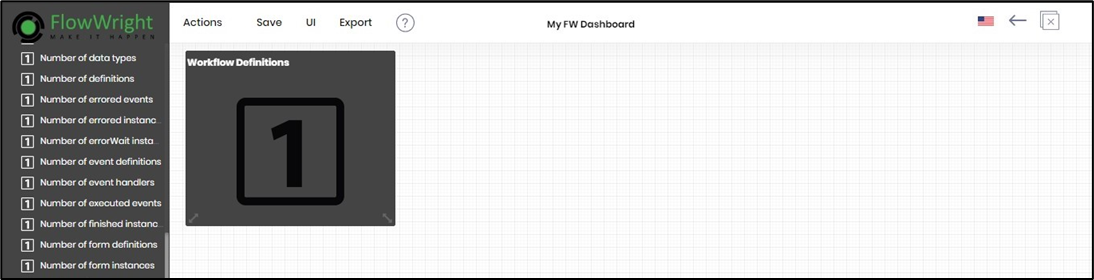
You may drag-drop a few more dashboard widgets, as shown below. If necessary, these widgets may be configured with different titles and colors.
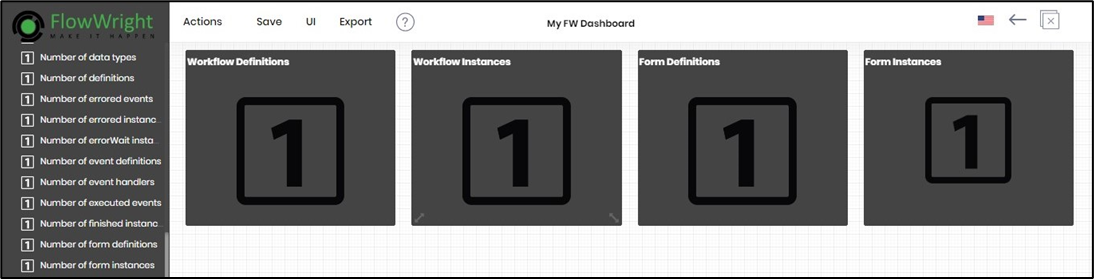
Click on the Save menu to confirm the changes.

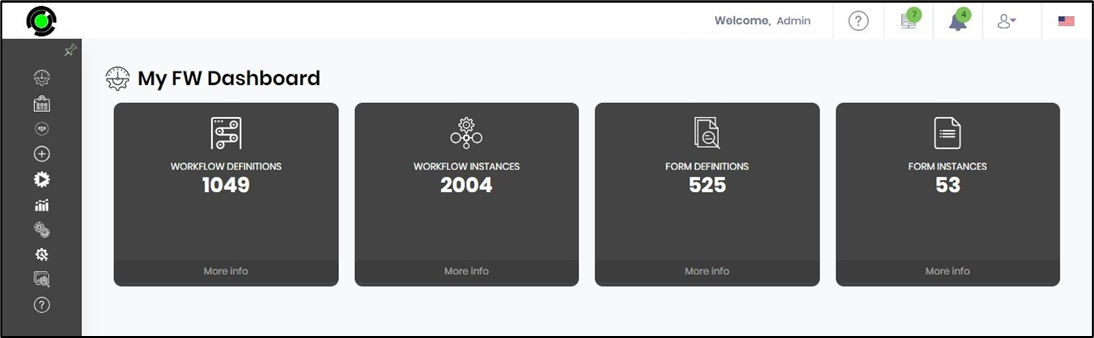
Select UI - Preview menu option to view the dashboard content in run-time.

The modified dashboard is rendered with the data points below. Here, the dashboard widgets show the count of workflow definitions, instances, form definitions, and instances in the FlowWright application. Mouse over the More Info link to navigate to the process definitions page.
Copy dashboard.
This function lets you make a copy of the dashboard metadata and its contents.
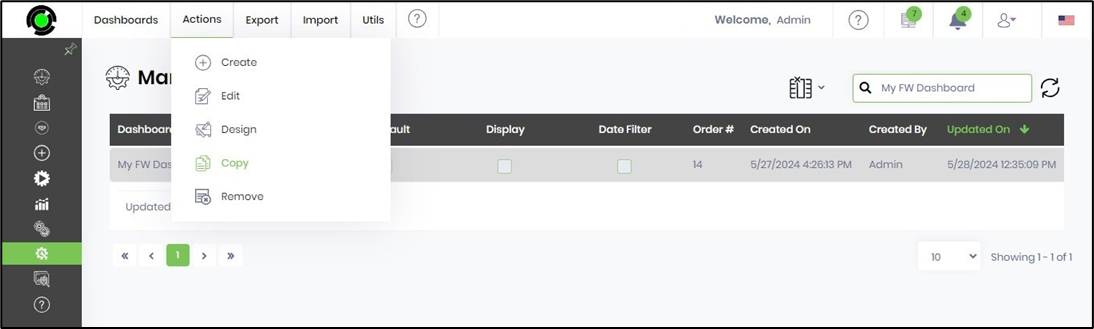
You must navigate to the Administration—Dashboard page to manage the dashboards. Select the dashboard from the list and click the Actions—Copy menu option to initiate.
The Copy Dashboard popup window is displayed for configuration. To confirm, you'll need to provide a new name and click the Copy button.

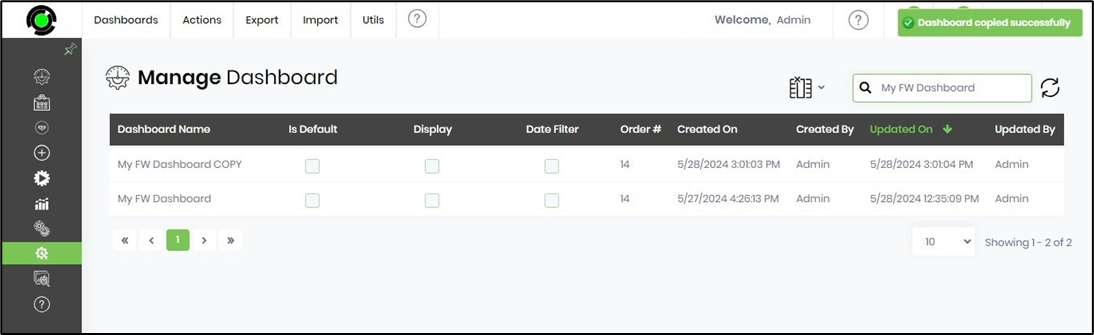
A copy of the dashboard is created and added to the list. A confirmation message is displayed at the top right-end corner.
Remove dashboard.
This function lets you permanently remove the dashboard from the repository.
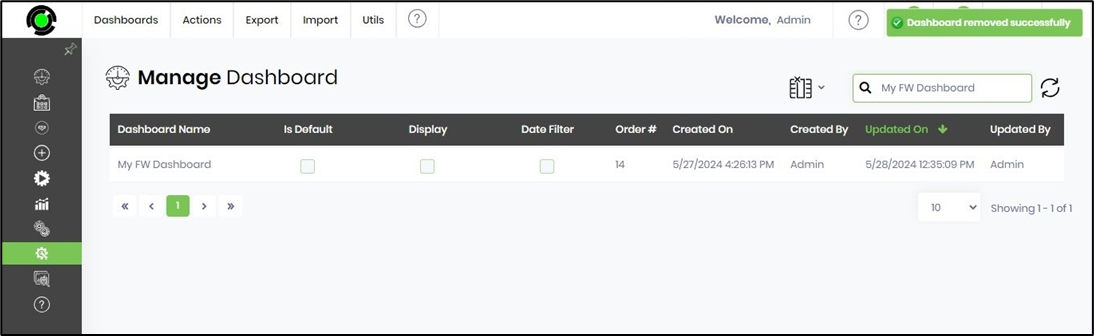
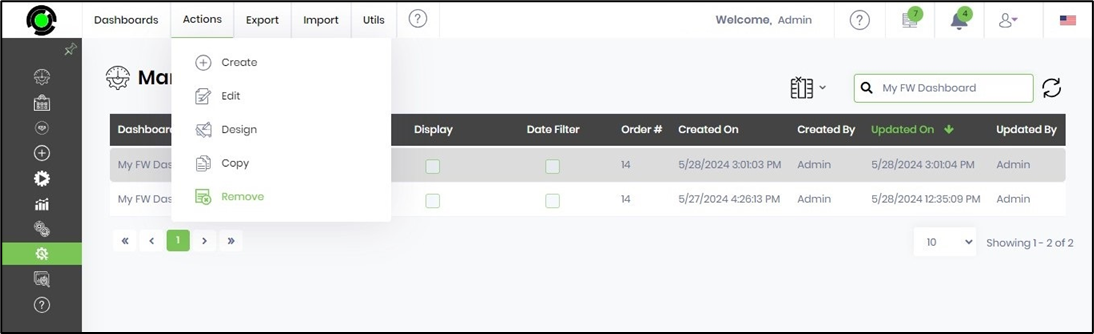
You must navigate to the Administration—Dashboard page to manage the dashboards. Select the dashboard from the list and click the Actions—Remove menu option to initiate.
The Remove Dashboard popup window is displayed for confirmation. Click OK to continue.

The dashboard is removed, and a confirmation message is displayed at the top right-end corner.