A tenant can be made active or inactive using the following menu option.
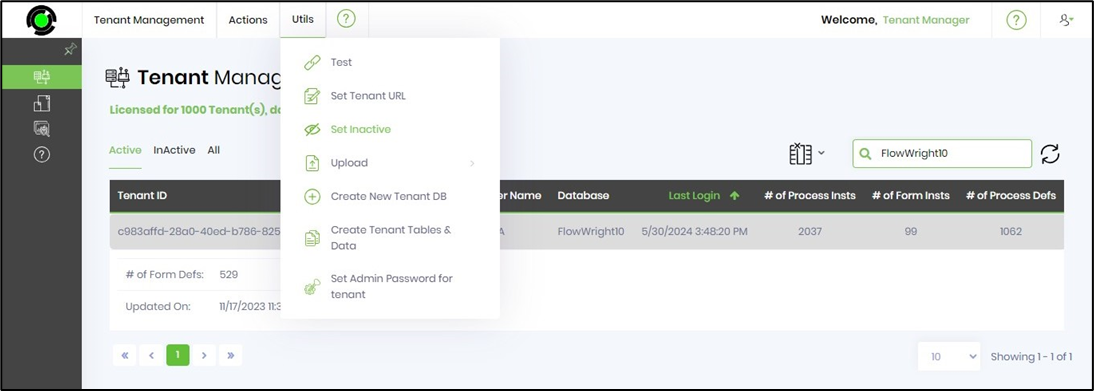
On the Tenant Management page, select the tenant from the table and click the Utils—Set Inactive menu option.
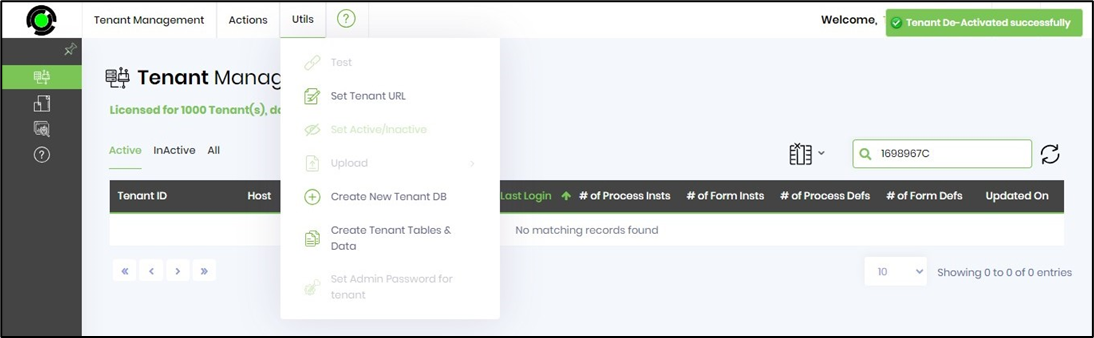
The tenant is deactivated, and a confirmation message is displayed in the top right-end corner.
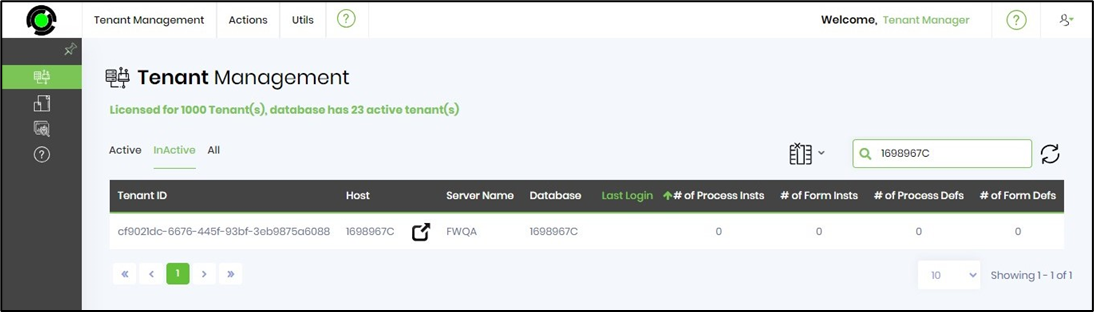
The tenant is available in the InActive tab, as shown below.
Once the tenant is deactivated, the user cannot log in to the tenant. Any user that navigates to the tenant URL will be displayed the following UI:

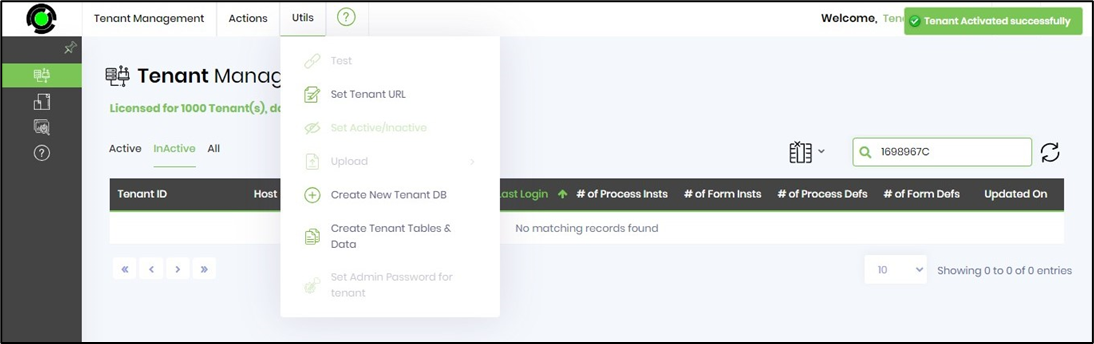
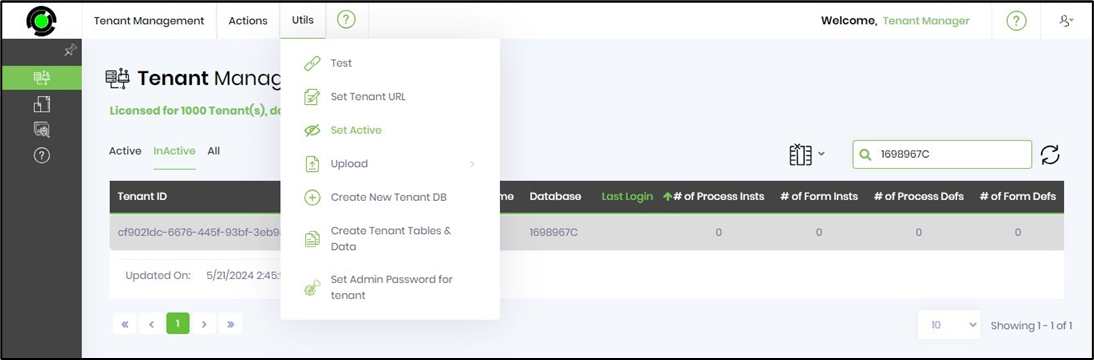
Select the tenant and click on the Utils - Set Active option to activate it.
The tenant is activated and shifted back to the Active tab. A confirmation message is displayed in the top right-end corner.