createUserNotification Step
Description:
This step sends a user notification to a specified number of users.
Inputs
- assignTo – list of users to assign the notification
- assignToRoles– Roles user to assign the notification
- subject – subject for the notification
- Message- description for the notification
- emailNotify- Send email for notification
Returns
- completed – notification was created
- error – notification was not created
Usage:
Example:
Let’s build and execute the “createUserNotificationDef” example.
- Create a new process definition named “createUserNotificationDef” and open it in the designer.
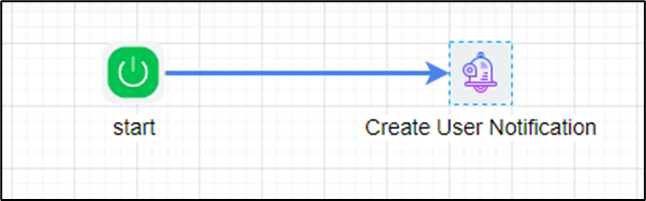
- Drag the "createUserNotification" step to the canvas.
- Connect the dots between the “Start” and "createUserNotification" steps as shown above.
- Click the "createUserNotification" step to configure its "Required" properties. Enter a name for the step and the subject text. Then click the Save button. Note: Click the "AI Predict" button to have the Copilot add new process steps that match your process description.

- Click the "createUserNotification" step to configure its "Optional" properties. Click the button to select the users to assign. Click the button to select the application roles to assign. Click the button to configure the notification message. Select whether to send an email to the user with the notification. Click the Save button.

- Click the button to select the users to assign. Search for and select the users, or enter a variable reference that contains User IDs (GUIDs). Click the Save button.

- Click the button to select application roles. Use the navigation buttons to move roles to the list on the right for selection. Then click the Save button.

- Click the button to configure the notification message. Click Message, then use the existing template (you can also edit it) as the email body, or create a custom template as the message. Configure the message text. Click Save.

- The “Logging” configuration is necessary for documentation and to measure workflow progress and percent complete. This is done by configuring the step state and percent fields individually, as shown below. Configure the “Logging” using the following properties.

- Save the process definition, create a new instance, and execute it. Render the process instance. The process step should generate a notification for the users/roles and send an email as configured.

- Navigate to Status—Email Queue to view user notification emails.

- The user notifications are visible to the target user, as shown below.

Definition Sample:
You may download the sample definition(s) from the provided link and later import them (drag-and-drop) into your FlowWright Process Definition (XML file) or Form Definition (HTML file) page.
Note: Please verify and complete the import process steps for any missing configurations, including file path references and database connections. Then, save the definition to confirm the changes.