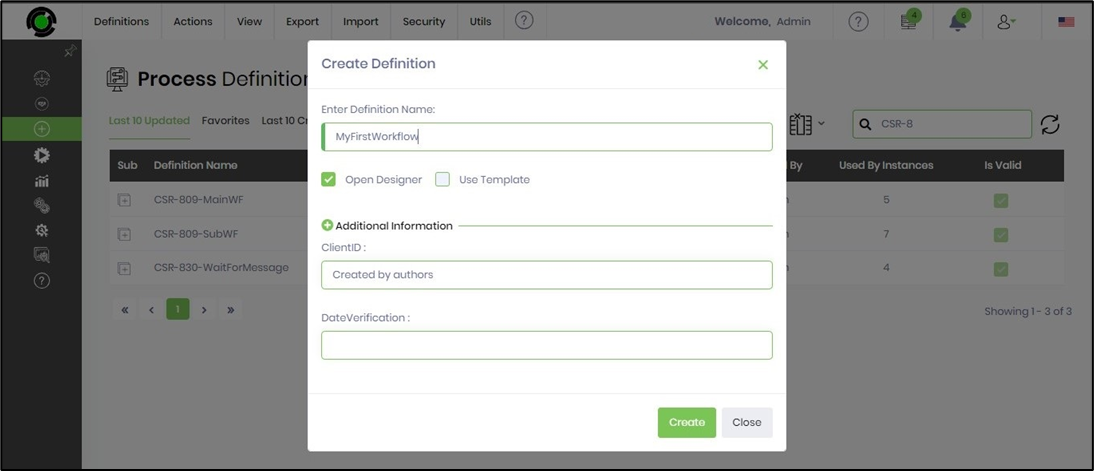
This function lets us create a new process definition.
You can navigate to the Create - Process Definitions menu.

The Create Definition popup window is displayed for configuration. You may provide a unique definition name and click on the Create button. You may click the plus sign icon (+) and provide the definitions' metadata information (not mandatory).
The workflow can include actions performed by people (user-interactive) and actions performed by the process steps (non-user-interactive). The workflow participants can interact with the workflow through the designated task list, where a workflow can create a task for a user and remain asleep until the task is acted on.
Workflows / Processes can be as simple or complex as your business processes require. You can create a workflow that the user initiates or a workflow that is initiated automatically based on an event, or from a form submission.
Below is the screenshot of how FlowWright designer looks and functions:
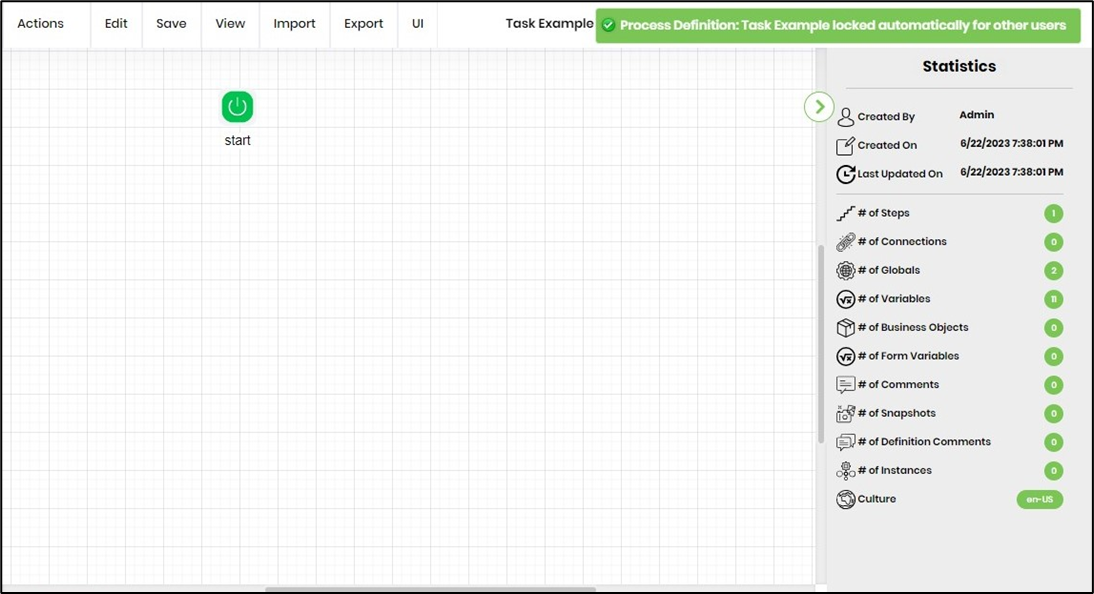
Once the process definition is open, the workflow design is created using the functionality of the process designer.
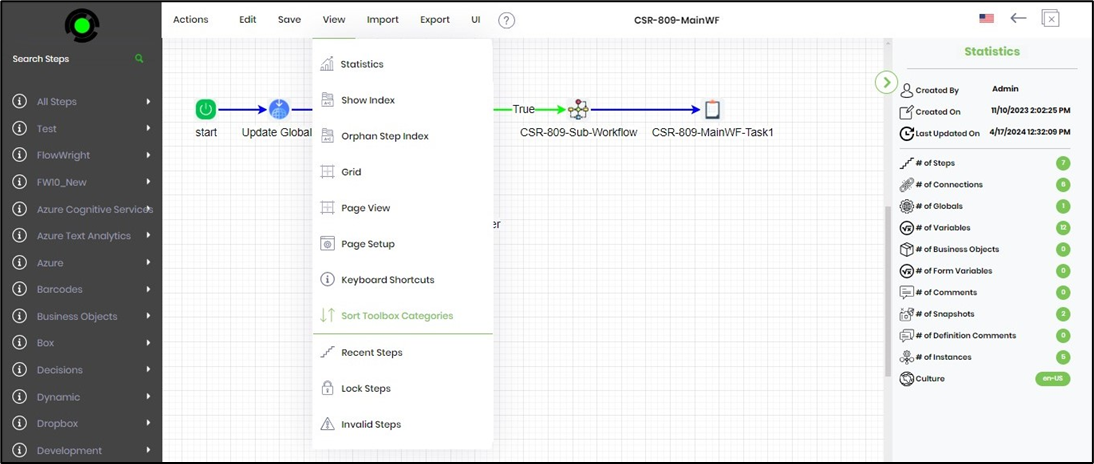
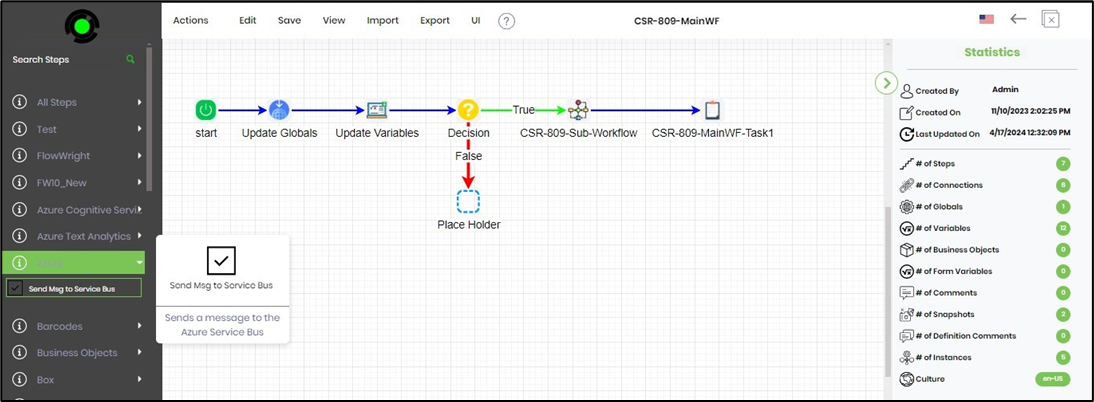
The toolbox steps are categorized into different categories as shown in the left corner of the screen. Click on the All Steps category, and the steps from all the different categories are displayed as shown below:

Navigate to the View-Sort Toolbox Categories menu option. The toolbox on the left gets sorted in alphabetical order.
When the process designer is open for designing, the selected definition is locked for other users to edit, as shown above. Other users will not be able to open and edit the definition when it has been edited by another user.
The process designer displays the step/description name as a tooltip on mouse over as shown below.
To design the workflow, the user should drag and drop the step(s) from the toolbox to the design area as shown below.
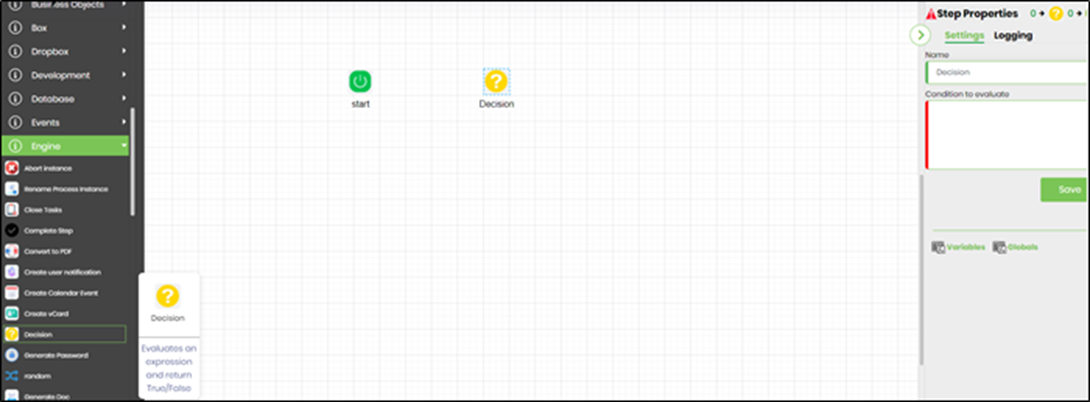
The process step header information is optimized with 3 tabs - Settings, Advanced, and Logging.
After dragging and dropping the step, connect the steps using connections between the steps. The workflow designer prevents self-connections from occurring during any workflow step.

Any step's “Settings” configuration is mandatory as shown in the image below.
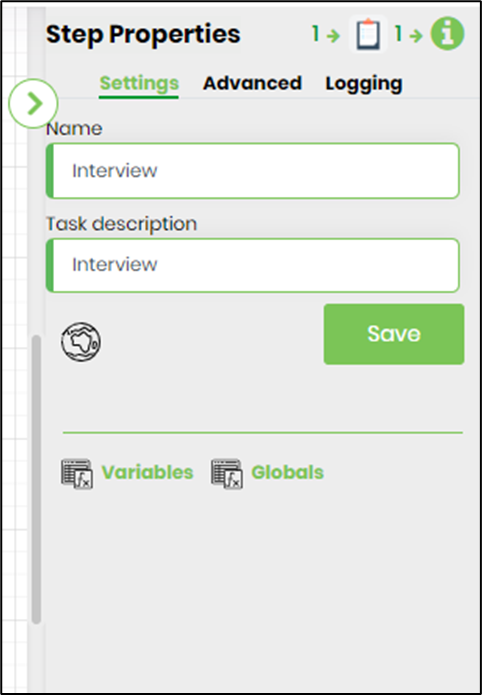
The “Advanced” setting configuration of any step is mostly optional (sometimes specific field inputs are required depending on the step's functions), as shown in the image below.

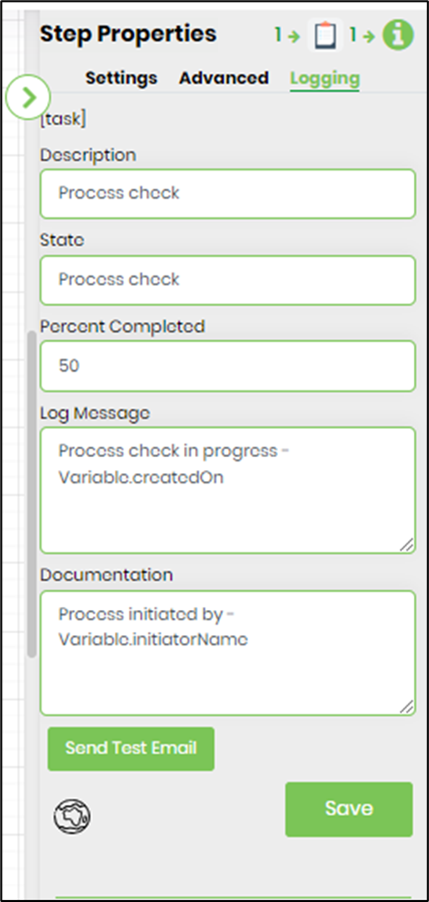
The “Logging” setting configuration is necessary for documentation and measures the workflow progress and percent completion. This is achieved by configuring the step state and percent fields individually, as shown in the images below. In this example, the workflow at the “Process check” step is 50% complete.
The “Hire decision” step is 100% complete.

Save the workflow OR navigate to the Action—Validate menu option. The application displays the last saved date and time and also alerts you about any incomplete step configurations.

Click the "Refresh" button to refresh the Process Definitions table list.

All the connection labels can be wrapped, which facilitates reading label texts with lengthy text, as shown below.

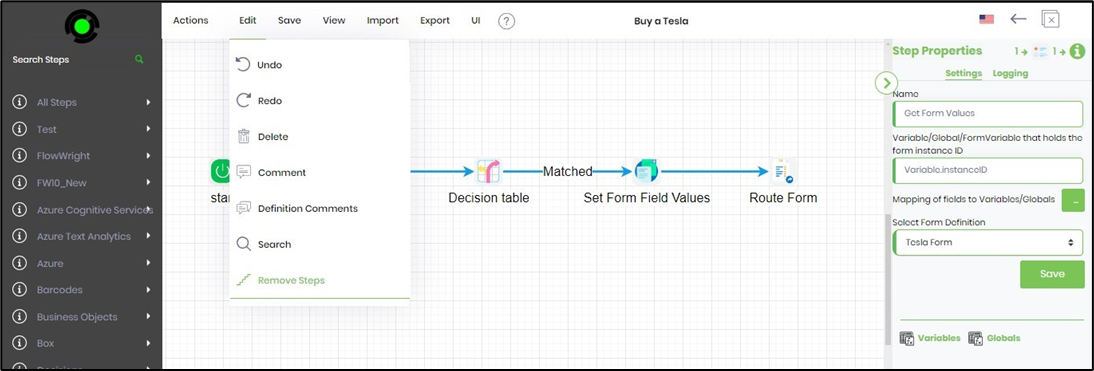
The "Search" feature helps you navigate to steps on the design page. The user should navigate to the Edit—Search option and type in the information in the text box, as shown.
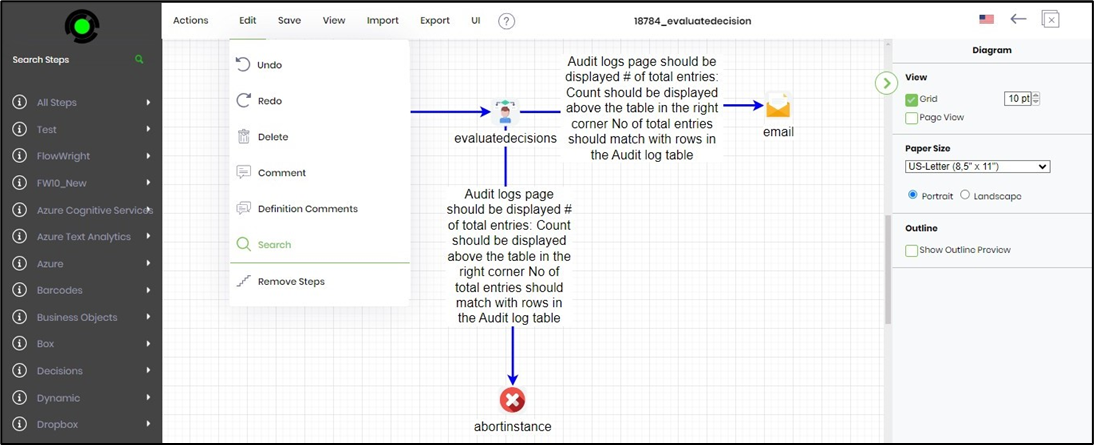
Click on the result hyperlink to navigate to the design page.

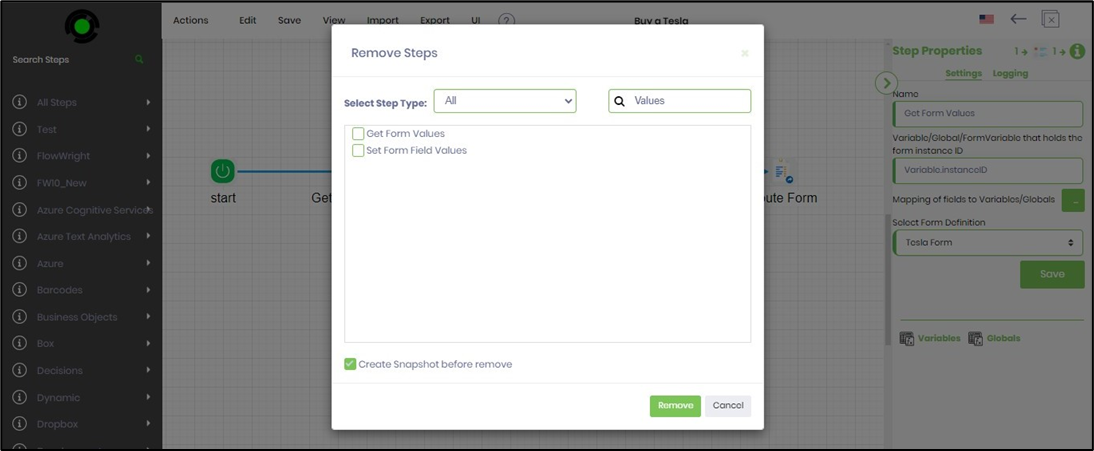
Remove process steps with UI.
On the Process Designer page, navigate to the the Edit—Remove Step menu options.
The Remove Steps popup is displayed for configuration. Search for the step using the Search text box. Use the checkbox to mark the steps to be removed. Use the checkbox to create a snapshot before making the changes. Click on the Remove button to confirm the action.