Description:
Renders a table control, where you can place other controls inside.
Inputs
- ID/Name - Name of widget generated by FlowWright (read-only field)
- Table Width (px) - Enter the pixel value for width
- Border - Select between any border types (Solid, Dotted, Dashed, None)
- Background - Select between any background types (Transparent, Gray, Light Gray, White)
- Add Row - Add Row, before or after, the current mouse cursor
- Add Column - Add Column before or after the current mouse cursor
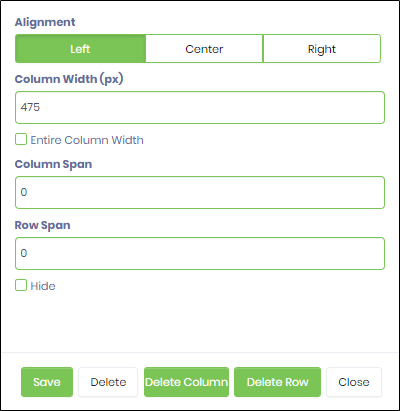
- Alignment - Select between the alignment position (Left, Center, Right)
- Column Width (px) - Enter the pixel value for width. Select the checkbox for the entire column width.
- Column Span - Enter a value for column-span
- Row Span - Enter the value for the row span
- Hide - Select the checkbox to Hide (tick mark)
- Save - Save the input values
- Delete - Remove this form widget from the designer page
- Delete Column - Delete the column at the current mouse cursor
- Delete Row - Delete row at the current row cursor
- Close - Close the input popup window
Design:

Example:
Let’s build and execute the “TableDef” example.
- Create a new form definition called “TableDef.”
- Select the Open Designer checkbox and click the “Create” button
- Drag a Table widget to the canvas
- Double-click on the Table widget to configure the inputs as shown in the below graphic
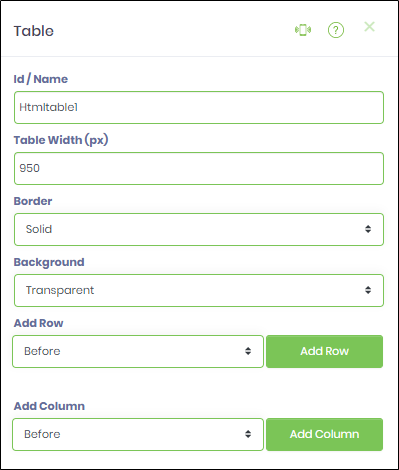
- Double-click on the Table widget to configure the inputs as shown in the below graphic
- Click on the Save button and Close the popup window
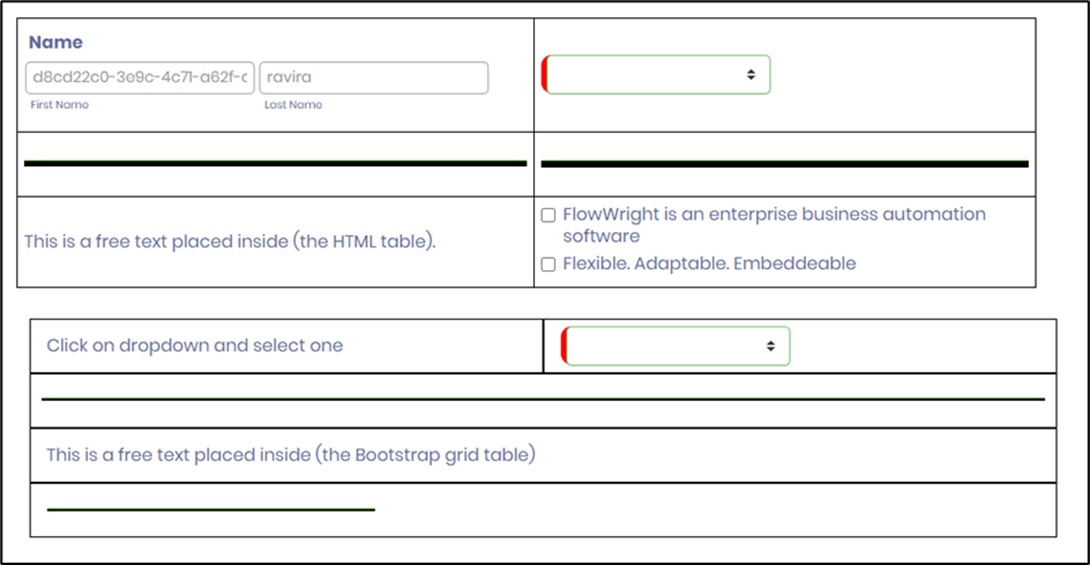
- Navigate to the UI menu and Preview the form. The rendered widget will appear as shown in the graphic below
Image
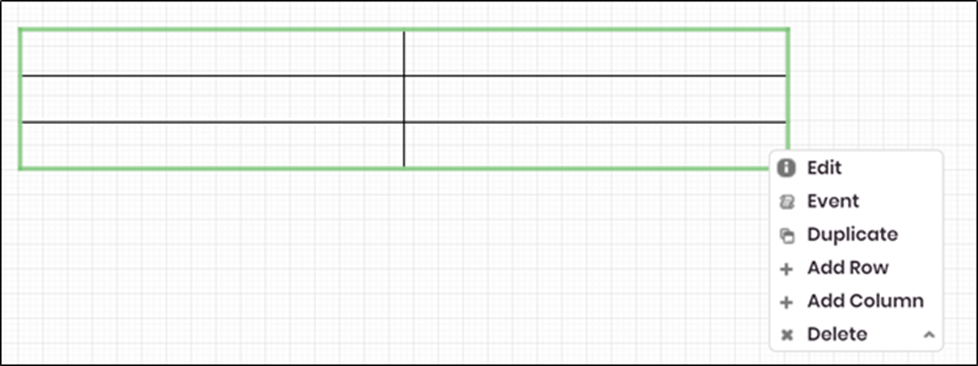
- Control also has a context menu with options, as shown in the graphic below.
- With the Table widget, you can add a line widget as a separator between rows to improve the aesthetic appeal. The form design view is shown below.
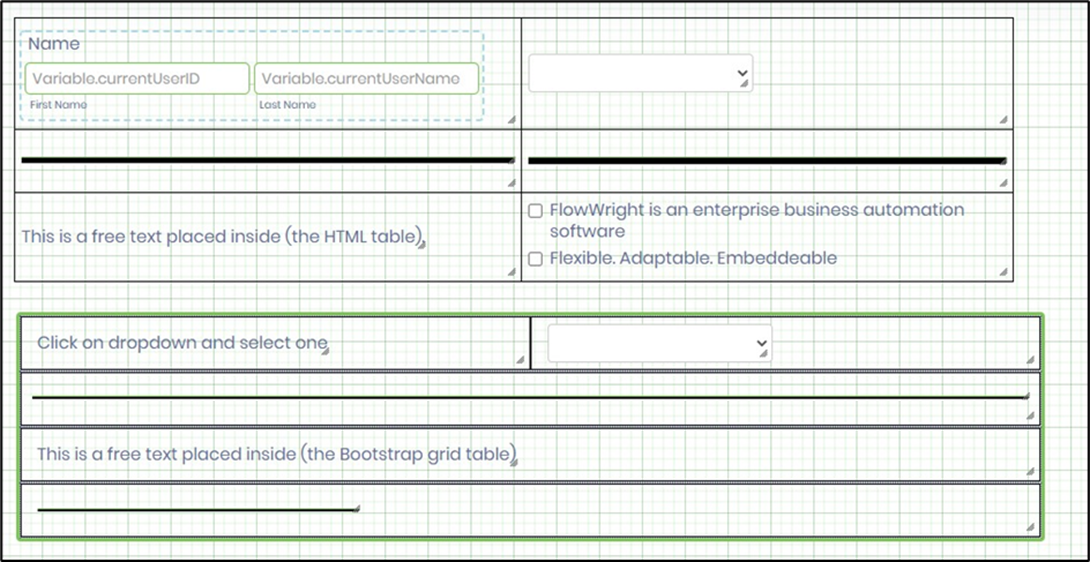
- The form rendered view is shown below.