This function manages the tasks assigned to the queues by the process.
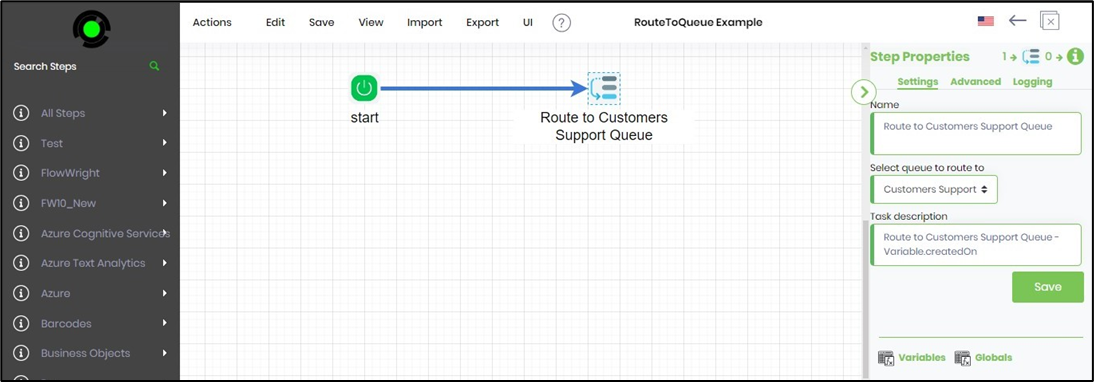
Tasks are typically routed to users, but within FlowWright, they can be routed to queues. This is an essential feature in specific scenarios. In most support applications, tasks are routed to support queues and assigned to users from the queue. The workflows use “routeToQueue” process steps to achieve this, as shown below.
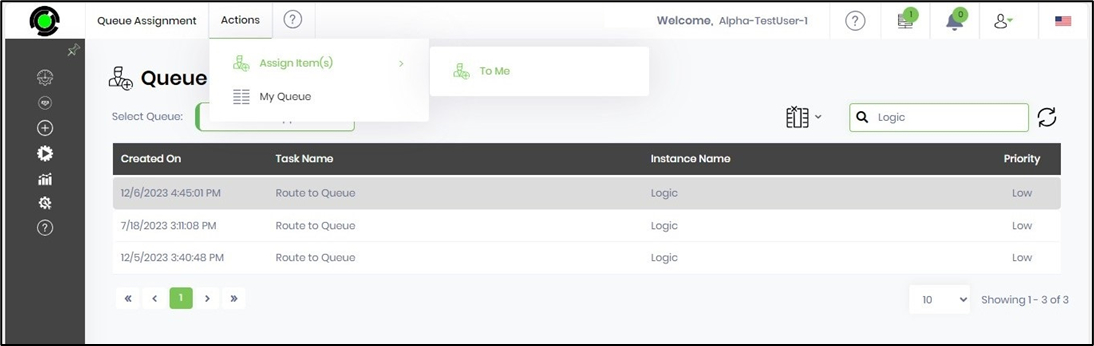
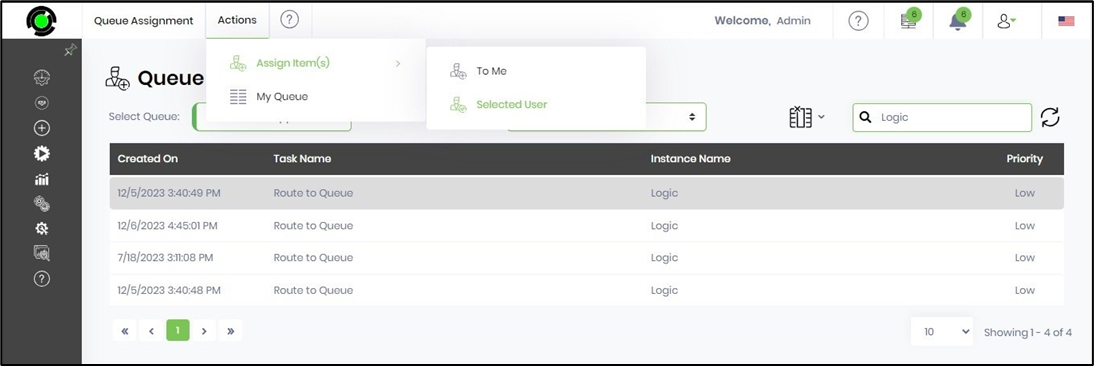
To manage the tasks assigned to the queues, navigate to Engage - Tasks - Queue Assignment page.
Select the queue from the drop-down list. The task list from the queue is displayed in the table. Select the User from the drop-down list to assign to. You can use the Search box to narrow down the list.
Select the task from the list and click on the Actions - Assign Items - Selected User menu option.
The Assign Queue popup window is displayed for confirmation. Click OK to continue.

The queue task is assigned to the User's My Queue, and a confirmation message is displayed in the top right-end corner. Once the queued tasks are assigned to the selected user, they are cleared from the queue.

My queue
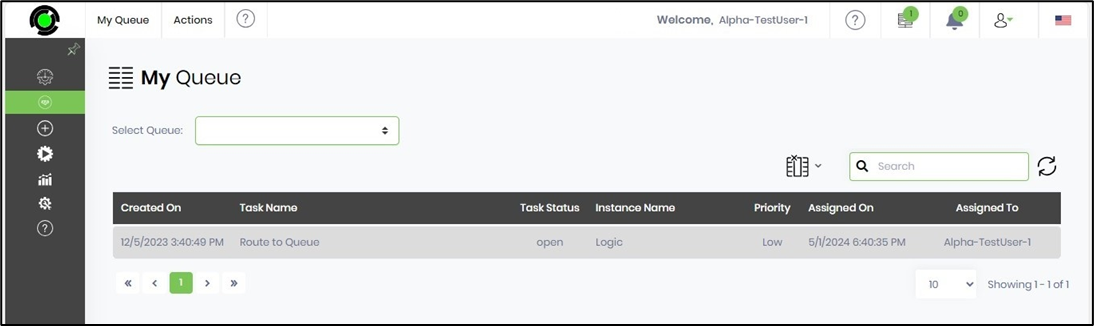
To access the My Queue tasks list, navigate to Engage - Tasks - Queue Assignment - Actions - My Queue menu option.

The task previously assigned is displayed in the My Queue table.
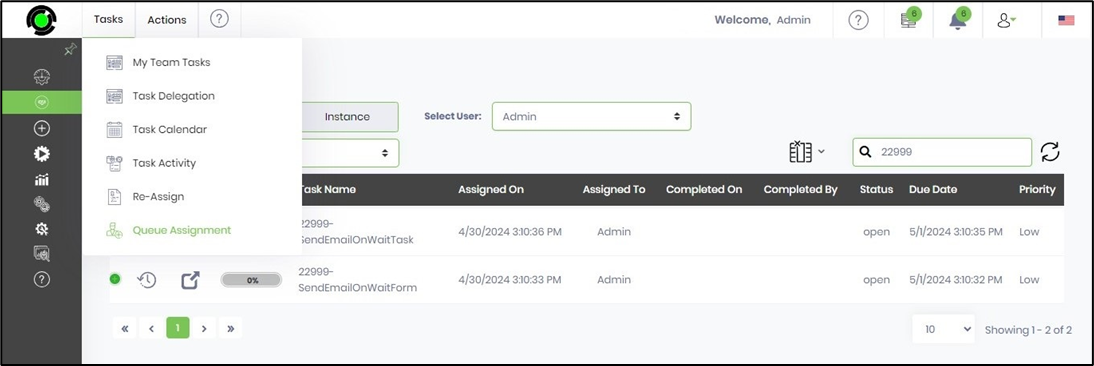
To complete this assigned task, the User navigates to the Task page and selects it.

To Unassign this task, the User selects the task from the list and clicks on the Actions - UnAssign menu option.

The UnAssign Queue popup window is displayed for confirmation. Click OK to continue.

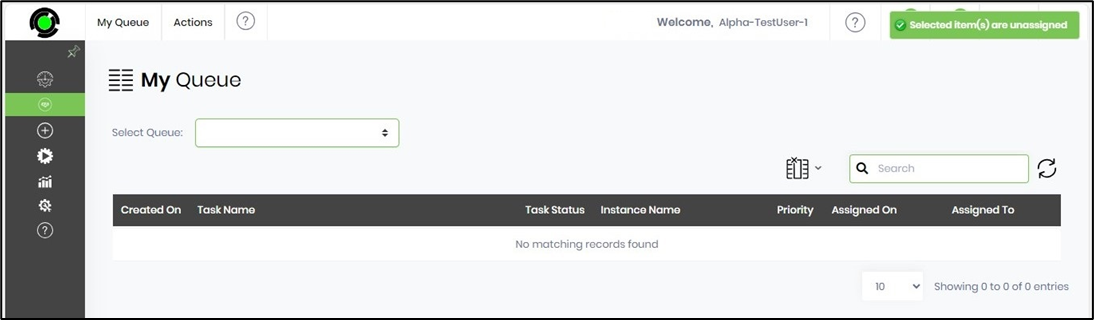
The task is unassigned from My Queue and returns to the origin queue, where a confirmation message is displayed in the top right-end corner.
Queue Management
The workflow process assigns the tasks to the Queues, and the Users (with access permissions) can navigate to the queue and assign/unassign the tasks themselves.
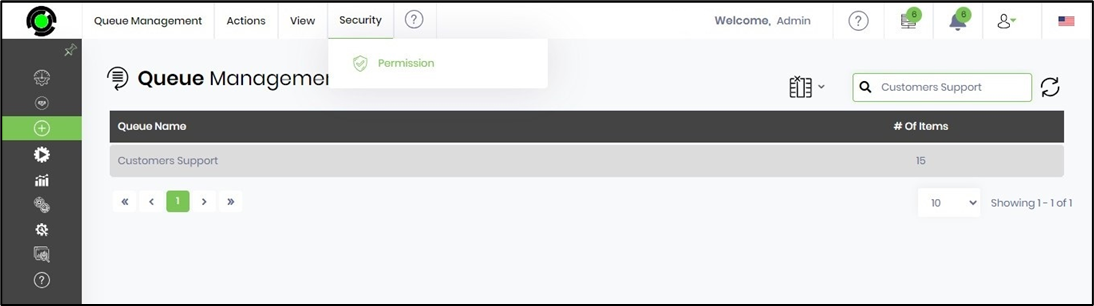
To grant access permissions to the queue, navigate to the Create—Queue Management page. Select the Queue from the list. You can use the Search textbox to narrow down the list.

Select the Queue from the list and click on the Security - Permissions menu option.
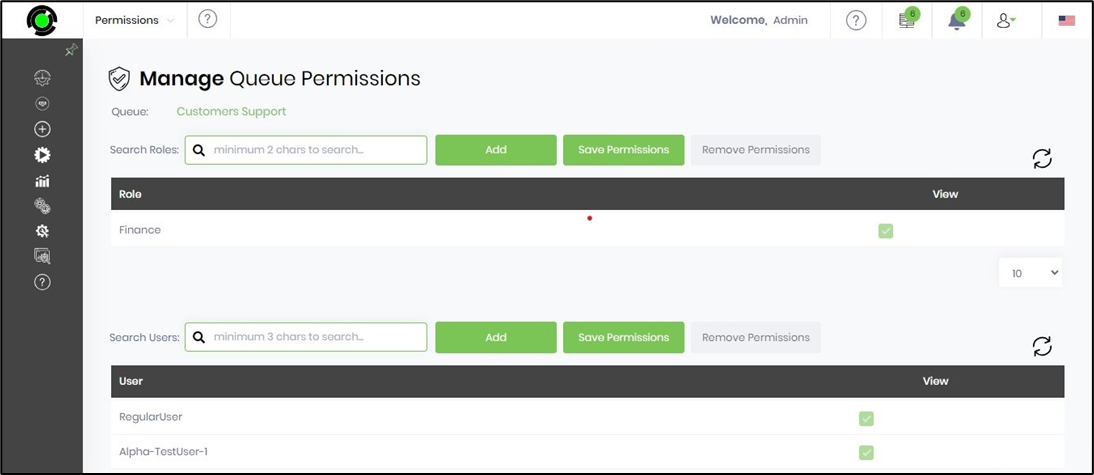
The Manage Queue Permissions page is displayed in a new tab. Here, search for the username (by typing the first three characters) and select the User from the list. Click on the Add button. Click on the Save Permissions button to grant this user Queue access.

Here, search for the application role (by typing the first three characters) and select the AppRole from the list. Click on the Add button. Click on the Save Permissions button to grant Queue access to all users belonging to this application role.
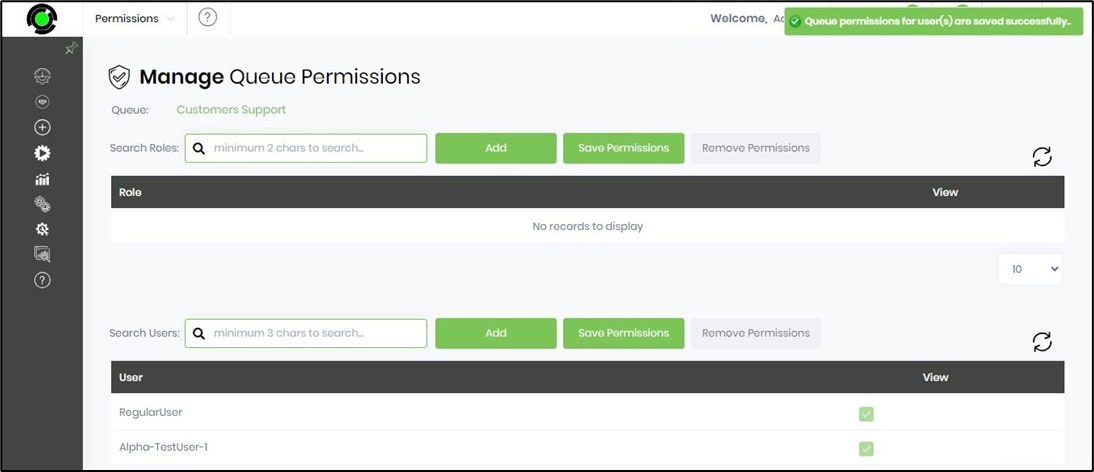
The access is granted to the User, and a confirmation message is displayed in the top right-end corner.
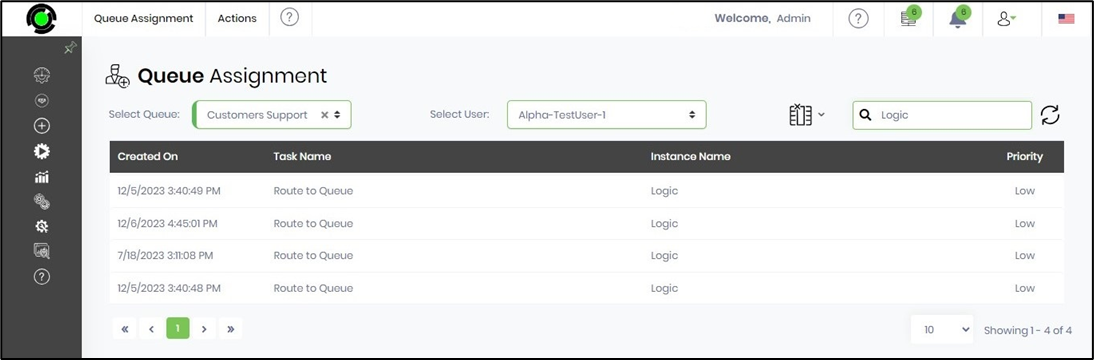
The User navigates to the Engage—Tasks—Queue Assignment page and selects the Queue from the drop-down list. Then, using the Search textbox, the user narrows down the list. The list of tasks in the Queue is displayed in the table for selection.
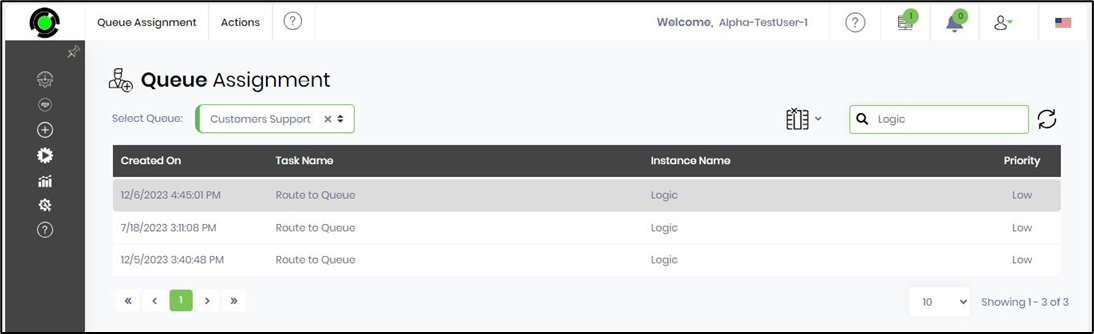
The User selects the queue task from the list and clicks on the Actions—Assign Items—To Me menu option. The task has been successfully assigned to the User's My Queue. This way, the User can select functions from the Queue and UnAssign tasks back to the Queue.