Description:
This step creates the vCard with the user details provided.
Inputs
Type in the user details as per the field names;
- firstName – first name
- lastName – last name
- jobTitle – job title
- Organization – organization name
- Street – door# and street name
- City – city name
- Zip – zip code
- Country – country name
- cellphone – cell phone number
- workPhone – work phone number
- email – email address
- website – website URL
- varName - variable/glonal to hold the vCard file path after generation
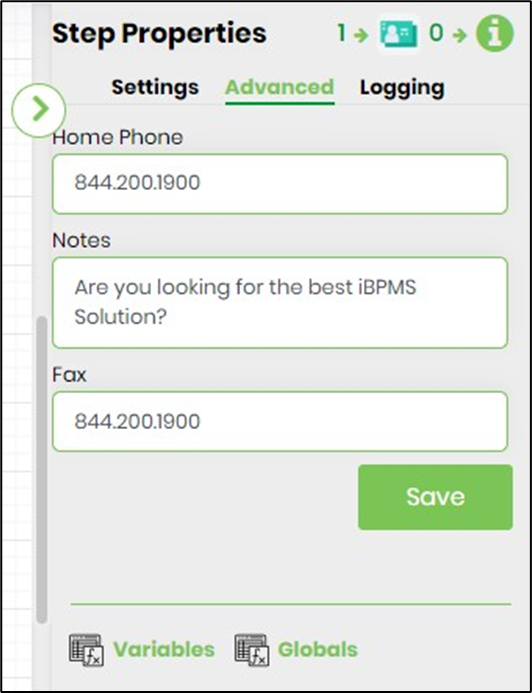
- homePhone - home phone number
- notes – notes info
- fax - fax number
Returns
- True – step executed successfully
- False – step failed to execute
Usage:

Example:
Let’s build and execute the vCardGeneratorDef example.
- Create a new definition called vCardGeneratorDef
- Select the definition and click the “design” button
- Drag an “vCardGenerator” step to the canvas
- Connect the steps as shown above
- Click on the “vCardGenerator” step to configure its “Settings” properties

- Click on the “vCardGenerator” step to configure its “Settings” properties

- Click on the “vCardGenerator” step to configure its “Advanced” properties
- The “Logging” setting configuration is necessary for documentation and also measure the workflow progress and the percent complete. This is acheived by configuring the step state and percent fields individually as shown in the images below. Configure the “Logging” using the following properties.

- Save the process definition, create a new process instance and execute.
- Render the process instance. Click on the process step. View the step properties. The step should get the file path info of the vCard file generated. Navigate to the file path and download the .vcf file by extension

- Open the .vcf file in outlook and save the vCard generated. A sample vCard is shown here for reference.
