Description:
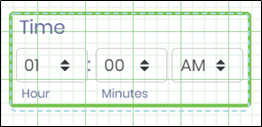
This widget renders a time selection control.
Inputs
- FormID - Name of the widget generated by FlowWright (read-only field)
Design:
Example:
Let’s build and execute the “TimeWidgetDef” example.
- Create a new Form Definition called “TimeWidgetDef.”
- Drag a “BootstrapGrid, Label, Textbox, Time, and Submit” control onto the canvas and arrange them as shown below.

- Double-click the “Time” widget to configure its properties. A pop-up window appears for configuration. Select the time zone from the drop-down list. Check the box to hide the control at runtime. Click the Save button.

- Double-click the “Hour” drop-down widget to set the “Settings” properties. Check the “Required” checkbox to make input mandatory. Click the Preview button to see the list of items, then click the Save button.

- Double-click the “Seconds” drop-down widget to configure the “Settings” properties. Select the “Required” checkbox for mandatory input. Click the Preview button to view the list of items, then click the Save button.

- Save the Form Definition. Choose the Actions > Create Form Instance menu option. Generate a new Form Instance, then check the box to edit it.

- The Form is shown to the user as illustrated below. Select the time, then click the Submit button to finish.

Definition Sample:
You may download and extract the sample definition(s) from the link provided and later import them (drag-and-drop) into your FlowWright Process Definition (XML file) or Form Definition (HTML file) page.
Note: Please verify and complete the process steps for any missing configurations, such as file path references and database connections, after the import. Then, save the definition to confirm the changes.
Click here to download the sample file.