Description:
Executes a selected process definition (in both real-time mode and background mode) and returns the result from the process defintion to the mapped fields prior configured.
Inputs
- ID/Name - Name of widget generated by FlowWright (read-only field)
- Execute Button Text - Enter description for Execute Button Text
- Select Workflow Definition - Select existing workflow definition
- Input Mapping (Variables) - Identify input variables required in the workflow
- Input Mapping (Globals) - Identify input globals required in the workflow
- Output Mapping (Variables) - Identify output variables to hold the result in the workflow
- Output Mapping (Globals) - Identify output globals to hold the result in the workflow
- Hide - Select checkbox to Hide (tick mark)
- Read Only - Select checkbox to Read-Only (tick mark)
- Tool Tip - Enter information to display on mouse hover on form render
- Styles - Enter the CSS scripts for widget styles
- Apply Classes - Select between custom classes defined
- Save - Save the input values
- Delete - Remove this form widget from the designer page
- Close - Close the input popup window
Design:
Example:
Let’s build and execute the “TrainingInviteForm” example.
- Create a new form definition called “TrainingInviteForm”
- Select the Open Designer checkbox and click the “Create” button
- Drag a “bootstrap grid” to the canvas. Add multiple rows to match the training invitation form graphic displayed below
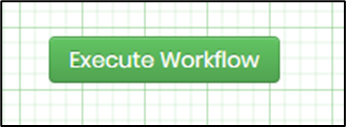
- Drag Label, Textbox, Save button, Submit button, Execute Workflow button, iFrame widgets to the canvas and arrange them to match the training invitation form graphic displayed below

- Edit Textbox properties and label the names to something appropriate and easy to identify
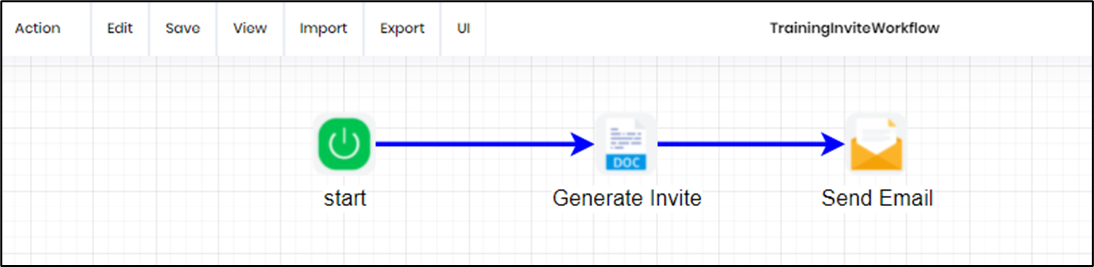
- Create a new process definition called “TrainingInviteWorkflow” in a new tab
- Drag the WordDocGenerator and Send Email step to canvas and connect them as shown in the graphic below
- Click on Action - Define Variables and create the following process variables

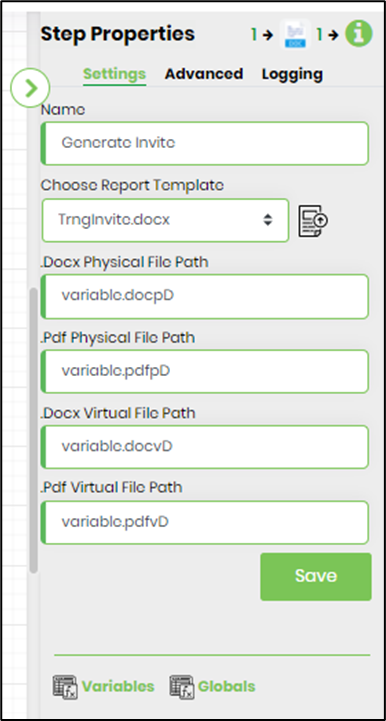
- Select WordDocGenerator step and configure the properties as shown in the graphic below. Click on the icon to upload the Report Template (*.docx) from your local folder. Select the same template document from the dropdown and confirm the changes with SAVE button.
- Select SendEmail step and configure the “Settings” properties as shown in the graphic below

- Select SendEmail step and configure the “Advanced” properties as shown in the graphic below
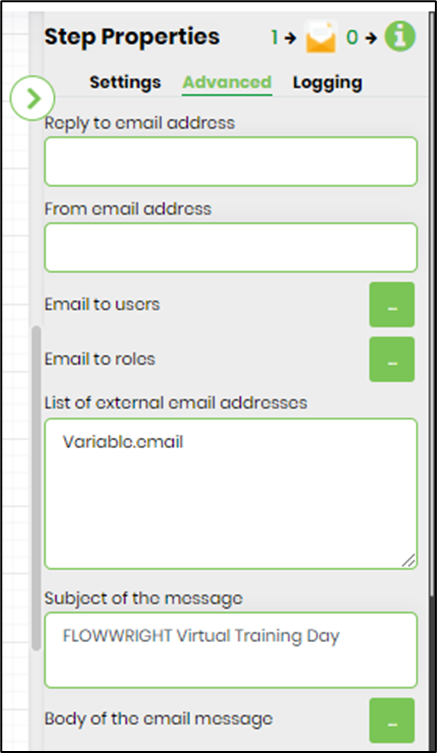
- Configure the "Body of the email message" to display an invite like the graphic below

- Save the process definition “TrainingInviteWorkflow” to confirm the changes
- Navigate back to the form definition page “TrainingInviteForm”
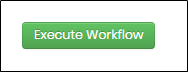
- Drag a ExecuteWorkflow widget to the canvas
- Double-click on the widget to configure the inputs as shown in the below graphic

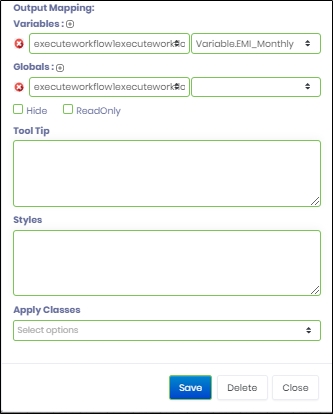
- Double-click on the widget to configure the output mapping as shown in the below graphic
- Select any existing workflow definition using the drop-down
- Identify the input variables and globals required in the workflow definition
- Identify the output variables and globals to hold the result in the workflow definition
- Click on Save button and Close the popup window
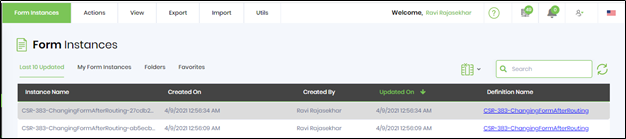
- Generate a new Form Instance. Navigate to Actions menu and Edit the form instance. The rendered widget will appear as shown in the below graphic.
- On Click, the "Execute Workflow" widget shall create a new instance in the background and executes the workflow based on the configuration. Navigate to Form Instance page to view the new workflow instance created and render the instance to view.